
Related Manuals for Stinger CROSS OVER SG-4

Summary of Contents for Stinger CROSS OVER SG-4
- Page 1 SG-4 Operating Instructions & User Manual Operating Instructions & User Manual www.stingergolf.com.au info@stingergolf.com.au www.stingergolf.com.au info@stingergolf.com.au...
-
Page 2: Parts List
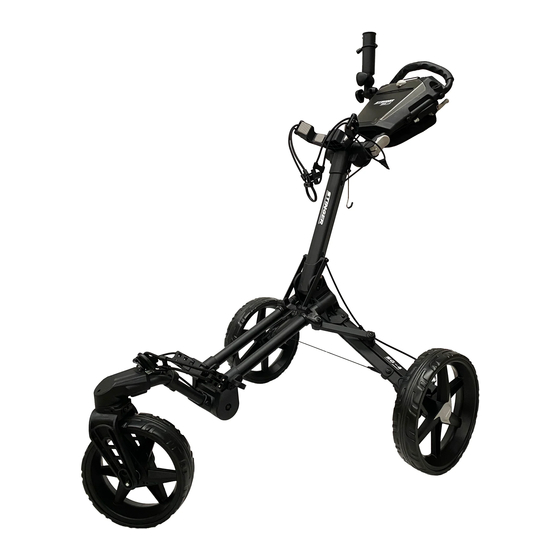
PARTS LIST PRODUCT FEATURES: A Umbrella holder Dual motor system and convenient remote control operation. ● B Umbrella holder base Folds down to a compact size. ● C Handle tube Remote control with direct drive system . ● D Upper bag bracket Downhill, uniform speed function. - Page 3 SETTING UP THE BUGGY Grey Button Fig.1 Fig.2 Fig.3 Insert the front wheel into the Then with one hand, tilt the buggy Release the elastic lower bag front fork as shown in Fig.3. The backwards and push the grey button support strap securing the frame, front wheel section is now to rotate the front fork (where the...
- Page 4 FOLDING DOWN THE BUGGY Button Groove Fig.9 Fig.8 Grey Lever Grey Push Button Fig.7 With one hand, tilt the buggy Place your thumb on the groove of the Unlock the Grey Lever and battery handle, and lift the battery upward, backwards and press the Grey Push fold down the handle until the until the battery is completely separated...
- Page 5 UNFOLDING THE BUGGY Grey Button Fig.13 Grey Lever Fig.15 Fig.14 Release the elastic lower bag supprt Unlock the Grey Lever and rotate the Press the Grey Button on the strap securing the frame, then hold handle upward to a suitable height, Front Fork and rotate the front the upper bag bracket with your hand, then tighten the Grey Lever, until the...
- Page 6 1.Indicator Light: Remote Control Handset Function -During normal use of the remote control, the indicator light is green and flashes rapidly when any button is pressed -When the remote control handset battery is low, the indicator light is red and flashes rapidly. -When the remote control handset is charging, the indicator light appears red and flashes.
- Page 7 Remote Control and Electricial Cart Function Instruction 1.Start up: -Connect the battery , press the power switch refer Fig. 20 and the power indicator light will illuminate. Now three flashing bars will show onthe display screen on the handle, which means the system has entered the test state. These flashing bar lights will continue to flash for about twenty seconds until the system test is completed and the screen flashes "0"...
- Page 8 ATTACHING THE UMBRELLA USING THE BUGGY HOLDER ON THE HANDLE FRAME MOUNTED UMBRELLA Fig.21 HOLDER 1.Simply attach the umbrella Fig.22 holder onto the buggy. The two large triangular bolts can be Pass the umbrella through the used to adjust the angle of the elasticised loop until the spike umbrella holder as per Fig.
-
Page 9: Free Wheel Mode
FREE WHEEL MODE Fig.27 In the unlikely event that your battery runs flat or if the display screen displays "L", which means that your Wheel battery is low or you need to activate the free wheel mode, follow these steps. Knob 1/ Rotate the rear wheel knob 90 °... - Page 10 REMOTE CONTROL HOLDER INSTALLATION Slot Fig.32 Fig.33 Fig.30 Fig.31 Place the remote control into the holder with the When installing the remote control holder,align the small lug on the holder with the slot on the mounting keyboard facing outwards as shown in Fig. 33. point as shown in Fig.
-
Page 11: How To Charge The Battery
HOW TO CHARGE THE BATTERY Insert the charger connector into the battery slot to charge the battery (NOTE: The raised Tag on the charger connector and the groove on the battery must be aligned on the same side. To check that the battery is fully charged, press the button on the battery, and once all indicators are illuniated, this means the battery is fully charged . - Page 12 11/6 THOMSON TERRACE INFO@STINGERGOLF.COM.AU DROMANA VIC 3936 03 5924 6056 WWW.STINGERGOLF.COM.AU...
Need help?
Do you have a question about the CROSS OVER SG-4 and is the answer not in the manual?
Questions and answers