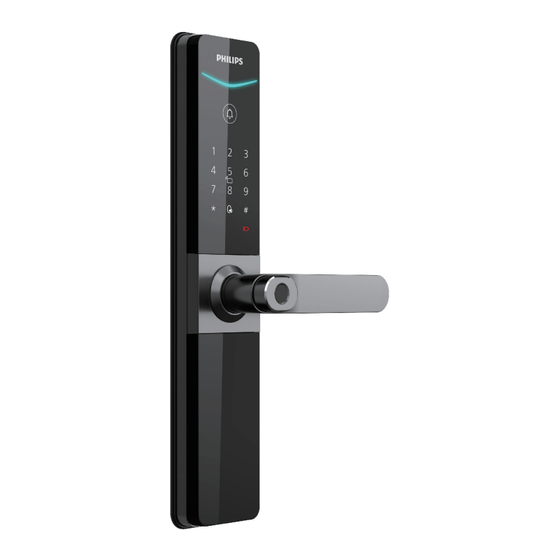
Philips EasyKey 6000 Series User Manual
Smart lever door lock
Hide thumbs
Also See for EasyKey 6000 Series:
- User manual (26 pages) ,
- User manual (23 pages) ,
- User manual (26 pages)
Table of Contents
Advertisement
Quick Links
Advertisement
Table of Contents

Subscribe to Our Youtube Channel
Related Manuals for Philips EasyKey 6000 Series


Summary of Contents for Philips EasyKey 6000 Series
-
Page 3: Table Of Contents
Contents 1. Important Information 6. Other features Safety Peephole break-in prevention Caution Mute mode Disposal of used locks and Factory reset batteries Doorbell 2. Assembly 7. Indicators Packing list Lock status indicator Exploded views Low battery indicator Notice before assembling System locking indicator Adjustable latch instructions Assembly steps... -
Page 4: Important Information
◆ Please do not attempt to forcibly disassemble component replacement is carried out by the product to trigger an alert or cause damage. Philips, a Philips authorized service center, or professional technicians. ◆ Please avoid using sharp objects to scrape the fingerprint sensor, as this may result in ◆... -
Page 5: Assembly
2 Assembly Packing list This packing list is for reference only. Please refer to the actual packing items. ① Exterior ② Interior ③ Drilling template ④ Mortise assembly with assembly with silicon pad silicon pad Easy Key Warr anty Quick S tart Easy Key Card Guide... -
Page 6: Exploded Views
Exploded views 10 10 12 12 11 11 14 14 13 13 15 15 Battery cover*1 Mounting plate*1 11. Lock cylinder*1 Battery cover screw*1 Mortise*1 12.Lock cylinder anchor screw *1 battery*8 8. Mortise anchor screw*4 13. Square shaft*2 4. M6 anchor screw*3 9. -
Page 7: Notice Before Assembling
Notice before assembling Step 1 | Door swing direction This product applies to doors with four opening directions: left-hand inswing, left- hand outswing, right-hand inswing, and right-hand outswing. Left-hand swing Right-hand swing Left-hand inswing Right-hand inswing Left-hand outswing Right-hand outswing Attention 1. -
Page 8: Adjustable Latch Instructions
Adjustable rear lever instructions Directional Directional screw plate base Loosen the two Rotate the lever Then, reassemble directional screws 180° to the correct the directional plate and take out the position. and tighten the two directional plate. directional screws. Step 3 | Adjustable latch instructions Push the latch bolt tumbler to the top. -
Page 9: Assembly Steps
Assembly steps The following assembly steps apply to the right-hand swing doors. For left-hand swing doors, please read through the [Notice before assembling] and adjust the latch direction first. To drill holes in the door according Align the lock cylinder into to the drilling template, mount the mortise, then tighten the mortise into the jamb, and... - Page 10 Align the mounting plate against Insert the assembly cables of the exterior the interior door surface, tighten assembly and mortise cables into their the screws, securing the exterior corresponding sockets. Then, assemble assembly. the spring and square shaft into the interior assembly accordingly.
-
Page 11: Get To Know Your Lock
3 Get to know your lock Exterior assembly Status indicator ① Doorbell ② Keypad ③ Key tag recognition area ④ Mute button ⑤ Lever ⑥ RES and power supply port ⑦ Keyway hole ⑧ Fingerprint sensor ⑨ Interior assembly Battery cover ①... -
Page 12: Settings
4 Settings Instructions before setting ◆The system modes include the general mode and dual verification mode. General mode: door can be opened using any enrolled access method. Dual verification mode: door can be opened using any two combinations of fingerprint, PIN code, or key tag. ◆User number You can delete a user's information by the user number without having to delete everything. -
Page 13: Master Mode
Master mode Settings Add a user PIN code Press the [*] key twice, enter the master PIN code, and then press the [#] key to confirm. Master PIN code After illuminating the keypad, without Press [1] to enter settings, then press [1] inputting any other numbers, press the [*] again to add a user. -
Page 14: Network Settings
Modify or add a master fingerprint Delete a user Press the [*] key twice, enter the master PIN Press the [*] key twice, enter the master PIN code, and then press the [#] key to confirm. code, and then press the [#] key to confirm. Press [1] to enter settings, then press [4] to Press [1] to enter settings, then press [6] to enter the option for adding or modifying... -
Page 15: Get To Use Your Lock
5 Get to use your lock Outdoor/ indoor unlock Outdoor unlock PIN code Fingerprint Key tag Fingerprint recognition area Touch Key tag keypad recognition area Press down Press down Press down the handle the handle the handle to unlock to unlock to unlock ①... -
Page 16: Outdoor/ Indoor Lock
Outdoor/ indoor lock Outdoor lock After closing the door, lift the lever upward to engage the latch bolt and complete the locking process. Indoor lock After closing the door, lift the lever upward to engage the latch bolt and complete the locking process. -
Page 17: Indoor Lockout
Indoor lockout When the smart lock is locked, push down and turn the thumb turn left or right to engage the indoor lockout (as shown in the left diagram). To disengage the indoor lockout, simply turn the thumb turn to the middle position. Mechanical key ①... -
Page 18: Other Features
6 Other features Peephole break-in prevention Function: Enabling this feature allows you to lock the lever from the inside, preventing indoor access to the door lock. How to use: 1. On: Toggle the peephole guard switch to the red position. 2. -
Page 19: Factory Reset
Factory reset Function: Empty all user data and restore to factory default settings. How to use: Double-press the [RES] button with a sharp object, which will erase all user information and restore the lock to its default settings. Doorbell Function: The indoor speaker plays a ding-dong sound, informing that someone is at the door. -
Page 20: Indicators
7 Indicators Status indicator Blue when the system wakes up, the indicator turns blue, indicating that the door lock is ready for operation. Green: when the door lock is unlocked, the Status indicator turns green, indicating that the indicator door has opened. Red: when the door lock is locked, the indicator turns red, indicating that the... -
Page 21: Troubleshooting
8 Troubleshooting Alert types Low battery alert Triggering: when the system awakens, it will automatically check the battery voltage. If the battery voltage is low, an alert will be triggered, prompting you to replace the battery promptly. Alert method: a voice prompt “Low battery, please replace the battery”... -
Page 22: How To Apply External Power Source
How to apply external power source When the battery voltage is low and you're unable to unlock the door from outside, you can use a 5V power bank as an emergency power source for the door lock. After unlocking the door, please replace the battery promptly. - Page 24 Philips and the Philips Shield Emblem are registered trademarks of Koninklijke Philips N.V. and are used under license. This product has been manufactured by and is sold under the responsibility of Shenzhen Conex Intelligent Technology Co., Ltd., and Shenzhen Conex Intelligent Technology Co., Ltd. is the warrantor concerning this...
Need help?
Do you have a question about the EasyKey 6000 Series and is the answer not in the manual?
Questions and answers