Advertisement
POWERSHADES
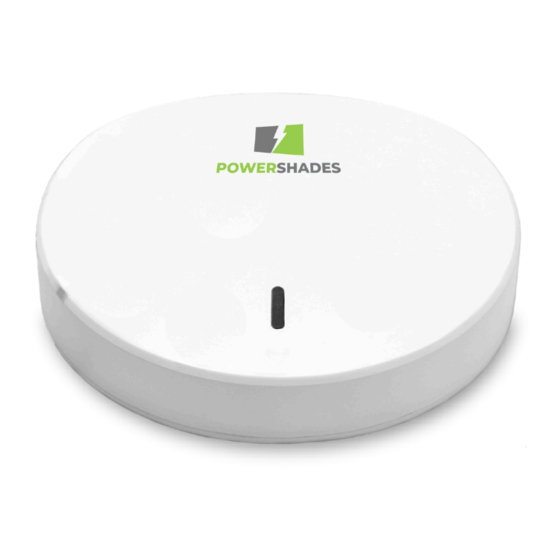
RF GATEWAY GEN 2 SET UP GUIDE
This guide follows setup using the PowerShades Dashboard, which is the recommended way to set up your RF Gateway GEN2. You
will use your login from the dealer portal in order to access your properties. Before setup, it is important to note that the RF Gateway
covers a range of approximately 30ft. A PowerShades RF Repeater is recommended to ensure connection across multiple rooms.
TABLE OF CONTENTS
BEFORE YOU BEGIN - 1
POWERSHADES
Advertisement
Table of Contents

Summary of Contents for POWERSHADES RF GATEWAY GEN 2
-
Page 1: Table Of Contents
RF GATEWAY GEN 2 SET UP GUIDE This guide follows setup using the PowerShades Dashboard, which is the recommended way to set up your RF Gateway GEN2. You will use your login from the dealer portal in order to access your properties. Before setup, it is important to note that the RF Gateway covers a range of approximately 30ft. -
Page 2: Before You Begin
BEFORE YOU BEGIN Before setup, you will need to give yourself (or anyone who will need it) access to the property. Log in to your PowerShades Dashboard and follow the steps below. Please note: When pairing it is important to only pair one gateway and one shade at a time. Operating other shades or gateways while pairing can cause channels to cross. -
Page 3: Rf Gateway Overview
2. If P1 held for 30 seconds, device will factory reset and wipe Network and RF (2-way) information as well as device names. 3. If P2 held for 5 seconds, It will reset Wifi and Ethernet to default settings. POWERSHADES... - Page 4 4. If green LED is “breathing” it means the device is in Access Point mode and waiting for Wifi setup. NOTE: WiFi unavailable if Ethernet is plugged in. LED STATUS CODES This table pertains to blink codes during normal operation, this does not apply when in RF Gateway Network Setup mode. POWERSHADES...
-
Page 5: Rf Gateway Setup Instructions
RF GATEWAY SETUP INSTRUCTIONS Once the Property is designated in the PowerShades Dashboard. You are ready to connect your RF Gateway to the network and begin the setup process. Follow these steps to for a quick and easy setup. RJ45 (8-PIN) STEP 1 5w PoE &... - Page 6 STEP 3 Navigate to the "Devices" tab at the top of the page. STEP 4 Select the "RF Gateways" tab under the selected property. POWERSHADES...
- Page 7 You have 30 channels per Gateway. Once you've finished assigning the shades, scroll down and click "Save RF Gateway". NOTE Make sure you do not have shades cross banks within the same room. All shades within a room should be on the same bank. POWERSHADES...
- Page 8 "Dashboard" at the top of the page. STEP 8 You will now need to pair the shades to the RF Gateway. This can be done by clicking the Shade Name you're wanting to pair, then selecting "Configure This Shade". POWERSHADES...
- Page 9 4. Once the motor has responded, press the P button on the remote again. The motor will respond with jogs. 5. Once the motor has responded again, click "Pair" on the PowerShades Dashboard. PAIR THE SHADE FROM THE MOTOR PROGRAMMING BUTTON Hold the motor head button for 2 seconds, the motor will jog once and beep once.
-
Page 10: Rf Gateway Local Installation - No Dashboard Connection (Advanced Setup)
Ensure your computer is using an IP address on the same network as your gateway. Open your browser and navigate to either of the following into your address bar: http://<Gateway IP Address> EXAMPLE: http://192.168.1.240 http://ps-<Last 8 digits of Serial Number> EXAMPLE: http://ps-79921043 POWERSHADES... -
Page 11: Network Settings
The gateway will apply the changes and restart. NOTE: If you have changed the IP address, you will need to navigate to that address in your browser to continue using the web server. POWERSHADES... -
Page 12: Device Configuration
Number and Device Name for the Gateway. Additionally, you can update the firmware on the gateway using a .bin file that can be obtained from the PowerShades Service Department. Additional Status messages can be viewed here, including the Network Status, RF Status and the RSSI value to the motor most recently commanded. -
Page 13: Rf Gateway Home Diagram
DIAGRAM 1. HOME WITH RF GATEWAY The PowerShades RF Gateway has a signal range that extends up to 30ft. The RF Gateway sends the signal to the RF motors using RF signals. The RF motors receive the command and act accordingly. To maximize signal range, ensure that the RF Gateway is placed centrally. - Page 14 DIAGRAM 2. HOME WITH RF GATEWAY AND RF REPEATER The PowerShades RF Repeater is a device used to extend the range and improve the signal strength of the RF Gateway. RF repeaters are primarily used when the signal between two devices (for example, a Gateway and a PowerShades motor) needs to travel over a longer distance than the original signal can reach effectively.
- Page 15 Placing a Gateway on each floor ensures that there is a dedicated communication point for the shades on that specific floor. In summary, having an RF Gateway on each floor of a large multi-floor home, coupled with strategically placed RF Repeaters, ensures that your PowerShades maintain reliable and consistent connectivity throughout the entire residence, offering an optimal user experience.
Need help?
Do you have a question about the RF GATEWAY GEN 2 and is the answer not in the manual?
Questions and answers