Subscribe to Our Youtube Channel
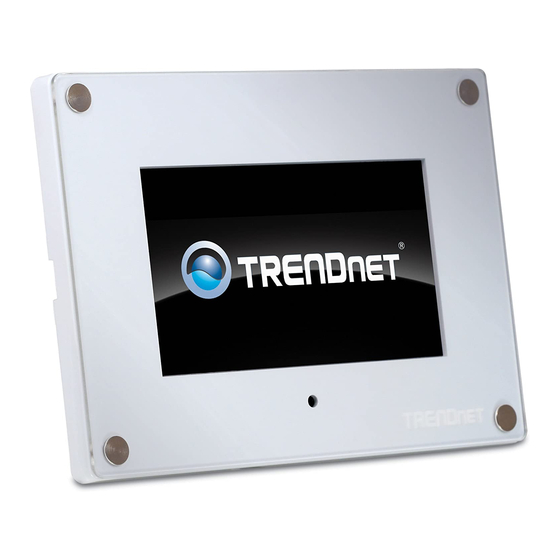
Summary of Contents for TRENDnet TV-M7
- Page 1 Quick Installation Guide TV-M7 H/W: A1...
-
Page 2: Table Of Contents
Table of Contents Table of Contents English ........................1 1. Before You Start .................... 2. Hardware Installation ..................3. Configure the Wireless Settings ..............4. Add IP Camera ....................5. Remote Control Function ................Troubleshooting ....................... Version 11.18.2008... -
Page 3: English
1. Before You Start Package Contents TV-M7 User Guide CD-ROM Quick Installation Guide AC Power Adapter (12V, 1.5A) Remote Control USB Cable (Type-A to Mini-B) 2 x Frame Design Plates Installation Requirements Wireless Router or Access Point An available DHCP Server – wireless routers usually have a built-in DHCP server Application 7”... -
Page 4: Hardware Installation
2. Hardware Installation 1. Connect the AC Power Adapter to the Digital Photo Frame and then to a power outlet. 2. Turn the Power Switch to the On position on top of the TV-M7. 3. Verify that the Pwr LED is green. -
Page 5: Configure The Wireless Settings
3. Configure Wireless Settings 1. The main menu will appear after you turn on the TV-M7. If the main menu does not appear, press Home on the remote control. Then press Setup. 2. Select Networking Setup using the down arrow on the remote control. - Page 6 5. Select the SSID for your wireless Network and then press Enter. 6. Press ESC. 7. Select Authentication Mode to select the encryption type (e.g. WEP, WPA-PSK, WPA2-PSK). 8. Select Key (WEP) or Pre-Shared Key (WPA-PSK/WPA2-PSK) to enter your encryption key. English...
- Page 7 9. Select Apply Settings using the down arrow on the remote control. Then press Enter. 10. Press ESC to exit out of Setup. 11. Verify that the LINK LED is blinking green. English...
-
Page 8: Add Ip Camera
4. Add IP Camera Note: 1. The TV-M7 supports the following IP Cameras: TV-IP110, TV-IP110W, TV -IP212, TV-IP212W, TV-IP312, TV-IP312W, TV-IP410, TV-IP410W, TV-IP422 and TV-IP422W. All other IP cameras are not supported. 2. Make sure both the TV-M7 and your IP cameras(s) have IP address in the same subnet. -
Page 9: Remote Control Function
5. Remote Control Function Button Function Enter Main Menu screen HOME SETUP Enter Setup screen SNAPSHOT Take snapshot in IP CAM view. Snapshots are saved in internal memory. Exit Sub Menu PHOTO/MUSIC Play Slideshow UP ARROW Navigate Up LEFT ARROW Navigate Left Navigate Right RIGHT ARROW... - Page 10 Note: For detailed information regarding the TV-M7 configuration and advanced settings, please refer to the Troubleshooting section, User's Guide on the Utility CD-ROM, or TRENDnet's website at http://www.trendnet.com. Register Your Product To ensure the highest level of customer service and support, please take a moment to www.trendnet.com/register...
-
Page 11: Troubleshooting
Please verify that you have an available DHCP server on your network. Can I change the design of the frame? Yes you can. Please go to www.trendnet.com to download the frame design files and instructions. If you still encounter problems or have any questions regarding the TV-M7, please contact... - Page 12 Certifications This equipment has been tested and found to comply with FCC and CE Rules. Operation is subject to the following two conditions: (1) This device may not cause harmful interference. (2) This device must accept any interference received. Including interference that may cause undesired operation.
- Page 13 Product Warranty Registration Please take a moment to register your product online. Go to TRENDnet’s website at http://www.trendnet.com/register 20675 Manhattan Place Torrance, CA 90501 Copyright ©2008. All Rights Reserved. TRENDnet.


Need help?
Do you have a question about the TV-M7 and is the answer not in the manual?
Questions and answers