
Related Manuals for Teamson Home VNF-00065


Summary of Contents for Teamson Home VNF-00065
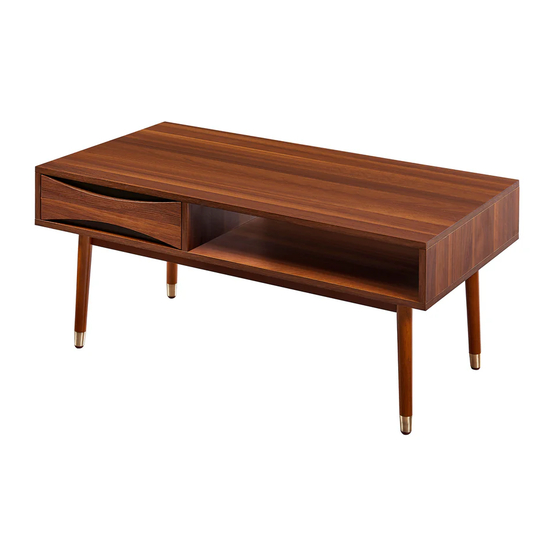
- Page 1 Extended Warranty Sign Up Welcome home! VNF-00065 TEAMSON HOME Versanora-Dawson Coffee Table Walnut www.teamson.com...
-
Page 2: Warranty
Warranty All components are warranted by the manufacturer for a period of 30 days after the date of purchase by the original owner against defects in materials & workmanship under normal use. If it is appropriate to replace your product due to specific defects, the manufacturer will replace the purchase with the same product or a comparable product. - Page 3 ** Got questions? Please have your product code (on the first page of this instruction, e.g. TD-12345A) and the order number ready, give us a call or email us through our customer care support! We are always ready to assist you!
- Page 4 Exploded Drawing Scan for assembly instructions.
- Page 5 Product Parts 1 PC 1 PC 1 PC 1 PC 1 PC 1 PC 1 PC 1 PC 1 PC 1 PC 1 PC 4 PC Scan for assembly instructions.
- Page 6 Hardware 8 PCS 8 PCS 16 PCS 4 PCS 8 PCS 8 PCS 8 PCS 1 PC 6 PCS Care Instructions Dust surface with a dry soft cloth. Do not use window cleaners or cleaning abrasives as they will scratch the surface and could damage the protective coating WARNING Small parts and sharp edges may...
- Page 7 Step 1 2 PCS 2 PCS 4 PCS 4 PCS Insert camlock, Gently screw cambolt connect to second panel Gently screw the cam arrow must face into the threaded anchor by inserting cambolt into clockwise into locked position. bolt hole holes Do not overtighten.
- Page 8 Step 2 6 PCS 6 PCS 6 PCS Scan for assembly instructions.
- Page 9 Step 3 Scan for assembly instructions.
- Page 10 Step 4 Scan for assembly instructions.
- Page 11 Step 5 Scan for assembly instructions.
- Page 12 Step 6 Scan for assembly instructions.
Need help?
Do you have a question about the VNF-00065 and is the answer not in the manual?
Questions and answers