Table of Contents
Advertisement
Quick Links
Advertisement
Table of Contents

Subscribe to Our Youtube Channel
Related Manuals for Sinclair S-THERM SR-100


Summary of Contents for Sinclair S-THERM SR-100
- Page 1 08-2024 SR-100 S-therm remote...
-
Page 3: Table Of Contents
Table of contents INFORMATIONS ......................4 SAFETY RECOMMENDATIONS ................4 INFORMATION ABOUT DOCUMENTATION ............. 4 APPLIED SYMBOLS ....................4 INSTALLATION ......................5 ELECTRICAL CONNECTION ..................6 CONFIGURATION....................10 REMOTE ACCESS TO THE DEVICE VIA THE WEBSITE ........16 TECHNICAL SPECYFICATION ................17 STORAGE AND TRANSPORT CONDITIONS ............ -
Page 4: Informations
1. Informations The SR-100 S-therm remote internet module is intended for: wireless cooperation with a WiFi router - connection to the local WiFi, wireless cooperation with a mobile device: – S-therm service mobile application (only via BT connection), –... -
Page 5: Installation
5. Installation Attention. If the mounting frame is attached to the rear housing of the module (the frame is attached with latches), it should be disconnected by inserting a flat element, e.g. a screwdriver, into the slot indicated below. Before installing the module, write down the FN factory number, e.g. 1006194719, located on the label plate, which will be necessary for configuration. -
Page 6: Electrical Connection
The uninstallation described in point. 12 6. Electrical connection The module only works with selected types of ONTARIO and YUKON heat pumps. Information is available from the heat pump manufacturer. When connecting the wires of the transmission and power cables, pay attention to the appropriate polarity of the D+, D- and power supply GND, VCC signals between the module, the control panel and the external power supply. - Page 7 The YUKON heat pump connection. The transmission cable should be connected directly to the H1, H2 socket of the heat pump control panel (first disconnect the rear cover protecting the control panel) and to the D+, D- socket of the module. Attention. After connecting the transmission cable to the control panel socket, replace the rear panel cover.
- Page 8 The ONTARIO heat pump connection. The transmission cable marked with the letters D+, D-, previously connected to the module, should be connected to the heat pump main controller, using the socket in the control panel marked with the letters A1B1 - connect D+ and A1 and D- and B1, respectively.
- Page 9 S-therm remote – Manual ed.1.0...
-
Page 10: Configuration
7. Configuration Configuring the connection to the WiFi network requires installing the S-therm service mobile application for Android (only from system version 8.0) and iOS and configuring the WiFi network via this application. During configuration, the installed application on the mobile device requires a permanent BT wireless connection to the module and is intended only for BT connection. - Page 11 https://www.s-thermremote.com S-therm remote – Manual ed.1.0...
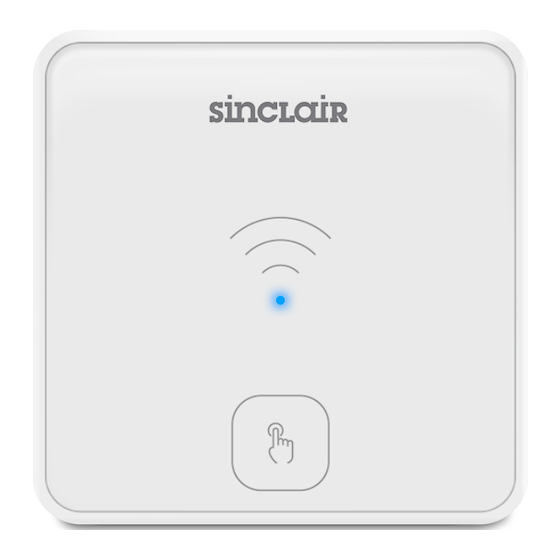
- Page 12 Module configuration: 1. After turning on the module power supply, the module is in BT mode by default, which is indicated by the LED flashing blue. When the LED flashes green, hold down the module's button for approx. 5 sec. to enable the module's BT mode. Otherwise, the module's LED signaling means: Flashes green Active connection to the WiFi and no connection to the...
- Page 13 4. Search in the “Device choice” for the SN factory number (factory number read from the module label plate, e.g. 1007794386) and select the module you want to configure. 5. Add a “Modbus” device (heat pump) by selecting the "Add device" option. Before adding the device, check the Modbus address of the heat pump in the heat pump service settings menu - by default the Modbus address is set to „1”.
- Page 14 6. Configure the heat pump "locally" from the User settings/Service settings - only optional. The description of the heat pump operation is available in the main heat pump manual. 7. Add the installation to the installer account (“Add to S-therm remote” button) to gain remote access to the installed heat pump.
- Page 15 After the invitation sent by the installer to the user, an additional window appears asking about the WiFi manual configuration– select “YES” and enter the SSID and password of the WiFi network. ATTENTION - the module only connects to a 2.4 GHz WIFI IEEE 802. 11 B/G/N network. 9.
-
Page 16: Remote Access To The Device Via The Website
8. Remote access to the device via the website Log in to the https://www.s-thermremote.com website or use the S-Therm remote mobile application. Android S-therm remote S-therm remote During configuration, the installed mobile application on the mobile device requires a permanent connection to the WiFi network and is designed only for WiFi connection. -
Page 17: Technical Specyfication
2. The installation has been successfully added to the installer/service technician account. In the case of a correctly configured WiFi and a correctly installed installation by the user (legal consent required), the service technician/installer/manufacturer has the ability to enter and supervise the user's installation. 9. -
Page 18: Uninstallation
12. Uninstallation To disconnect the module from the mounting surface, insert a flat element, e.g. a screwdriver, into the slot indicated below. This will unclip the mounting frame latches and allow you to disconnect the module. Removal of the cable requires rotating the conductor of the cable while pulling it out of the self-clamp, with the self-clamp latch depressed at the same time, e.g., with a flathead screwdriver in the appropriate place of the self-clamp, as shown below. - Page 19 S-therm remote – Manual ed.1.0...
- Page 20 S-therm remote – Manual ed.1.0...
- Page 21 S-therm remote – Manual ed.1.0...
Need help?
Do you have a question about the S-THERM SR-100 and is the answer not in the manual?
Questions and answers