Advertisement
Do you have a question about the WD-K6 and is the answer not in the manual?
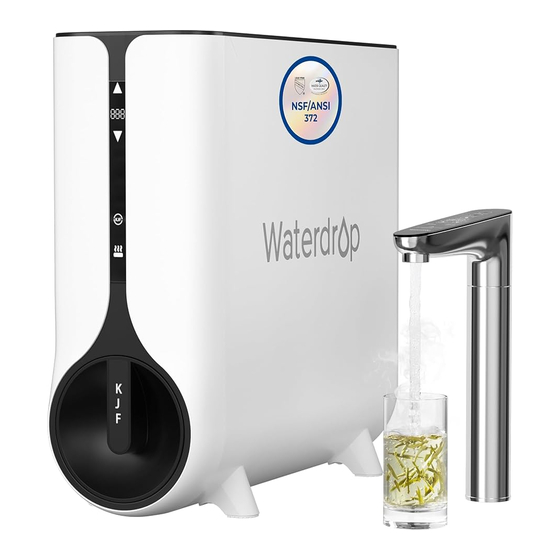
The temperature display for hot water mode suddenly disappeared. The water is still hot, but there is no display of the water temperature throughout.


Need help?
Do you have a question about the WD-K6 and is the answer not in the manual?
Questions and answers
The temperature display for hot water mode suddenly disappeared. The water is still hot, but there is no display of the water temperature throughout.