Advertisement
Quick Links
IMPORTANT: Please read all instructions before beginning installation. These guidelines are provided in good faith to help prevent any issues arising from errors during
installation. The manufacturer of this product shall not be held responsible for any user actions taken or not taken during installation. There are many details of the installation
that are assumed to be general mechanical knowledge to experienced installers; which are not detailed in these instructions. These installation guidelines are intended to serve
as professional recommendations and are not as a step-by-step, fail-safe installation checklist. Selection of an experienced installer is the sole responsibility of the project owner.
TOOLS NEEDED: 4mm hex drive bit, 5mm hex drive BIT
disclaimer: please refer to the victron manual for any technical details pertaining to the controller.
refer to your battery to determine charge profile settinGs
the sequence of operations are as follows:
[1] connect '12v in' (from battery to charge hub)
[2] download 'victron connect' app and program controller to desired settings
*the default passcode is six zero's -
[3] connect 'solar in' (from solar panel to charge hub)
[4] connect accessories to '12v out' (load output)
©Copyright 2024 KC HiLiTES, Inc. 59-00040IM_REV2
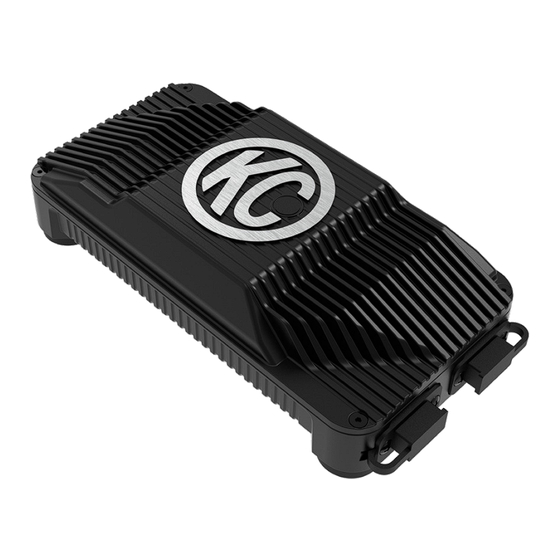
SOLAR CHARGE HUB SETUP
000000
1
connect your 12v battery source to the '12v in' sae port on the charge hub. this
will power on the unit and allow you to connect to it via the victron connect
app.
KC SOLAR CHARGE HUB
INSTRUCTION MANUAL
#5002
Advertisement

Summary of Contents for KC HiLiTES ADVENTURE FURTHER 5002
- Page 1 [2] download ‘victron connect’ app and program controller to desired settings app. 000000 *the default passcode is six zero’s - [3] connect ‘solar in’ (from solar panel to charge hub) [4] connect accessories to ‘12v out’ (load output) ©Copyright 2024 KC HiLiTES, Inc. 59-00040IM_REV2...
- Page 2 ENJOY YOUR NEW KC solar charge hub (POWERED BY VICTRON) AND DON’T FORGET TO victron will often have firmware updates, so be sure to check in every so often ADVENTURE FURTHER! on your system health. ©Copyright 2024 KC HiLiTES, Inc. 59-00040IM_REV2...
- Page 3 ©Copyright 2024 KC HiLiTES, Inc. 59-00040IM_REV2...
- Page 4 THE REAR OF THE PANEL HAS TWO ADJUSTABLE KICKSTANDS THAT ALLOW YOU TO TILT AND IN THE ‘VICTRON CONNECT’ APP, CONNECT TO THE CHARGE HUB TO KEEP AN EYE ON HOW POSITION THE PANEL INTO DIRECT SUNLIGHT. YOUR SYSTEM IS DOING. HAPPY ADVENTURING! ©Copyright 2024 KC HiLiTES, Inc. 59-00040IM_REV2...
Need help?
Do you have a question about the ADVENTURE FURTHER 5002 and is the answer not in the manual?
Questions and answers