
Related Manuals for ORISON T31665

Summary of Contents for ORISON T31665
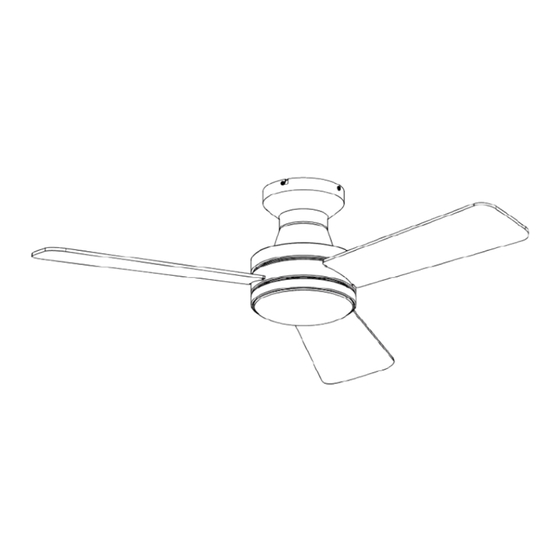
- Page 1 Ceiling Fan T31665 USER MANUAL T31665 Installation Video Thanks for Choosing Your support means everything to us. We hope you enjoy our products as much as we enjoyed creating them.
-
Page 2: Table Of Contents
03 BEFORE INSTALLATION 04 ASSEMBLING THE CEILING BRACKET & CANOPY 05 ASSEMBLING THE BLADES 06 ASSEMBLING THE LIGHT KIT 07 HANGING YOUR CEILING FAN 9-10 08 USING YOUR CEILING FAN 11-14 09 CLEANING AND MAINTENANCE 10 TROUBLESHOOTING 11 ORISON CUSTOMER CARE... -
Page 3: Important Safety Instructions
18. All wiring must be in accordance with national and local electrical codes ANSl/NFPA 70. lf you are unfa- miliar with wiring, use a qualified electrician. Orison smart fan... -
Page 4: Specifications
TROUBLESHOOTING or Power Supply 110V -285V 60HZ contact our customer support if it shows any of the following signs: Rated Power - Components or parts are damaged. Remote Control Battery AAA 1.5V *2 - Loud noise or unusualsmel. Orison smart fan... -
Page 5: Package Contents
Wood Screw X 4 Expansion Bolt X 2 (for wood ceiling) (for concrete ceiling) Blade Screw X 9+1(extra) Junction Box Screw X2 Wire Connector Cap X 3 (for junction Box) Remote Control Remote Control Remote Control Holder Instruction Card Orison smart fan... -
Page 6: Before Installation
floor WARNING:Check the outlet box You must be able to secure the fan to building structure or fan-rated outlet box. It is recommended to have a patner when installing the ceiling fan. Orison smart fan... -
Page 7: Assembling The Ceiling Bracket & Canopy
Securing to existing ceiling fan-rated outlet box. Make sure it is securely installed and is acceptable for fan support of 15.9kg (35lbs) or less. Blades Light Kit Ceiling Bracket Hanging the Ceiling Fan Orison smart fan... - Page 8 Make sure to drill the holes in a horizontal line parallel to each other. ASSEMBLING THE CANOPY 1. Connect the canopy with the ceiling fan body. 2. Tighten the three screws in place using a screwdriver. Accessories Required Canopy screws Blades Light Kit Ceiling Bracket Hanging the Ceiling Fan Orison smart fan...
-
Page 9: Assembling The Blades
Follow the above two steps to complete the assembly of the remaining two blades. NOTE: Follow the instructions on the blade carefully. Incorrect installation could result in the fan not functioning properly. Ceiling Bracket Light Kit Blades Hanging the Ceiling Fan Orison smart fan... -
Page 10: Assembling The Light Kit
Rotate the light kit clockwise to securely fasten it into place. Note: Make sure that you hear a distinctive "click" when fastening the light kit in place. Ceiling Bracket Ceiling Bracket Blades Hanging the Ceiling Fan Light Kit Orison smart fan... -
Page 11: Hanging Your Ceiling Fan
2. Connect the black (ungrounded) wire from the ceiling to the black wire from the fan. 3. Connect the three grounding wires (green, green/yellow stripe, or bare copper) coming from the ceiling,downrod, and hanging bracket. Ceiling Bracket Blades Ceiling Bracket Light Kit Hanging the Ceiling Fan Orison smart fan... - Page 12 Align and secure the previously removed fourth screw with the oval-shaped slot on the ceiling bracket. Tighten the four screws in place using a screwdriver. Ceiling Bracket Blades Light Kit Hanging the Ceiling Fan Ceiling Bracket Congratulations! You are ready to use your ceiling fan Orison smart fan...
-
Page 13: Using Your Ceiling Fan
Light Power Button on your remote for 3 seconds to pair it. lf applicable, the fan will turn on and the lights will flash and stay on for three seconds, along with a continuous beep to indicate successful pairing. Orison smart fan... - Page 14 · lf applicable, the fan will turn on and the lights will flash and stay on for three seconds, along with a continuous beep to indicate successful pairing. Note: Each fan can only be paired with one remote control at a time. When a new remote is successfully paired, it will override the previous remote’s code. Orison smart fan...
- Page 15 5 seconds, tap the The steps may vary due to App update. bottom left button to start pairing. Follow the App instruction to complete the setup. A beep sound indicates a successful pairing process ‘beep’ Orison smart fan...
-
Page 16: Additional Features
Press the nature wind button on the remote control to enjoy a simulated wind mode with randomly changing wind speeds. RGB Ambient Lighting Press the color switch button to change the ambient color and match the mood. Orison smart fan... -
Page 17: Cleaning And Maintenance
Shut off the main power supply before you begin any maintenance task. DO NOT use water or a damp cloth to clean the fan. Cleaning products may damage the finishes. Orison smart fan... -
Page 18: Troubleshooting
Make sure the blades are properly installed. Noisy Operation Check to see if any of the blades are cracked. If so, replace all of the blades. If your problem is not listed or still persists, please contact our Customer Support (see page 17). Orison smart fan... -
Page 19: Orison Customer Care
Defects caused by or resulting from damages from shipping or from repairs, service, or alteration to the product or any of its parts that have been performed by a repair person not authorized by ORISON. We can only provide after-sales service for products that are sold by ORISON or ORISON authorized retail- ers and distributors. -
Page 20: Looking For Help
www.orisonsmarthome.com Looking for help? Contact us to get expert support. orisonsmarthome@gmail.com orisonsmarthome.com Mon - Fri,9:00 am -5:00 pm PST/PDT...
Need help?
Do you have a question about the T31665 and is the answer not in the manual?
Questions and answers
Is the T31665 ceiling fan UL/ETL listed?