
Related Manuals for Axor One 48489 1 Series


Summary of Contents for Axor One 48489 1 Series
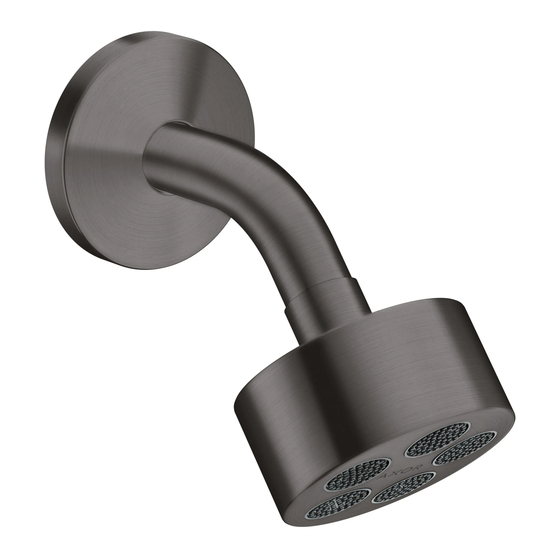
- Page 1 ® AXOR One™ Showerhead EN Installation / User Instructions / Warranty 48489XX1 FR Instructions de montage / Mode d'emploi / Garantie 48497XX1 48498XX1 ES Instrucciones de montaje / Manejo / Garantía I N S T A L L A T I O N...
-
Page 2: Safety Notes
E N G L I S H SAFET Y NOTES INSTALLATION CONSIDERATIONS W A R N I N G : To avoid the risk of product ⁄ Read over these instructions thoroughly before beginning failure, propert y damage, and personal installation. -
Page 3: Données Techniques
F R A N A I S CONSIGNES DE SÉCURITÉ À PRENDRE EN CONSIDÉRATION POUR L’INSTALL ATION Afin d’éviter les risques AVE RT I S S E M E N T de défaillance du produit, de dommages ⁄ Veuillez lire toutes ces instructions avant de procéder à matériels et de blessures corporelles, l’installation. -
Page 4: Indicaciones De Seguridad
E S P A Ñ O L INDICACIONES DE SEGURIDAD CONSIDERACIONES PARA L A INSTAL ACIÓN ADVERTENCIA: Para evitar el riesgo de falla ⁄ Antes de comenzar la instalación, lea estas instrucciones del producto, daño a la propiedad y lesiones detenidamente. - Page 5 AXOR One Showerhead TOOLS REQUIRED / OUTILS REQUIS / 48489XX1 HERRAMIENTAS ÚTILES 48497XX1 48498XX1 17 mm 5⅝" ¼" (6 mm) ½" 4⅝"...
- Page 6 I N S T A L L A T I O N / I N S T A L L A T I O N / I N S T A L A C I Ó N The shower arm requires a properly anchored drop-ear ell and an NPT male nipple.
- Page 7 Install the mounting plate on the thread. Mark the positions of two screw holes. WARNING: Do not position the screw holes over any pipes in the wall. Installez la plaque de montage sur le filetage. Marquez les positions des deux trous de vissage. AVERTISSEMENT : Ne positionnez pas les trous de vis sur aucune conduite dans le mur.
- Page 8 Install the anchors. Seal the wall around the anchors and the mounting thread using waterproof sealant. CAUTION: Failure to seal the wall can result in water damage. Installez les chevilles. Scellez le mur autour des chevilles et du filetage de mon- tage à...
- Page 9 Slide the escutcheon onto the arm. Wrap the threads on the shower arm with plumber's tape. Install the shower arm. Tighten using a strap wrench. Faites coulisser l’écusson sur le bras. Enroulez les filets sur le bras de douche à l’aide de ruban de plomberie.
- Page 10 R E P L A C E M E N T P A R T S / P I È C E S D É T A C H É E S / R E P U E S T O S AXOR One Showerhead...
-
Page 11: M A I N T E N A N C E / E N T R E T I E N / M A N T E N I M I E N T O
M A I N T E N A N C E / E N T R E T I E N / M A N T E N I M I E N T O Prevent the buildup of mineral Empêchez l’accumulation de Evite la acumulación de restos scale and /or soap residue... - Page 12 M A I N T E N A N C E / E N T R E T I E N / M A N T E N I M I E N T O 17 mm scale remover détartrant commercial desincrustante comercial >...
-
Page 13: Troubleshooting
T R O U B L E S H O O T I N G SYMP TOM POS S I BL E C AUS E R ECOM M EN D ED AC T ION — Not a problem with the shower head —... -
Page 14: Localización De Fallas
L O C A L I Z A C I Ó N D E F A L L A S SÍN TOMA C AUSA P OS I BL E AC C IÓN R ECO M EN DA DA — No es un problema del cabezal de —... - Page 15 C L E A N I N G R E C O M M E N D AT I O N F O R H A N S G R O H E P R O D U C T S Modern bathroom faucets, kitchen faucets and shower products are made from different materials to comply with the needs of the market with regard to design and functionality.
- Page 16 IMP ORTA NT ⁄ Les residus de produits pour le corps comme les savons liquides, shampooings, gels de douche, teintures pour cheveux, parfums, apres-rasage et vernis a ongles peuvent causer des deteriorations. Rincez le produit avec de l’eau propre après chaque utilisation.
- Page 17 Hansgrohe, Inc. company philosophy. We offer consumers a limited warranty on our hansgrohe and AXOR branded products. (ii) any hansgrohe or AXOR product sold for display purposes or (iii) ® ® hansgrohe or AXOR products purchased from unauthorized sellers.
- Page 18 PROD UC T IN STRUCTIO N S AN D Q UEST IO N S WHICH THE PRODUCT IS INSTALLED, ABUSE, NEGLECT OR IMPROPER OR INCORRECTLY PERFORMED INSTALLATION, MAINTENANCE OR REPAIR, INCLUDING THE USE OF Upon purchase or prior to installation, please carefully inspect your ABRASIVE OR CAUSTIC CLEANING AGENTS OR “NO-RINSE”...
- Page 20 AXOR ⁄ Hansgrohe, Inc. 1490 Bluegrass Lakes Parkway Alpharetta, GA 30004 Tel. 800-334-0455 Fax 770-889-1783 axor-design.com...
Need help?
Do you have a question about the One 48489 1 Series and is the answer not in the manual?
Questions and answers