Advertisement
Advertisement
Table of Contents

Related Manuals for ripples RIPPLE MAKER II

Summary of Contents for ripples RIPPLE MAKER II
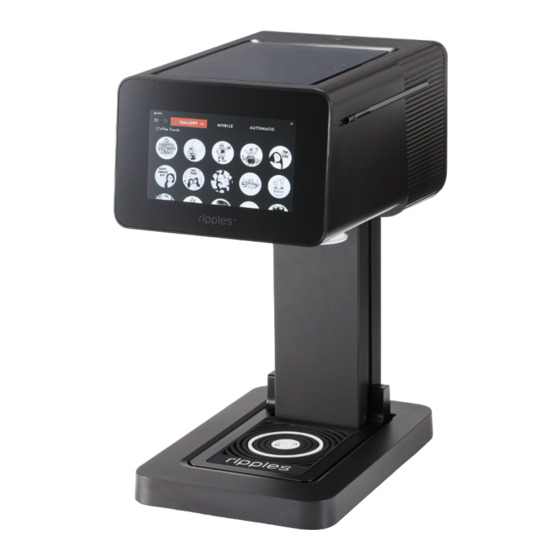
- Page 1 Powered RIPPLE MAKER II & RIPPLE MAKER II PRO GUIDE...
- Page 2 PRINTING ON DRINKS Choose your own creation or from a list of pre-defined designs Pre-defined designs Ensure the glass is placed in the Simply select the channel of Choose your desired design and Enjoy! center of the tray within the choice from the drop-down menu press to print white circle.
- Page 3 CUSTOMISE YOUR DRINK Watch the YouTube Tutorial Click Here. Customize your own drink through the Web App with a photo Custom designs Next step is to choose Once you upload You can also pinch the best filter, Scan the QR code associated with the your photo you can the image to make it Select the “Photo”...
- Page 4 CUSTOMISE YOUR MACARON – 1/2 Customize your own Macaron through the Web App Custom designs Choose how many Select which Macaron to Select “Create my Scan the QR code associated with Select the Macarons you customize. Note the own” or you can the Ripple Maker ll and go to the Macaron icon want to customize...
- Page 5 CUSTOMISE YOUR MACARON – 2/2 Customize your own Macaron through the Web App A help screen will Select the text tile Change your font, Repeat the process appear if you are and double click pinch in and out to Review all 3 of for the rest of the unsure, click “Got it”...
- Page 6 CUSTOMISE YOUR DRINK Watch the YouTube Tutorial Click Here. Customize your own drink through the Web App with text Custom designs You can also pinch Keypad should pop up, Double tap the the image to make it enter your desired text Scan the QR code associated with “Your Text”...
- Page 7 SETTINGS FOR DRINKS – OPTION 1 Follow the below settings for the best ripples on drinks Click on the “Settings” Set your preferred cup size here Unclick the “Auto” Select the “Printing” tab tab in the menu list button under “Print as your default size.
- Page 8 SETTINGS FOR DRINKS – OPTION 2 If you wish to change the size of a single print, follow the below instructions Long tap/hold on the Select “Print”. Note that only Select the preferred size you Select “Cancel” if you design you wish to print this print will change the size.
- Page 9 SETTING YOUR POD TYPE Here you can set your default Pod type for Ripple Maker II Pro versions Click on the “Settings” Here you can now select your Make sure the “Multi- Select the “Printing” tab tab in the menu list color”...
-
Page 10: Daily Maintenance
DAILY MAINTENANCE We recommend doing this daily as it helps with optimizing print quality Follow the onboard messages Click on the 3 lines to Click on “Daily and ensure the drip tray is Select the “Maintenance” access the “Menu” Maintenance” rinsed and placed back. - Page 11 RIPPLE MAKER II – Watch the REPLACING THE POD YouTube Tutorial Click Here RIPPLE MAKER II PRO– Watch the YouTube Tutorial Click Here Follow the steps below to correctly change the POD Follow the onboard Select the “POD Open the menu and prompts and click Replacement”...
-
Page 12: Updating Content
UPDATING CONTENT This shows how to update and/or sync content Allow a few seconds to Click on the “Settings” Click the “Sync” Select the “Content” tab update. You should tab in the menu list button to sync now have an updated the latest sync time. -
Page 13: Connectivity Settings
CONNECTIVITY SETTINGS Follow the below settings to connect to a network Select the “Connectivity” Type in the password, Click on the “Settings” Scroll to find the tab and click the “Change” then click “Connect” tab in the menu list desired network button and click “Connect”... - Page 14 CONNECTIVITY SETTINGS Connecting to a hidden network, follow the below steps Select the “Connectivity” Type in the network Click on the “Settings” Scroll to the tab and click the “Change” name and password, tab in the menu list bottom and click button then click “Connect”...
-
Page 15: Print Quality
PRINT QUALITY How to improve your print quality Click on the Select the “Print Quality” tab and Scroll through the onscreen Run another test print “Maintenance” tab in the click the “Start Test Print” button examples to find your issue, to see if the issue has menu list (make sure you have a cup with... - Page 16 REPORTS How to manually check your print numbers on the Ripple Maker II Click on the “Reports” Here you can manually view Toggle to “Month” Click the previous tab in the menu list your print numbers by day to view the weeks in arrow to view the in the “Week”...
- Page 17 TRAINING Training on all things Ripple Maker right from your Ripple Maker screen. Scan the QR code and follow Click on the new Click through the Select your desired training the link, this will now direct “Training” tab in the options to the section you to our Help Centre with...
-
Page 18: Contact Support
CONTACT SUPPORT If you need any extra assistance, please contact support Simply click on the “About” button to access support contact details Either scan the QR code to open a WhatsApp conversation, click on the “Open a service call” button or email to contact support support@drinkripples.com Click here for Full Contact Details... - Page 19 THANK YOU...
Need help?
Do you have a question about the RIPPLE MAKER II and is the answer not in the manual?
Questions and answers