Table of Contents
Advertisement
Quick Links
ChamSys MQ100 Series Service Document
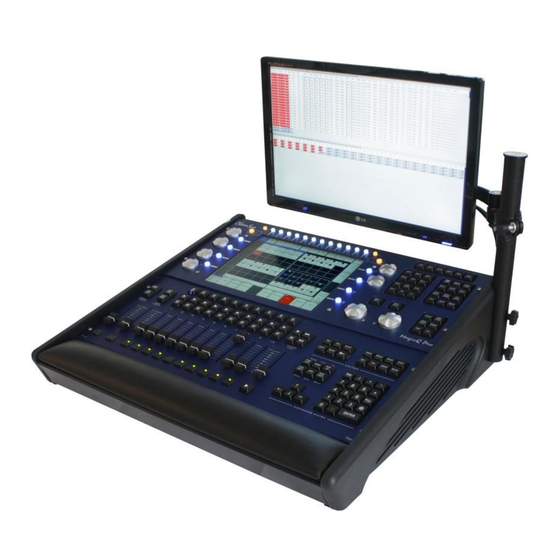
ChamSys MQ100 Series
Console Service Document
This manual covers the MQ100 series of consoles.
MAINTENANCE SHOULD BE CARRIED OUT BY EXPERIENCED AND
QUALIFIED PERSONNEL ONLY
WARNING – LIVE 240V AC. DISCONNECT MAINS BEFORE
PERFORMING ANY MAINTENANCE
Page 1 of 22
www.chamsys.co.uk
Advertisement
Table of Contents

Related Manuals for ChamSys MQ100 Series


Summary of Contents for ChamSys MQ100 Series
- Page 1 ChamSys MQ100 Series Service Document ChamSys MQ100 Series Console Service Document This manual covers the MQ100 series of consoles. MAINTENANCE SHOULD BE CARRIED OUT BY EXPERIENCED AND QUALIFIED PERSONNEL ONLY WARNING – LIVE 240V AC. DISCONNECT MAINS BEFORE PERFORMING ANY MAINTENANCE Page 1 of 22 www.chamsys.co.uk...
-
Page 2: Section 1: Testing To Determine Faults
ChamSys MQ100 Series Service Document Section 1: Testing to determine faults. All ChamSys consoles contain built-in hardware tests to help diagnose any faults that may occur. To access these tests on any MagicQ console, first power on the console. The board test mode can then be accessed using one of two methods. -
Page 3: Section 2: Servicing An Mq100/200/300 Console
2.5mm Allen key or ball driver Opening the Back Panel: The back panel of the MQ100 series consoles is removed in the same way throughout the range: by unscrewing 9x M4x10 black screws using a PZ2 screwdriver. There are three each side and three along the bottom, as indicated below. - Page 4 ChamSys MQ100 Series Service Document With all MQ100 series consoles, on the top left is the fan. The fan should not be obstructed, as this will interfere with the cooling of the console. Below the fan is the solid-state drive (SSD), which is connected to the main processor card. This is an industrial grade processing board, which is responsible for the running of the console.
- Page 5 ChamSys MQ100 Series Service Document DC Card for original Expert series consoles: The function of the DC card is to deal with power distribution, and provide connections to other parts of the console. The DC card features five on board connectors: A.
- Page 6 ChamSys MQ100 Series Service Document DC Card for Pro2014 Series Consoles: The Pro2014 is the final iteration of the MQ100 consoles, including an updated rear panel and DC card. This updated DC card has slightly different connections to the original DC cards, as listed below.
-
Page 7: Connecting The Display
ChamSys MQ100 Series Service Document Connecting the Display: The screen is connected by a black header on the transition card mounted on top of the processor card. It is vital to ensure that the connected is orientated the correct way, as wrong connection will damage the screen. - Page 8 ChamSys MQ100 Series Service Document Removing the lower access panel: On the bottom of all MagicQ MQ100 series consoles is an access panel. This is best viewed by placing some kind of protective material under the back of the console (e.g. foam or bubble wrap), and tilting the console up onto its back as pictured, right.
- Page 9 Replacement faders, encoders and encoder/fader knobs can be purchased from ChamSys. See the end of this document for contact details. Page 9 of 22 www.chamsys.co.uk...
-
Page 10: Removing The Front Panel
ChamSys MQ100 Series Service Document Removing the Front Panel: To remove the upper front panel metalwork panel, remove the 8x M4 butthead fixings using a 2.5mm hex key or ball driver. See the image below for locations of fixings on both panels. - Page 11 ChamSys MQ100 Series Service Document The first step in removing the lower front panel metalwork is to remove the fader knobs, as described previously. The arm rest should also be first removed. Once these have been removed, the four securing screws in the lower front panel can be removed using either a 2.5mm hex key/ball driver on Pro series style consoles, or old...
- Page 12 ChamSys MQ100 Series Service Document The Front Panel PCB: The front panel PCB (Printed Circuit Board) is attached to the chassis by 8x M4 spacers as pictured below. These can be removed using a 7mm nut driver tool or spanner. There are also 3x M4x10 screws with shake-proof washers at the bottom of the PCB.
- Page 13 ChamSys MQ100 Series Service Document On the top left-hand side of the PCB are four low-res encoders (encoders A-D). To the right of these are four soft buttons, followed by the LCD screen with touch panel, four more soft buttons and two more low-res encoders (E and F). On the right of these are the window buttons, and below these are the two hi-res encoders (X and Y).
- Page 14 The power leads can simply be pulled off by carefully pulling on the red tabs (some consoles may vary in tab colour). The battery has a life of approx. 3-4 years under optimum conditions. Replacement batteries can be purchased from ChamSys or your local distributor. Page 14 of 22 www.chamsys.co.uk...
- Page 15 ChamSys MQ100 Series Service Document Re-assembling the console: To start with, reconnect the all front panel connectors. The PCB can then be placed back onto the chassis and the spacers tightened using a 7mm nut driver. In order for the front panels to fit on correctly, the PCB must be pushed as far left as possible.
-
Page 16: Section 3: Resolving Some Common Issues
ChamSys MQ100 Series Service Document Section 3: Resolving some common issues. Below are some common issues that can appear on an MQ80 console and how to solve these, including replacing faders, encoders, and keys. Replacing faders: Faders can naturally wear down with use and may end up needing replacement if noise is being experienced, or they feel scratchy, or unusually loose. - Page 17 ChamSys MQ100 Series Service Document Replacing cherry switches: To replace a cherry switch on the console you will first need to carefully remove the key cap. Do this by carefully lifting it with either a key cap removal tool, or 2x small flat head screwdrivers, as pictured. Use gentle force equally on each side to lift the key cap.
-
Page 18: Section 4: Magicq Console Fault Finding
ChamSys MQ100 Series Service Document Section 4: MagicQ Console Fault Finding Here are some common faults that could be experienced with a console, but solvable without the need of hardware repairs by following the tips below. No output from the console:... -
Page 19: Section 5: Resetting Or Restoring The Console
ChamSys MQ100 Series Service Document • Pressing CTRL 9 on an external keyboard – this resets the front panel. • Pressing CTRL 0 on an external keyboard – this resets the MagicQ application. • Pressing CTRL BREAK on the external keyboard – this shuts down the console. -
Page 20: Section 6: Backup Archives And Log Files
Please email the log files and show files to support@chamsys.co.uk Note: To provide more accurate logs to the ChamSys team, please enable extended logging on the desk under Setup > View Settings Hardware. -
Page 21: Section 7: Upgrading Console Software
ChamSys MQ100 Series Service Document Section 7: Upgrading Console Software New versions of MagicQ console software are made available on the downloads page of the ChamSys website – www.chamsys.co.uk/download There are different versions of the MagicQ software available. If the console is a Pro2014 version, download the MagicQ console software installer from the website, which ends with the extension .cdc. -
Page 22: Section 8: Re-Imaging A Pro2010 Console Ssd
7. Once this has finished, disconnect the SSD from your PC and re-fit this into the MQ100 console If you are experiencing any issues with a console that are not covered in this document, or have any further questions, please contact ChamSys support for more information. Tel: +44 (0)2380 238 666 Email: support@chamsys.co.uk...
Need help?
Do you have a question about the MQ100 Series and is the answer not in the manual?
Questions and answers