Advertisement
Quick Links
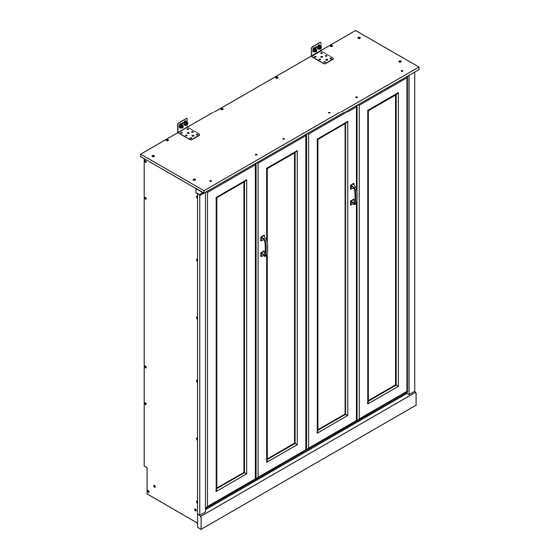
Murphy bed
Assembly Instructions - Please keep for future reference
Important – Please read these instructions fully before starting assembly
WF531469AAK , WF531470AAK
WF531471AAK , WF531469AAD
WF531470AAD, WF531471AAD
Three people are required to
assemble and move this model.
ZG-076#,ZG-079#Issue 1 - 04/16/24
Advertisement

Related Manuals for Aosom Murphy WF531469AAK


Summary of Contents for Aosom Murphy WF531469AAK
- Page 1 Murphy bed WF531469AAK , WF531470AAK Assembly Instructions - Please keep for future reference WF531471AAK , WF531469AAD WF531470AAD, WF531471AAD Three people are required to assemble and move this model. Important – Please read these instructions fully before starting assembly ZG-076#,ZG-079#Issue 1 - 04/16/24...
- Page 2 Part List Hardware list : WF531469AAK/WF531469AAD 1 PC 1 PC 2 PCS 1 PC 1 PC 1 PC 2 PCS 1 PC 1 PC 1 PC Hardware 1 PC 1 PC 1 PC 1 PC 1 PC Part List WF531470AAK/WF531470AAD 1 PC 1 PC 1 PC...
- Page 3 Part List WF531471AAK/WF531471AAD 1 PC 1 PC 1 PC 1 PC 1 PC 1 PC 1 PCS 4 PCS 12 PCS...
- Page 4 Assembly Instructions...
-
Page 5: Part List
Part List Hardware list : WF531469AAK/WF531469AAD Please check you have all the panels listed below Note: The quantitie below are the correcet amount to complete the assembly. In some cases more fittings may be supplied than are required. Male Camlock x 22 Female Camlock x 22 Dowel x 31 Magnetic bump x 2... -
Page 6: Important Warnings
Using Camlocks Step 1 Step 2 Step 3 Step 4 Important information to read before starting the assembly. Keep this information for future reference. IMPORTANT WARNINGS Risk of serious injuries if the wall bed tips over. To prevent wall bed from tipping over, mount it permanently to the wall. Only a qualified person* must carry out the installation and any possible adjustment of the wall bed (including disassembly). - Page 7 Assembly Instructions Step 1 A x 4 C x 8 Step 2...
- Page 8 Assembly Instructions Step 3 A x 6 C x 13 Step 4 A x 12 C x 10...
- Page 9 Assembly Instructions Step 5 B x 12 Step 6 J x 24...
- Page 10 Assembly Instructions Step 7 D x 14 E x 1 Step 8 K x 6...
- Page 11 Assembly Instructions Step 9 B x 6 Step 10 D x 8 E x 1...
- Page 12 Assembly Instructions Step 11 T x 4 Step 12 T x 4...
- Page 13 Assembly Instructions make sure the tube with mattress stopper holes is Step 13 in the head position and the tube without any holes are in the foot part. after you assemble the frame, T x 8 take the measurement to ensure X=Y (X)=(Y)...
- Page 14 Assembly Instructions Step 15 Step 16 K x 24...
- Page 15 Assembly Instructions Step 17 T x 28 Step 18 O x 4 P x 1 S x 4 U x 4 The outside hydraulic , the thin metal rod The inside hydraulic , pointing downwards the thin metal rod pointing upward Outside...
- Page 16 Assembly Instructions Step 19 Z x 2 Carton Box Carton Box Carton Box Step 20 R x 2...
- Page 17 Assembly Instructions Step 21 V x 2 E x 1...
- Page 18 Assembly Instructions Step 22 O x 2 P x 1 1.Push the door to the bottom 2.Push the door forward a little, let the Cylinder rod cover the screw head INSERT CYLINDER ON ITS STEM must be completely tightened Adjust the distance of the door,let the Step 23 Cylinder rod cover the screw head O x 2...
- Page 21 WALL ANCHORING REQUIREMENTS & INSTALLATION RECOMMENDATIONS Important information to read before starting the assembly. Keep this information for future reference. IMPORTANT WARNINGS Risk of serious injuries if the wall bed tips over. To prevent wall bed from tipping over, mount it permanently to the wall. Only a qualified person* must carry out the installation and any possible adjustment of the wall bed (including disassembly).
- Page 22 Assembly Instructions Step 24 ATTENTION: For safety and stability, we suggest you have to secure the anti tip accessories to the wall to prevent tipping, injury, and property damage. WALL WALL ( 1 ) WALL WALL drilling hole Ø10x80mm ( 2 ) WALL (...
- Page 23 Assembly Instructions Step 25 I x 2 J x 12...
- Page 24 Assembly Instructions Step 26 E x 1 O x 4 Q x 4 Y x 1 Step 27 W x 24 X x 12...
- Page 25 Assembly Instructions Step 28 Step 29 F x 2...
- Page 26 Assembly Instructions Step 30 Step 31...
- Page 27 Assembly Instructions Step 32 L x 28 Step 33...
Need help?
Do you have a question about the Murphy WF531469AAK and is the answer not in the manual?
Questions and answers