Advertisement
Quick Links
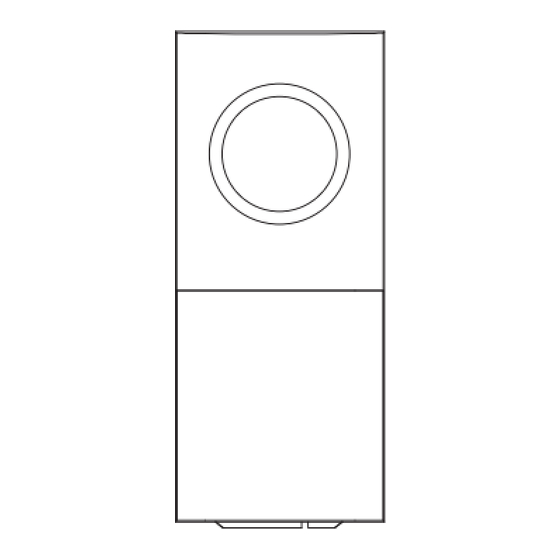
PRODUCT FEATURES
Bell push
Button
Blue indicator light
Name plate
1
BATTERY INSTALLATION
Bell push
Back plate
3. Insert a coin into the slot on the battery cover and turn
anti-clockwise to remove. Insert 1 x CR2032 button cell battery,
ensuring it is positive (+) side up. Refit the battery cover, ensuring
the 'O' ring is in position.
A wireless + bell push will work with all wireless + door chimes. A
maximum of 8 bell pushes can be paired to the same chime unit. To
add an extra bell push repeat the pairing procedure with the new bell
1. Insert a flathead screwdriver
push.
under the tab on the bottom of
the bell push to lift it slightly.
2. Hold the back plate still and
slide the bell push upwards to
separate
Test the bell push in its intended locations before you fix it in place.
The operating range will be reduced if the bell push is mounted on
metal or double uPVC door frames. Electrical/wi-fi equipment and the
number of walls between the bell push and the chime unit will also
reduce the operating range.
1. Adhesive pad
2
PAIRING
INSTALLATION
2. Screws
3
Advertisement

Summary of Contents for Uni-Com 68457
- Page 1 PRODUCT FEATURES BATTERY INSTALLATION PAIRING Bell push Bell push A wireless + bell push will work with all wireless + door chimes. A maximum of 8 bell pushes can be paired to the same chime unit. To add an extra bell push repeat the pairing procedure with the new bell 1.
- Page 2 Standby power consumption: <5μA Operating Instructions Hereby Uni-Com delcares that the radio equipment type door chime is in compliance with Radio Equipment Regulations 2017 (SI 2017/1206) and Directive 2014/53/EU. The full text...
Need help?
Do you have a question about the 68457 and is the answer not in the manual?
Questions and answers