Advertisement
Advertisement
Table of Contents

Summary of Contents for Ezriderz Z
- Page 1 Assembly Manual USER’S MANUAL...
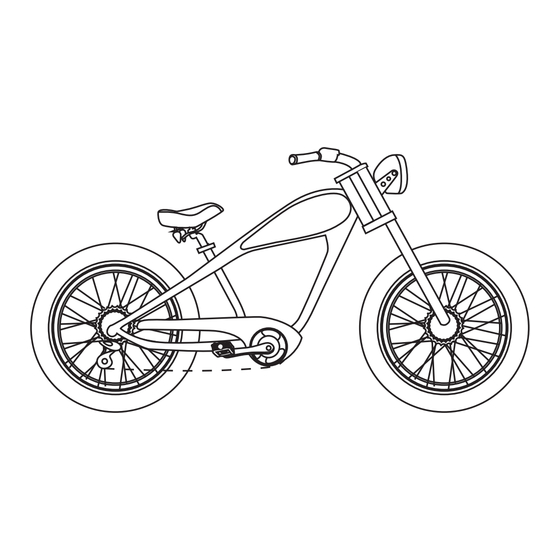
- Page 2 Get more information about warranty and return policy on Page 16. Open the carton box and take out your Z bike carefully. The package has following items: FRONT...
-
Page 3: Install Handle Bar
Install Handle Bar Loosen the bolts to put handle bar in between. Use the reserved 4 bolts to install handle bar as picture shown. Adjust handle bar angle and fasten the 4 bolts one by one to 20N.M. - Page 4 headlight frame Install Head Light Use reserved bolts and bushing to install head light. Adjust height and angle, then fasten all the bolts. Connect the light power cable.
-
Page 5: Install Front Wheel
Install Front Wheel Make sure the brake disc is placed in the center of caliper gap and front wheel can rotate freely without any noise. When the brake disc is not in the gap, DO NOT pull brake lever. -
Page 6: Install Pedals
Install Pedals Use the pedal marked with an “L” on the left side and the right pedal marked with an “R” on the right side (side with drivetrain gears). The right-side pedal has a right-hand thread (removes counterclockwise, installs clockwise); the left side pedal has a left-hand thread (removes clockwise, installs counterclockwise). - Page 7 Insert, Remove or Adjust Saddle Height...
- Page 8 Charge Battery before Your First Ride *On charger adapter, red light stands for charging, while green light stands for charging finished.
- Page 9 If you are not going to use the battery for long time, take out the battery out of your ezriderz ebike, and store it with 50% battery left. Do not use battery when it has less than 10% capacity left.
- Page 10 Power ON/OFF your battery Beside the charging port, you’ll find a separate switch to power ON/OFF your battery. Make sure switch on before your ride, and off after ride. It helps protect the battery from draining itself.
- Page 11 controller receiving error KM/H 00100 120.6Km TRIP Head Light Control On the handle bar, there is a separate switch for head light. Push the button down to: Downside: Low Beam Upside: High Beam Don’t forget to switch off the light and battery when you finish riding. This operation helps a lot with your battery lifetime.
- Page 12 Walking mode Error code controller receiving error KM/H Current speed Odometer 00100 Battery status 120.6Km Trip PAS level Mode TRIP LCD Brief Manual To switch on the eBike system, Press power button on handle bar. Same way to shut off. After switching on the eBike system, you can press Set button to switch between ...
-
Page 13: Troubleshooting
Troubleshooting If there are errors about the electronic control system, the error code will appear automatically. Error Code Definition Solution Current error or MOS damaged Replace controller Disconnect throttle wire(located in controller box, or in front of handle bar if the bike has water Throttle Abnormality proof quick release... - Page 14 Disconnect 2 brake lever wires(located in front of handle bar to see whether the ERROR code Brake Abnormality disappears. If yes, replace the brake lever and reconnect brake lever wire to controller. Fully charge the Under voltage battery Do not block motor Motor stalling from rotating freely communication controller...
- Page 15 EZRIDERZ LIMITED WARRANTY To make a warranty claim always keep handy the vehicle model, date of purchase, vehicle serial number as well as information from the retailer where you purchase the vehicle from. The warranty is limited to the terms listed below: Motor and controller: 1 year for parts.
- Page 16 If the warranty is void for any reason the customer shall bear any repair or replacement costs resulting from vehicle misuse, negligence or abuse. Always follow care and preventive maintenance procedures Always keep receipts from any services performed to the vehicle by an authorized distributor or service center.
- Page 17 Led headlights, brake drums or disc rotors and pads etc. Other components such as tires, tubes, saddle, racks, baskets may be used from market-ready or compatible products previous approval from the retailer or manufacturer. findus@ezriderz.com.au Get more information of promotion, coupon and new product launch at: ezriderz.com.au Instagram: ezriderz_choppers...
Need help?
Do you have a question about the Z and is the answer not in the manual?
Questions and answers