Table of Contents
Advertisement
Quick Links
Read this manual carefully, it contains important safety information.
Models sold in and used in California:
The removal or modification of evaporative emission-related parts
on this OHRV is illegal. Violators may be subject to civil and/or
criminal penalties as provided under California and federal law.
OW N E R'S
M A N UA L
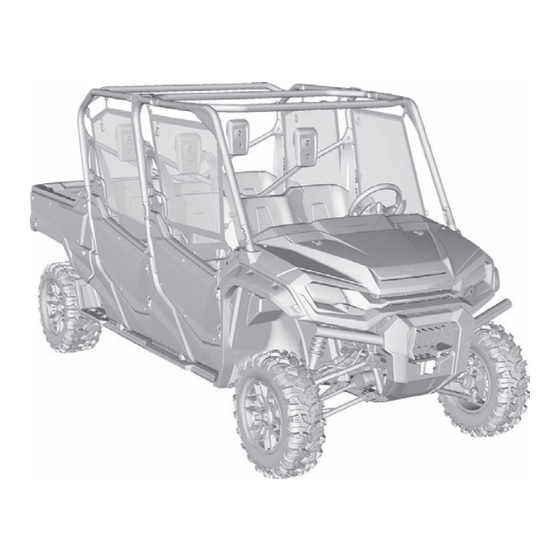
2023 PIONEER 1000
CREW
Minimum recommended operator age: 16
Mfg. #
Advertisement
Chapters
Table of Contents


Need help?
Do you have a question about the PIONEER 1000 CREW 2023 and is the answer not in the manual?
Questions and answers
My Honda pioneer 1000 is stuck in first gear. Seat belt is hooked in.
If your Honda Pioneer 1000 Crew 2023 is stuck in first gear even with the seat belt hooked in, it may be due to a transmission issue. When the gear position is blinking, the vehicle allows driving only in that specific gear. This can happen if the emergency valve was not properly tightened or if the transmission is not functioning correctly. Follow the emergency valve reset procedure:
1. Turn the ignition OFF and stop the engine.
2. Remove the rear mudguard lid.
3. Loosen the bolt, release the lock plate, and turn the emergency valve all the way in.
4. Retighten the bolt and lock plate.
5. Reinstall the rear mudguard lid.
6. Turn the ignition to START and restart the engine.
7. Check the gear position display.
If the problem continues, drive slowly in low-range (L) to avoid damaging the clutch and contact your dealer.
This answer is automatically generated