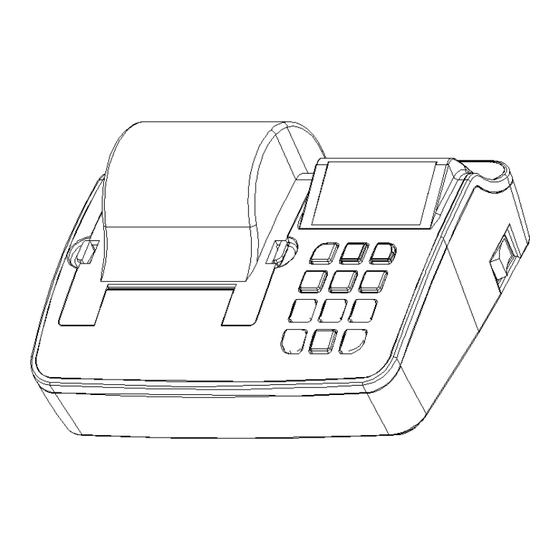
Summary of Contents for AND AD-720Di
-
Page 1: Table Of Contents
AD-720Di DOT MULTI PRINTER Multi Printer User Manual CONTENT Product Configuration 1-1 Product Components 1-2 Product Specifications 1-3 Possible Product 1-4 Product Size 1-5 Detailed Name 1-6 Explanation of paper change Explanation of function 2-1 Explanation of general function key 2-2... -
Page 2: Product Configuration
Multi Printer Multi Printer Product Configuration 1-3 Possible product 1-1 Product Components Company Model This product is included as the content as below. Balance, Scale SARTORIUS CP4201, BP410 Printer Test paper AD Series, BW Series, CI Series, CUW/CUX Series, MW Series Power code OHAUS Adventurer Series, Explorer Series... -
Page 3: Detailed Name
Multi Printer Multi Printer Explanation of paper change 1-5 Detailed Name 1-6 ① Don’t send data to printer, when you change your papers. [ Front ] ② Put up the cover while grapping both sides of fix laver. Paper Cover LCD State Display Paper Cover Fix Laver Power Switch... -
Page 4: Explanation Of Function
- In the turning on print, press “2”key to move date setting mode. "ENT" (Setting) You can use it only printer setting mode - Date setting is from 00 of 2000 to 99 of 2099 and use 0 ~ 9. To save setting item (Display) - Page 5 2-2-5. Various key print - In the turning on print, press “3”key for 1~2 seconds to move “PRINT MODE” setting. - In the print mode setting, use “▲” and “▼” buttons to change print mode. [ At printing key, measuring data printing ]...
-
Page 6: Explanation Of Printer Setting Method
This function is in turning power OFF printer turn ON the print with holding down below keys. This key provide printer setting and printer condition and hex dump function. This function is to set printing method and connection of data and communication of printer and an After finishing function, turn power OFF printer. - Page 7 Multi Printer Multi Printer Function set order and setting method When the printer power ON UNIT "ESC" Push button (Press for about 3 seconds) ※ The setting up unit is possible 1 KEY 2 KEY 3 KEY In the part balance selection .
-
Page 8: Explanation Of Detailed Printer Function
BAUDRATE - Baud rate setting The printing possibility the weight value is a stability. - Second line is baud rate value in the screen and “ ” is current When you only press “PRINT” key, print weight in the electronic MANUAL 2 printer setting value. - Page 9 SAVE? E Are not printed by “PRINT” key in the printer mode. At this case, press "ENT" key. Display Ex) - If button is wrong , press “ESC” key and back to screen in EXT. KEY EXT. KEY EXT. KEY the beginning .
- Page 10 AND this is the same with the GLP mode. ( Good Laboratory Practice.) Storing as NET value. It prints date about GLP and has Brand name, model, serial number , ID Third weight data save in ‘TARE’ value.(not print) number , date , time and sign blanks of electronic scale.
-
Page 11: Communication Interface
Multi Printer Multi Printer FORM 3 Tare value of weighing data save by "7" key and realize 'NET' in order Communication Interface from next data, print GROSS/TARE/NET. Press “7” key to save first weighing data. (not print) Connector = D-SUB 9 MALE After, weighing data makes print by print key "0"... - Page 12 3-4 External input pin specifications This signal is available printing by outside switch contact in connecting serial interface. This function can be supported by D-SUB connector and external input port. Contact method way of Relay, Switch, Photo-coupler contact method. 3-4-1. To connect D_SUB connector...


Need help?
Do you have a question about the AD-720Di and is the answer not in the manual?
Questions and answers