Advertisement
Quick Links
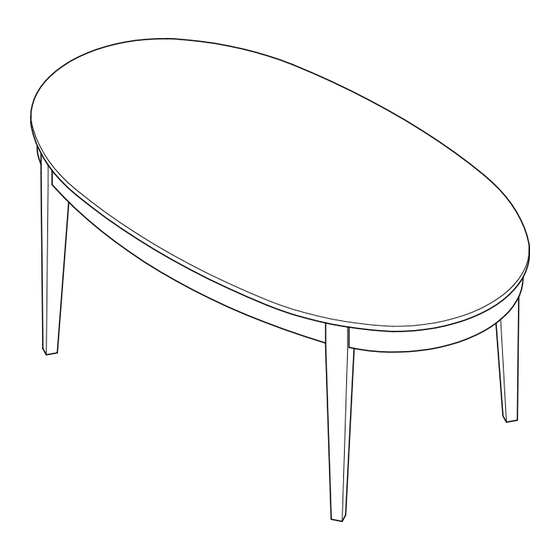
Akari - Oval Fixed Dining Table
Assembly Instructions
SCHREIBER
Dimensions
Width - 180cm
Depth - 100cm
Height - 75cm
Important
- Please read these instructions fully before starting assembly.
If you need help or have damaged or missing parts, call the Customer Helpline: 08456 400800
IW-17-8300-014-R2
- Please keep for future reference
138/5968
Issue 1 - 28/03/13
Advertisement

Summary of Contents for Aros AKARI 138/5968
- Page 1 Akari - Oval Fixed Dining Table Assembly Instructions - Please keep for future reference 138/5968 SCHREIBER Dimensions Width - 180cm Depth - 100cm Height - 75cm Important - Please read these instructions fully before starting assembly. If you need help or have damaged or missing parts, call the Customer Helpline: 08456 400800 IW-17-8300-014-R2 Issue 1 - 28/03/13...
- Page 2 Safety and Care Advice Important - Please read these instructions fully before starting assembly. • Check you have all the • Do not stand or put weight on • We do not components and tools listed on the product, this could cause recommend the pages 2.
- Page 3 If you have damaged or missing components, Components - Panels call the Customer Helpline: 08456 400800 Please check you have all the panels listed below Table top Leg x 4 (180 x 100cm) (6.4 x 73.1cm) Components - Fittings Please check you have all the fittings listed below Note: The quantities below are the correct amount to complete the assembly.
- Page 4 Assembly Instructions Step 1 Fitting dowels Insert cross dowel into the hole on top of each leg Note: Ensure the horizontal marking on each cross dowel is facing out as shown. Screw 2 threaded bolts into the two holes on the bevel of each leg Tighten threaded bolts into the holes of cross...
- Page 5 Assembly Instructions Step 2 Attaching legs Lay table top on a flat, stable, clean and soft surface. Attach each leg into place by inserting bolts into the pre-drilled holes of wooden corners as shown. Insert flat washers lock washers and hex nuts onto the two threaded bolts...
- Page 6 Akari - Pair of Chairs Assembly Instructions - Please keep for future reference 143/9357 144/8520 SCHREIBER Dimensions Width - 45.2cm Depth - 55.75cm Height - 88cm Important - Please read these instructions fully before starting assembly. If you need help or have damaged or missing parts, call the Customer Helpline: 08456 400800 IW-17-2447E-R2-K4I2/AVIS-T1K-R1 Issue 1 - 24/05/13...
- Page 7 Safety and Care Advice Important - Please read these instructions fully before starting assembly. • Check you have all the • Do not stand or put weight on • We do not components and tools listed on the product, this could cause recommend the page 2.
- Page 8 If you have damaged or missing components, Components - Panels call the Customer Helpline: 08456 400800 Please check you have all the panels listed below Components - Fittings Please check you have all the fittings listed below Note: The quantities below are the correct amount to complete the assembly. In some cases more fittings may be supplied than are required.
- Page 9 Assembly Instructions Step 1 Fitting dowels Screw 2 steel dowels into the inset fittings that are located on back leg frame as shown. Note: Ensure the direction of the holes on fittings are facing correctly as per diagram. Do not over tighten. Step 2 Fitting dowels Screw 2 steel dowels...
- Page 10 Assembly Instructions Step 3 Attaching aprons Position aprons onto back leg frame as shown. Note: Ensure steel dowels and wooden dowels are aligned correctly with mating holes to avoid damage. Ensure end of aprons are flush with back leg frame Insert 2 grub screws into aprons shown.
- Page 11 Assembly Instructions Step 5 Placing seat pad. Place seat pad a flat, stable, clean and soft surface as shown. Lower the constructed chair frame onto seat pad as shown. Note: Ensure wooden locator block is inside front leg frame shown.
- Page 12 Assembly Instructions Step 6 Fixing seat pad. Insert 2 seat brackets into the slots on aprons shown. Note: Align holes on seat brackets with holes on seat pad Insert 2 bolts into the holes of seat brackets and the holes of mating seat pad shown.
Need help?
Do you have a question about the AKARI 138/5968 and is the answer not in the manual?
Questions and answers