Advertisement
Quick Links
Installation Instructions:
1. Put the generator in stop mode.
2. Disconnect the positive battery terminal.
(Do not reconnect the positive battery
terminal until step 14.)
3. Using the magnetic mounts, mount the
One Link inside of the generator enclosure
close to the controller. (Be sure the
mounting location is away from weather
exposure.)
4. Connect the ring connector on the bare
red
wire of the battery wiring harness to the
positive (+) battery terminal.
5. Connect the ring connector on the bare
black
wire of the battery wiring harness to
the negative (-) battery terminal.
6. Route the
brown
the One Link I/O cable to the battery wiring
harness installed in steps 4 and 5.
7. Using one of the included lever wire
connectors, connect the bare
from the battery wiring harness to the
wire from the One Link I/O cable.
8. Using one of the included lever wire
connectors, connect the bare
the battery wiring harness to the
from the One Link I/O cable.
wire and
blue
wire from
black
red
wire from
brown
1 (888) 366-7886
wire
blue
wire
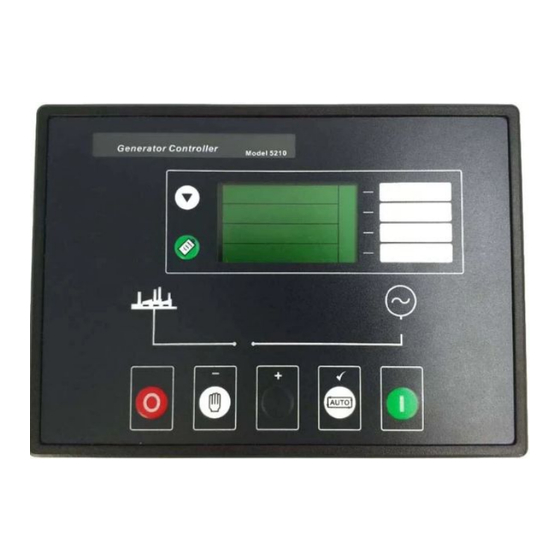
DSE 5210
Installation Guide
One Link v3/v3b
Panel:
Parts List:
OLM003B
OLSC005
Advertisement

Related Manuals for One Link DSE 5210


Summary of Contents for One Link DSE 5210
- Page 1 OLM003B 6. Route the brown wire and blue wire from the One Link I/O cable to the battery wiring harness installed in steps 4 and 5. 7. Using one of the included lever wire connectors, connect the bare black wire...
- Page 2 flathead screwdriver. 14. Reconnect the positive battery terminal to the battery. At this time the One Link will power up and begin communicating with the generator. Please allow 5-10 minutes for the One Link to establish a connection to the internet. Check...
Need help?
Do you have a question about the DSE 5210 and is the answer not in the manual?
Questions and answers