
Summary of Contents for ScaleBlaster SB-250
- Page 1 Installation & Operations Manual SB-250, SB-350, SB-450 & SB-650 Commercial Electronic Descaler 115/230 VAC (Auto Selected)
-
Page 2: Product Warranty Information
Commercial - 5 YEAR LIMITED WARRANTY All commercial ScaleBlaster electronic descaler products carry a full five (5) year warranty to be free from defects in material and ® workmanship under normal use from the date of purchase. In the event of malfunction or failure of this product, the purchaser should contact their dealer for service. -
Page 3: Table Of Contents
® SB-250, SB-350, SB-450 or SB-650 1) One ScaleBlaster control box. 2) One roll of 18 gauge (SB-250) or 12 gauge (SB-350, SB-450 and SB-650) signal wire. (length to be determined by specific application, pipe size, and pipe material.) 3) Three long nylon cable ties. These ties aid in securing the cable to the pipe. -
Page 4: C) Site Survey
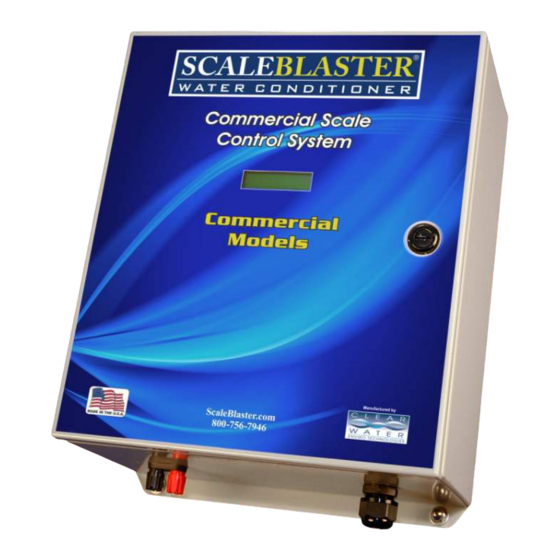
C.) Site Survey Basic overview - Installation of the ScaleBlaster commercial model involves mounting the power box /computer on a wall near an electrical outlet and a signal cable that is wrapped around the incoming water supply line going to the building or equipment (boiler, chiller, laundry, dishwasher, etc.). You will need to locate a section of straight pipe of about 18 inches, and a location to mount the control box that is near an electrical outlet. - Page 5 Clearwater Enviro Tech for assistance. The ScaleBlaster unit has a 115 VAC power plug on the end of the cord. If the outlet is 230 VAC, you can simply remove the power plug and wire it to the power source.
-
Page 6: D) Mounting The Power Box
1.) Carefully strip off 2" (51mm) of the outer rubber shield from one of the ends of the signal cable. Tighten the bare wires together to get rid of any stray strands. 2.) Unscrew one of the two receptacle posts located on the ScaleBlaster power box / computer. It does not matter if you use the red or black receptacle first. - Page 7 IT IS IMPERATIVE TO WRAP THE COIL THE CORRECT NUMBER OF TIMES. PLEASE SEE CHART BELOW FOR CORRECT NUMBER OF WRAPS. UNIT TYPE Pipe Type Pipe Size Type of Coil Wire Gauge Wraps SB-250 Copper Pipe 2" Double SB-250 PVC/PEX 1.5" Single...
-
Page 8: F) Powering Up The Control Box / Computer
When the unit is operating normally it will show the screen below. (SB-250) The Scanning Frequency Screen to the left indicates the unit is functioning correctly and is sweeping the full frequency range of the calcium resonance. When the SB-350, SB-450 and SB-650 are operating normally they will alternate between the two screens shown.
Need help?
Do you have a question about the SB-250 and is the answer not in the manual?
Questions and answers