Advertisement
Quick Links
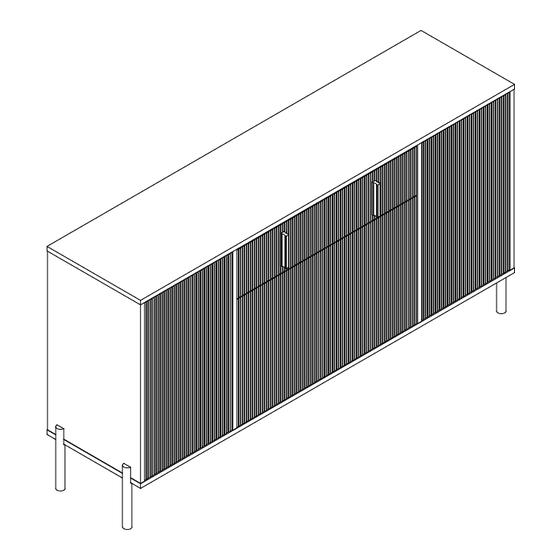
WF325222/WF325223
Gebrauchsanweisung
Manuel du produit
Manual del producto
Manuale del prodotto
2PERS
Das Produkt wird mit 2 Kartons geliefert.
Wir empfehlen, das Set nach Erhalt aller
Kartons zusammenzustellen.
The
product
Werecommend putting the set together
afterreceiving all the boxes.
Le produit est livré avec 2 boîtes. Nous vous
recommandons
après avoir reçu toutes les boîtes.
Tool Required Not Provided
55 MIN
comes
with
2
boxes.
d'assembler
l'ensemble
Advertisement

Related Manuals for Otto WF325222


Summary of Contents for Otto WF325222
- Page 1 WF325222/WF325223 Gebrauchsanweisung Manuel du produit Manual del producto Manuale del prodotto Das Produkt wird mit 2 Kartons geliefert. Wir empfehlen, das Set nach Erhalt aller Kartons zusammenzustellen. product comes with boxes. Werecommend putting the set together afterreceiving all the boxes.
- Page 2 Sicherheits- und Pflegehinweise Wichtig: Bitte lesen Sie diese Anweisungen vollständig durch, bevor Sie mit der Montage beginnen. Achtung: Dieses Gerät ist relativ schwer. Bitte heben Sie es vorsichtig an. Überprüfen Sie, ob alle auf den Seiten aufgeführten Komponenten und Werkzeuge vorhanden sind. Entfernen Sie sämtliches Zubehör aus den Plastiktüten und teilen Sie es in seine Gruppen auf.
- Page 3 Safety and Care Advice Important - Please read these instructions fully before starting assembly Warning: This unit is relatively heavy. Please lift with care.Check you have all the components and tools listed on pages. Remove all fittings from the plastic bags and separate them into their groups. Keep children and animals away from the work area, small parts could choke if swallowed.Parts of the assembly will be easier with 2 people.
- Page 4 Conseils de sécurité et d'entretien Important - Veuillez lire entièrement ces instructions avant de commencer l'assemblage Attention : cet appareil est relativement lourd. Veuillez soulever avec précaution. Vérifiez que vous disposez de tous les composants et outils répertoriés sur les pages. Retirez tous les raccords des sacs en plastique et séparez-les en groupes.
- Page 6 BOX-1/2 BOX-2/2 WF325222 WF325223...
- Page 7 BOX-2/2 WF325223 Hardware kit...
- Page 8 Hardware List for WF325222/WF325223 M3.5*14 M3.5*35 M8*40 M6*40 26+1PCS 24+1PCS 112+2PCS 8PCS M7*50 96mm L=300mm 2PCS 12PCS 3.5*22mm 1PCS 8PCS 20PCS 8PCS 26PCS 2PCS 410MM 1PCS 4PCS...
- Page 11 STEP 1 180° Bx4pcs Cx4pcs × CR x1pcs √ CL x1pcs STEP 2 Bx4pcs Cx4pcs × x2pcs √ x2pcs...
- Page 12 STEP 3 Jx2pcs STEP 4 x2pcs Bx4pcs × Cx2pcs √ CR x1pcs...
- Page 13 STEP 5 x2pcs Bx4pcs × Cx2pcs √ CR x1pcs STEP 6 x4pcs...
- Page 14 STEP 7 Px1pc STEP 8 × √ Bx4pcs...
- Page 15 STEP 9 × √ Bx4pcs STEP 10 Jx8pcs...
- Page 16 STEP 11 STEP 12 x10pcs Cx4pcs x2pcs x2pcs...
- Page 17 STEP 13 x10pcs STEP 14 Cx20pcs Kx20pcs...
- Page 18 STEP 15 Cx20pcs STEP 16 Fx12pcs...
- Page 19 STEP 17 STEP 18 Cx16pcs Mx8pcs x4pcs...
- Page 20 STEP 19 Cx32pcs STEP 20 x8pcs...
- Page 21 STEP 21 x8pcs STEP 20...
- Page 22 STEP 21 Dx8pcs STEP 20 x2pcs x4pcs...
- Page 23 STEP 21 Cx8pcs DLx2pcs DRx2pcs STEP 20...
- Page 24 STEP 21 x2pcs x2pcs x2pcs x2pcs x2pcs _If it is a solid wal, please use expansion and self-tapping screws, if it is a wooden wall, only use self-tapping screws, please do not overtighten the screws _Si le mur est massif, veuillez utiiser des chevlles a expansion et des vis autotaraudeuses. mais sis'agit dun mur en bois, utilisez uniquement des vis autotaraudeuses et ne serrez pas trop les vis.
- Page 25 STEP 22 UK: After installing the product, stick the number L on the perforated position FR: Une fois le produit installé, collez le numéro L à l' endroit où il y a des trous DE: Nach der Installation des Produkts kleben Sie die Nummer L auf die perforierte Position Lx26pcs...
Need help?
Do you have a question about the WF325222 and is the answer not in the manual?
Questions and answers