Advertisement
Quick Links
7533196COM
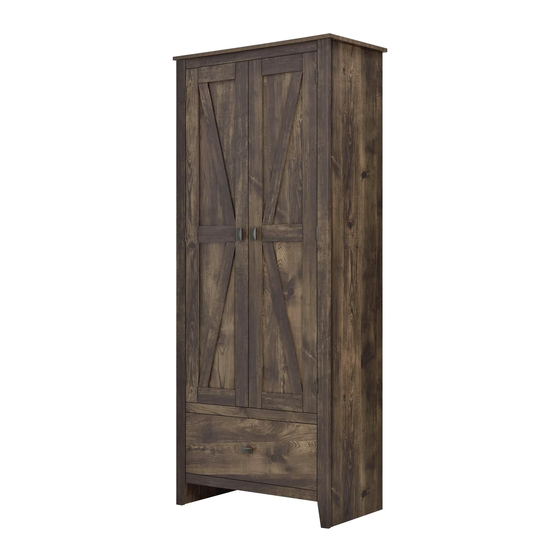
2 Door 1 Drawer Storage Cabinet
Date of Purchase ___ / ___ / ___
Lot Number:
Do Not Return This Product!
Contact our customer service team for help first.
Call: 1-866-452-4081 (toll free)
Monday-Friday 9am - 5pm CST
Visit: www.systembuild.com
WARNING
B347533196COM01GO
Easy
Assembly Difficulty Meter
Tough
Advertisement

Related Manuals for Systembuild Evolution 7533196COM


Summary of Contents for Systembuild Evolution 7533196COM
- Page 1 7533196COM 2 Door 1 Drawer Storage Cabinet B347533196COM01GO Date of Purchase ___ / ___ / ___ Lot Number: Do Not Return This Product! Contact our customer service team for help first. Call: 1-866-452-4081 (toll free) Monday-Friday 9am - 5pm CST Visit: www.systembuild.com...
-
Page 2: Helpful Hints
Contact Us! Helpful Hints PEOPLE NEEDED FOR ASSEMBLY: 2 ESTIMATED ASSEMBLY TIME: 1 HOUR systembuild.com... -
Page 4: Board Identification
Board Identification Not actual size T7533196010GO T7533196030GO T7533196050GO T7533196040GO T7533196020GO QTY: 1 PC QTY: 1 PC QTY: 1 PC QTY: 1 PC QTY: 1 PC T7533196070GO T7533196090GO T7533196060GO T7533196100GO T7533196080GO QTY: 1 PC QTY: 2 PCS QTY: 2 PCS QTY: 1 PC QTY: 1 PC T7533196120GO T7533196160GO... - Page 5 Board Identification Not actual size systembuild.com...
-
Page 6: Part List
Hardware Bag Reference Number: 27533196COM1GO Part List Actual Size Ø3 .5 x 12mm TGO1007 Not Actual Size right drawer member right cabinet member left drawer member left cabinet member systembuild.com... - Page 7 STEP1 systembuild.com...
- Page 8 STEP2 systembuild.com...
- Page 9 STEP3 systembuild.com...
- Page 10 STEP4 systembuild.com...
- Page 11 STEP5 Proper orientation of CAM LOCK systembuild.com...
- Page 12 STEP6 23-2 26mm 26mm 36mm 36mm systembuild.com...
- Page 13 STEP7 Proper orientation of CAM LOCK systembuild.com...
- Page 14 STEP8 IMPORTANT! THE BACK PANEL IS A STRUCTURAL PART OF THIS UNIT AND MUST BE INSTALLED PROPERLY. systembuild.com...
- Page 15 STEP9 Proper orientation of CAM LOCK systembuild.com...
- Page 16 STEP10 23-1 systembuild.com...
- Page 17 STEP11 systembuild.com...
- Page 18 STEP12 systembuild.com...
- Page 19 STEP13 systembuild.com...
- Page 20 STEP14 systembuild.com...
- Page 21 Maximum Loads This unit has been designed to support the maximum loads shown. Exceeding these load limits could cause sagging, instability, product collapse, and/or serious injury. Warning: Risk of injury to persons - do not place a television on this furniture. This furniture is not approved for use with a television.
- Page 22 Register your product to receive the following: * New trend details - sneak peek on what's new * Surveys - have a voice within our community * Exclusive deals and discount codes * Quick and easy replacement part service To register your product, visit systembuild.com Visit your local retailer's website, rate your purchased product and leave us some feedback! We would like to extend a big "Thank You"...
- Page 23 1.1 Atornille (2) dentro de (A) como se ilustra. 1.2 Una la parte (D) & (E) con (A) con (3) & (9) como se ilustra. 1.3 Insertar (3) dentro de (V) como se ilustra. systembuild.com...
- Page 24 2.1 Insertar (3) dentro de (F) como se ilustra. 2.2 Una la parte (16) con (E) & (F) con (6) como se ilustra. 3.1 Atornille (2) dentro de (O) & (P) como se ilustra. 3.2 Una la parte (18) con (O) & (P) con ( 11) como se ilustra. 4.1 Atornille (2) dentro de (B), (C) &...
- Page 25 11.1 Una la parte (24) con (I) con (4) como se ilustra. 11.2 Inserte los soportes de la estanter a (20) al nivel deseado y coloque los estantes ajustables (H) sobre los soportes de la estanter a. 11.3 como se ilustra. 12.1 Una la parte (Q) con subconjunto A/B/C/F del paso anterior con (11) como se ilustra.
- Page 26 Page 7 systembuild.com...
- Page 27 Page 8 Page 9 3.1 Vissez (2) dans (O) & (P) (O) & (P) avec Page 10 4.1 Vissez (2) dans (B), (C) & (G) (B), (C), (R) & (S) Page 11 Page 12 Page 13 7.2 Attacher (A) au sous-ensemble B/C/F/V Page 14 IMPORTANT: correctement.
- Page 28 Page 17 11.3 Poussez le tiroir dans le classeur Page 18 12.1 Attacher (Q) au sous-ensemble A/B/C/F avec Page 19 Avertissement! Ce meuble doit blessures graves peuvent survenir. Page 20 Desserrez la vis "A" et ajustez la porte. Serrez les vis " A". Desserrez la vis "B"...
Need help?
Do you have a question about the 7533196COM and is the answer not in the manual?
Questions and answers