Advertisement
Available languages
Available languages
Quick Links
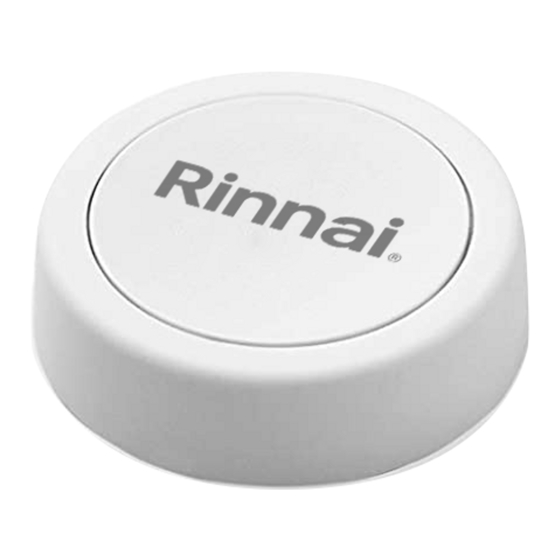
Thank you for purchasing a Rinnai RPB200 Recirculation Push Button! Please read the instructions below
for installation and operating instructions.
❶
VERIFY COMPATIBILITY
Ensure you have a compatible Rinnai product
(wireless module, tankless water heater, boiler,
etc.) before installing this button. If you are unsure,
scan the QR code at the end of this guide for a
complete list of compatible products.
❷ PAIR: Pair the push button to your Rinnai product:
• Water Heaters/Boilers: Press and hold the Bluetooth
button on the controller until the Bluetooth LED
starts flashing. Then, release the button.
RWM200 Wireless Module: Press and hold the
"Connect" button on the module until the top LED
light starts flashing green. Then, release the button.
• Press and hold the push button until the LED on the
push button flashes GREEN.
Having trouble? Scan the QR code at the end of this
guide for detailed pairing instructions.
To unpair the push button from one Rinnai product and
pair to a different Rinnai product, repeat the above
pairing process with the new Rinnai product.
OPERATE:
❸
Press the push button to activate the Rinnai product's
recirculation system. The recirculation system
deactivates after five minutes from the last activation
or when the water has reached the set temperature.
NOTE: If the recirculating pump has recently been
active and the recirculation loop is still warm, there
may be a delay in pump activation. To minimize any
delay in pump activation, set the Rinnai product to
Comfort Mode (refer to the "Recirculation Mode"
section in the Rinnai product Installation and Operation
Manual for more information on Comfort Mode).
Push Button LED Indicator Lights:
• FLASHING RED: Push button is not yet paired.
• FLASHING YELLOW: Push button is attempting to
connect to the paired Rinnai product.
• FLASHING GREEN: Push button has successfully
paired and requested recirculation.
❹
ATTACH PUSH BUTTON TO A SURFACE
1. Pair the push button and verify operation in the
desired location prior to attaching the button to
a surface.
2. Clean and dry the surface area.
3. Remove the paper on the back of the push
button to expose the adhesive.
4. Attach the push button to the desired location.
NOTE: To remove the push button, gently pull the
push button from the surface. Gently clean the
adhesive on the back of the push button with a
damp cloth if needed before attaching the push
button to a new surface.
REPLACE BATTERY (WHEN NEEDED)
❺
1. Twist the push button counter-clockwise
to expose the battery.
2. Gently remove the battery and replace with a
new CR2023 battery.
3. Twist the push button back onto the button back
clockwise.
Questions? Call Rinnai at 1-800-621-9419
Scan the code for
detailed push button
installation and
operating instructions.
THIS DEVICE COMPLIES WITH PART 15 OF THE FCC RULES.
OPERATION IS SUBJECT TO THE FOLLOWING TWO
CONDITIONS: (1) THIS DEVICE MAY NOT CAUSE HARMFUL
INTERFERENCE (2) THIS DEVICE MUST ACCEPT ANY
INTERFERENCE RECEIVED, INCLUDING INTERFERENCE THAT
MAY CAUSE UNDESIRED OPERATION. FCC ID: 2ACR9-FLIC2
IC: 12180a-FLIC2
100000862 10/2023
Advertisement

Summary of Contents for Rinnai RPB200
- Page 1 Thank you for purchasing a Rinnai RPB200 Recirculation Push Button! Please read the instructions below for installation and operating instructions. ❶ VERIFY COMPATIBILITY ❹ ATTACH PUSH BUTTON TO A SURFACE Ensure you have a compatible Rinnai product 1. Pair the push button and verify operation in the...
- Page 2 Gracias por su compra de un Pulsador de recirculación RPB200 Rinnai. Lea a continuación las instrucciones d instalación y de operación. ❶ VERIFICACIÓN DE LA COMPATIBILIDAD: Asegúrese de FIJACIÓN DEL PULSADOR A UNA SUPERFICIE ❹ tener un producto Rinnai compatible (módulo 1.

Need help?
Do you have a question about the RPB200 and is the answer not in the manual?
Questions and answers