Advertisement
Quick Links
Pairing Bluetooth
.^
.^.
.^
....
.,.,
I.
..
,
.....
,...
","
I
.~~
.,"
"~
<8.1", a, U1. .*.* I <3.11, ,, .,.. 1.0* ; <3*,. Dub
,,.,,,.,, ui, ,,,,, h ' i I u",* . ;
' by~""~*"" ' """""" " "' ' i"'*'~' ^
I ' "TSP. .t, , , , ,,,,,,, ".*," @ I
, gE, I=., I , ant, .
I . ! *?.**"".",,,,, , , a, ,,"*"ith*,"~"", in ;
.
"."
re,
.~
,
",,*,,,~."
,
~;I;I
I
.
;
,,
,I
I
^-.
4
.,^-
"*
,
I. ,, ;.
I. in the Settings menu
of your device.
enable Bluetooth.
Preparation
Installation
2.7urn on Blue!o01h in device 3. The speaker is now
and pair with Device: cf rinecled and ready 10
'Ceiling Audio System' P ay mus!c
f,
Step I - Mark ceiling:
Locate a suitable place to fit Master &
Slave, free from battens rafters and
other obstructions. A Stud Finder
may assist. Perforate the cardboard
Mounting Hole Template, tape in
place and markthe ceiling.
Some of the tools and equipment you'll need to installyour
Ceiling Audio System are listed below. A ladder and a
friend to assist will further simplify the task. A template for
the cut-out has been included with each set.
PIN: '9' '9' '8' '9
'I,
5
J- \
I
^*,
<^.
Step 2 - Cut holes:
Use a 5 or 6mm drill to make a pilot
hole at a point in each line. Then cut
along the line by hand, with a small
plaster cutting saw. Pull the speaker
and power cables through.
Step 3 - Connect Master:
Attach Slave speaker wires to push
terminals, and power supply to
Master.
pencil
I
wire cutters
screwdriver
n02star/philips
in^^,
measuring tape
'~L
stud finder
I'
,^^
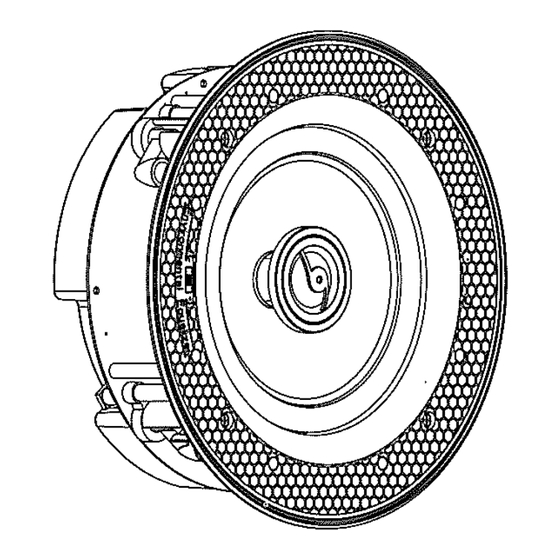
Step 4 - Fit Master:
Place in hole, taking care not to
touch rubber surround or cone. With
a n0.2 star screwdriver, a) loosen
mounting locks (anti-clockwise), b)
rotate into position (clockwise) and
c) tighten all410cks (clockwise). Fit
magnetic grille.
Step 5 - Connect Slave:
to speaker wire from Master. Ensure
+ is connected to +, to retain
phasing.
^\
healing
BLU ETOOTH
CEILING
AUDIO
SYSTEM
speaker cable
cutting saw
protective eyeWeaT
Step 6 - Fit Slave:
Place in hole, taking care not to
touch rubber surround or cone.
Loosen locks, rotate into position
and tighten the 410cks. Fit grille.
Step 7 - Power up:
Connect, test & enjoy.
.
drill
@
@
,
o
e
o
@
Do
..
@
"
.
.
@
Advertisement

Need help?
Do you have a question about the HSB826 and is the answer not in the manual?
Questions and answers