Advertisement
Quick Links
Advertisement

Summary of Contents for Siedihit SDTUS3MDJJR011P
- Page 1 INSTALLATION INSTRUCTION...
-
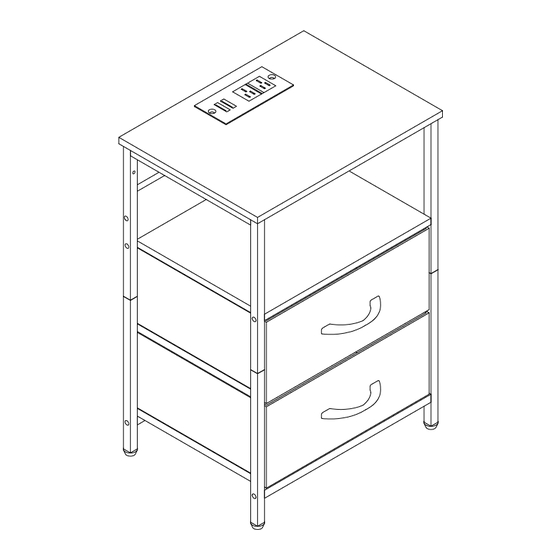
Page 2: Exploded Drawing
EXPLODED DRAWING: 1. Because plates and screws are not common, please read the manual carefully before installation, and distinguish each plate and screws. 2. Please do not tighten the screws too tightly before installation, and tighten all screws after installation. - Page 3 PARTS: PARTS: M6*23 C M6*10 M3*10 M4*8...
- Page 4 You will use the following pa s Fix the square tube connector J and pa 4 together with screws C. You will use the following pa s Install the adjustment feet K to the assembled component that installed in the rst step.
- Page 5 You will use the following pa s You will use the following pa s Step 1: Step 2: First, stick the light strip G to the back of the top plate 1, and then use xing clips F1 and screws F2 to reinforce the light strip G to prevent it from falling o during use.
- Page 6 You will use the following pa s Install the top plate 1 and the assembled component that installed in the rst step together using screw A. You will use the following pa s...
- Page 7 You will use the following pa s You will use the following pa s...
- Page 8 E ective distance of light control: within 10 meters SIEDIHIT CUSTOMER SERVICE Please remember that our customer support team is available to assist you if you encounter any issues during the assembly process. We hope these improved instructions make the setup easier and provide a better experience for your life.
Need help?
Do you have a question about the SDTUS3MDJJR011P and is the answer not in the manual?
Questions and answers