Advertisement
Hardwired GPS
Installation Guide
Content
Product Overview ........................................................................2
Installing the Unit .........................................................................2
LED Status Indicators ..................................................................3
Installing the Standard Starter Disable Style 1 .................................4
Installing the Standard Starter Disable Style 2 .................................5
Installing the Starter Disable with ECM .............................................6
Tips on Installing .........................................................................7
1
Advertisement
Table of Contents

Summary of Contents for Spy Spot GV50MA
-
Page 1: Table Of Contents
Hardwired GPS Installation Guide Content Product Overview ……………………………………………………………...2 Installing the Unit ……………………………………………………………..2 LED Status Indicators …………………………………………………………3 Installing the Standard Starter Disable Style 1 ……………………………4 Installing the Standard Starter Disable Style 2 ……………………………5 Installing the Starter Disable with ECM ..….…………………………………6 Tips on Installing …..…………………………………………………………..7... -
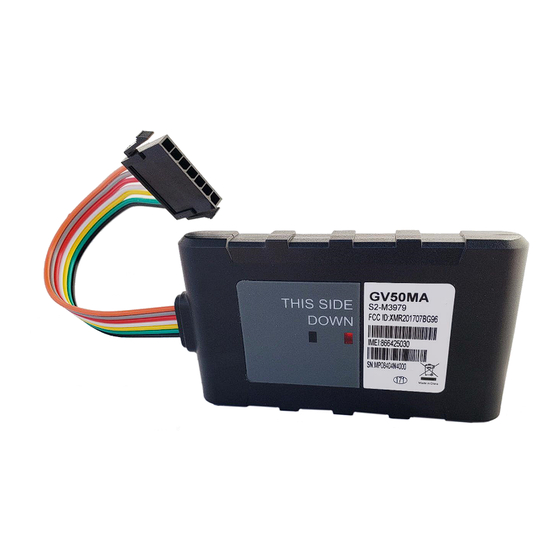
Page 2: Product Overview
Product Overview The Hardwired GPS Device is a self-supporting tracking unit that requires only constant power and ground to operate. The unit contains two antennas: one for GPS data and the other for LTE communication. You can easily install this unit under the dash of the vehicle for concealment. -
Page 3: Led Status Indicators
Remaining Harness Wires Using wire cutters, trim the remaining wires on the harness that were not needed to a manageable length. Make sure you secure any exposed wire on the ends with electrical tape or wire nuts to prevent contact that could cause shorts in the electrical circuit of your vehicle. Powering up the unit After attaching the wires and mounting the unit, reconnect the battery terminals and power up the unit by connecting the harness. -
Page 4: Installing The Standard Starter Disable Style 1
Installing the Standard Starter Disable NOTE: Wiring a Starter Relay in a Push Button ignition vehicle can be tricky. in some vehicles it may be hard to access the correct wires due to the location and design of the push button. Some installers will accept the installation and others may decline, it’s up to the installer. -
Page 5: Installing The Starter Disable With Ecm
Installing the Starter Disable with ECM Vehicles with an engine control module (ECM) installed between the ignition and the starter, require a different method when installing the starter disable. For these vehicles, connect the starter wire to the onboard computer, which typically carries a low voltage instead of the standard 12V.
Need help?
Do you have a question about the GV50MA and is the answer not in the manual?
Questions and answers