Table of Contents
Advertisement
Quick Links
Advertisement
Table of Contents

Summary of Contents for NOVELUX US-CFWL-B-60INCH
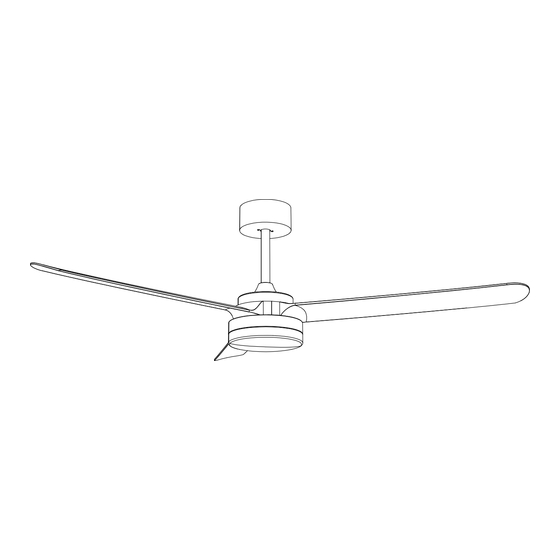
- Page 1 Installation Instruction USE AND CARE GUIDE CEILING FAN...
-
Page 2: Table Of Contents
Table of Contents 1. Tools Neede ---------- 02 2. Parts Inventory ---------- 02 3. Secure Bracket -------- 03-04 4. Assembly of Downrod ---------- 05 5. Mount Fan to Bracket ---------- 06 6. Blade Installation ---------- 07 7. Installation of Light Kit ---------- 08 8. -
Page 3: Tools Neede
Tools Needed screwdrivers wrench Blade screwdrivers insulation tapeity power drillpe wire strippersd ladder Parts Inventory Name Name Quantity Quantity Mounting Bracket Light Mounting Box Remote Control Kit Blades LED Source Downrods (5"/10") Top Canopy Light Cover Horn cover Accessories package Motor Body... -
Page 4: Secure Bracket
Secure Bracket · Secure to Outlet Box If there isn't an existing outlet box,then install one using the following instructions: · Disconnect the power by removing the fuses or turning off the circuit bredkers. · Secure the outlet box(A) (ont included)directly to the building structure.Use appropriate fasteners and materials (not included). - Page 5 Secure Bracket · Attach the mounting bracket to the ceiling. There are two types of screws included in the pack. · For wooden ceiling Drilling a pilot hole in your ceiling with the power drills first, then secure the plate with wood screws ·...
-
Page 6: Assembly Of Downrod
Assembly of Downrod 1.Take out the lower link and fix it on the lifting head. ( Figure 1) 2.Put the downrod through the top canopy and the downrod canopy. ( Figure 2) 3.Pass the wire from the motor body through the downrod. ( Figure 3) Figure 1 Figure 2 Locking pin... -
Page 7: Mount Fan To Bracket
Mount Fan to Bracket indentation Hanger Lugs · Choose the proper downrod · Ensure the registration slot of the hanger ball is positioned on the stopper of the mounting bracket to prevent the fan from rotating when in operation. -
Page 8: Blade Installation
Blade Installation 1. take the blade screw from the package, through the blade hole and place it under the motor to align the screw with the "center" hole positionAny set of two blade screw holes. 2. Use a screwdriver to secure the blade screws to the motor, but do not overtighten them. -
Page 9: Installation Of Light Kit
Installation of Light Kit... -
Page 10: Wiring Installation
Wiring installation Black line (Battle line) White line (Null line) Insert the receiver into the top of the fan body and make wire conncetions according to wire colors,labels, and diagram above. *Wrap each wire conncetor separately with eletrical taps as an extra safety measure. -
Page 11: Introduction To Remote Control Keys
Introduction to remote control keys ON/OFF SOTP Turn ON/OFF the ceiling fan with light Dimming lights(+) Speed of the fan ( 1 - 6 ) Dimming lights(-) Direction of the fan ( Forward roation switch ) Timing control of the fan with light Turn ON/OFF the light Colour temperature(+)... -
Page 12: Fan Remote Control Code Checking
Fan remote control code checking 1. Learning code matching mode is used between emitter and receiver. Turn ON the supply power within 30 seconds and press the emitter s 3 OFF the fan button for 5 seconds, it can load normally after hearing a long sound bee , which means learning successfully and it can works normally. -
Page 13: Fan Forward And Reverse Operation
Fan forward and reverse operation A.Warm weather- (Forward) downward airflow A.Warm creates a cooling effect. This allows you to Weather set your air (summertime) conditioner on a highter setting without affecting your comfort. B.Cool weather- (Forward) An upward airflow moves warm air off of the ceiling. -
Page 14: Maintenance
Maintenance Here are some suggestions to help maintain your fan: · Because of the fan's natural movement, some connections may become loose. Check the support connections, brackets, and blade attachment twice a year. Make sure they are secure. · Clean your fan periodically to help maintain its new appearance over the year. - Page 15 Fan not reponding to remote control · Check that all wire connections are secure and made as instructed. · Verify that power is on and reaching the receiver by a voltmeter. · Verify that controller batteries are installed with proper polarity as indicated inside the battery cover Light does not work ·...
Need help?
Do you have a question about the US-CFWL-B-60INCH and is the answer not in the manual?
Questions and answers