Advertisement
Quick Links
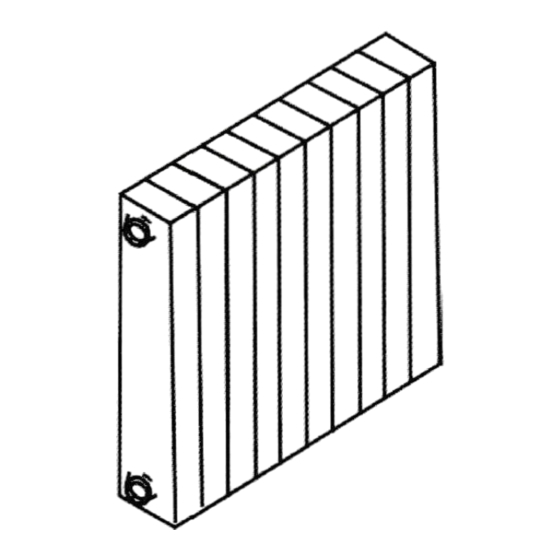
Thank you for your interest in our 10 Section, Bimetal, Wall-Hung, and Aluminum Heating Radiator.
Before unpacking the box, please read and process carefully under the following process
1. Place the Box on a Thick Furniture Pad or Blanket: If you have hardwood or laminate flooring,
you want to have some sort of padding around the box in case you accidentally drop
something while you are unpacking it.
2. Carefully Open the Box: Keep in mind, items could have shifted during the move, so they may
be in slightly different positions from when you originally packed them. You can use scissors
to help open the box, just use extra care when cutting down the center seam.
3. Remove Packing Materials Slowly: If you used foam peanuts, air pads, or other such things
on the top layer before sealing the box, remove them slowly.
4. Take Items Out One at a Time: Remove items from the box individually. Unwrap bubble wrap
or other materials you wrapped them in.
Our Radiator come with Air vent and plug, (valves not included), see attachment for details.
Following are steps to show how radiator should mount and how pipework should fit. I also include
some YouTube video to explain the processes, hope it will help.
How To Hang A Radiator On Plasterboard
https://www.youtube.com/watch?v=hj05t10f8Yw
How to Install a Radiator with Wickes
https://www.youtube.com/watch?v=omVNCUFKdRQ
Joining radiators
https://www.youtube.com/watch?v=DY1SQp88xec
In some cases, the installation of a new radiator may mean that your pipework requires adjustment
prior to fitting. You can always use the services of a professional to carry this out. Follow the simple
steps listed below for helpful instructions on how to install.
Required Tools: Adjustable wrench, PTFE tape, Pliers, Junior hacksaw
How to attach your Radiator to the wall
1. After your radiator has been dressed, before attaching it to the wall, you need to work out the
center-point of where you want it to be placed. Firstly, measure the width of the wall.
2. Mark the center of the radiator at the center-point of your wall.
3. Once the center-point has been marked, you need to measure the center between the right
and left brackets. It is advisable to do this when the radiator is led flat on the floor, facing
upwards.
4. Once the center has been measured, you will have to work out the height of your radiator.
This can be done by measuring from the top of the top bracket, down to the foot of the bottom
bracket. Again, you can simplify the process by laying the radiator flat on its back.
5. From here, you should measure the height of the bottom brackets on the wall that your
radiator is being fixed to. To do so, record a measurement from the floor to the middle of the
valve outlet.
Advertisement

Summary of Contents for ab WDF-F4200
- Page 1 Thank you for your interest in our 10 Section, Bimetal, Wall-Hung, and Aluminum Heating Radiator. Before unpacking the box, please read and process carefully under the following process 1. Place the Box on a Thick Furniture Pad or Blanket: If you have hardwood or laminate flooring, you want to have some sort of padding around the box in case you accidentally drop something while you are unpacking it.
- Page 2 6. When the center-point has been marked on the wall, you then need to measure the distance between the center-point and the left and right brackets. 7. Mark the top and bottom brackets on your wall using your earlier measurements. 8.
Need help?
Do you have a question about the WDF-F4200 and is the answer not in the manual?
Questions and answers