Advertisement
Advertisement
Table of Contents

Summary of Contents for Gusto DRS Pro
- Page 1 dust reduction system PRO model no: DRS2 Page 1...
-
Page 2: Packaging Contents
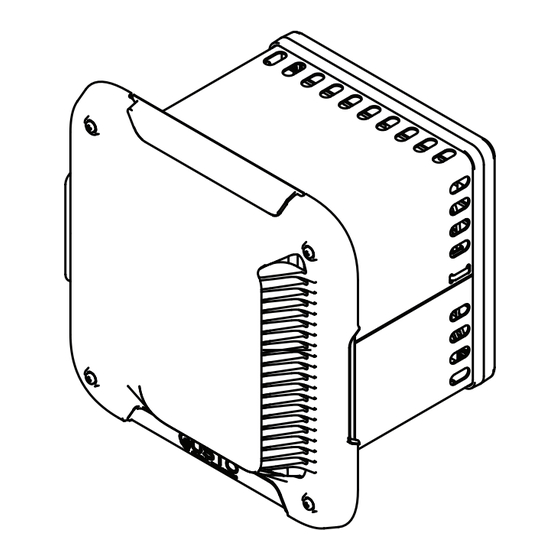
ST4.2 x 22 screws tECHNICAL DESCRIPTION The Gusto DRS Pro is designed for use on caravans and motorhomes. Its purpose is to move filtered air into the cabin to achieve a positive pressure differential between the interior and exterior of the vehichle. -
Page 3: Product Dimensions
Product Dimensions Prior to installation, ensure that the device and it’s associated components will fit comfort- ably into the intented mounting location. Ensure that at least 70mm air gap is maintained around the rear of the device to avoid resricting airflow. Page 3... - Page 4 Failure to comply with the below requirements may impact performance and will void any warranty The Gusto DRS Pro is designed for installation in caravans and motorhomes. It is required that the device is installed in a fixed position. Once installed, the Air Intake of the device should be accesible from the exterior of the caravan.
-
Page 5: Installation Instructions
installation instructions Use the DRS unit template on the product packaging to mark and make a cutout 240mm x 240mm into the caravan exterior wall. To do so, find the centrepoint of the inside wall of the cabinet and drill a small hole through the external wall. On the exterior of the caravan, align the black dot in the centre of the template with the previously drilled hole, this will ensure the cutout will be correctly posistioned relative to the inside of the cabinet. - Page 6 The device must be oriented so that the Gusto logo is along the bottom edge. Install all 20pcs of the 50mm long, self tapping screws through the holes in the mounting flange and into the caravan wall.
-
Page 7: Installation Complete
Insert the Switch Panel into the hole and fasten in place using 4pcs of the 22mm long self-tapping screws. Connect the cable from the Switch Panel into the connector header on the Rear Panel of the DRS unit. You should hear an audible “Click”... - Page 8 Instructions for use Normal Operation: 1. Switch device on by toggling circular switch down 2. Wait 15 seconds for fan to reach full speed 3. If red Air Filter Blockacge Light does not turn off after 15 seconds, clean filter (see below) 4.

Need help?
Do you have a question about the DRS Pro and is the answer not in the manual?
Questions and answers