Subscribe to Our Youtube Channel
Summary of Contents for Sortimo FR5
- Page 1 Sortimo International GmbH Dreilindenstrasse 5 86441 Zusmarshausen, Germany direct@sortimo.de mySortimo.de Assembly instructions MA-00072 / 2024.04.10 / Rev.04 / en / SAP 600013142...
-
Page 2: Table Of Contents
Required tools ........................... 5 Preparing profiles ..........................5 Securing fastening shoes ....................... 5 Positioning the installation adapter ....................6 Installing the FR5 system ........................7 Installing the bearing block...................... 8 Installing the traverse frame ....................9 Installing the shelf ......................... 11 Installing lashing straps ...................... -
Page 3: Warnings And Symbols
Warnings and symbols These instructions contain information about possible dangers that could arise with incorrect use and/or improper behaviour. A distinction is made between the following: Danger! Failure to observe the warning can cause severe personal injury and/or serious material damage! Caution! Failure to observe the instructions can cause personal injury and/or material damage! Important! -
Page 4: Safety Labels
Important! Ensure that the specified screw fixing torques are adhered to. M5 = 4 Nm ±10% M6 = 7.5 Nm ±10% M8 = 20 Nm ±10% If other torques are required, they are specified in the instructions! Safety labels Caution! Dangerous situations cannot be avoided if safety labels are illegible or missing from the product. -
Page 5: Required Tools
Required tools Tool: Size: Image: Hexagon socket Size 4 screwdriver or Size 5 bit insert or socket Torx T 40 screwdriver or bit insert or socket Torque wrench 7 – 25 Nm Screw fixing tool AF 10 Screw fixing AF 13 Measuring equipment Preparing profiles Securing fastening shoes... -
Page 6: Positioning The Installation Adapter
There are two different installation adapters. Use the required adapter depending on the configuration. The Sortimo folding ruler can be used to measure the grid height. Insert the installation adapter into the profile. A "click" can be heard when it engages. -
Page 7: Installing The Fr5 System
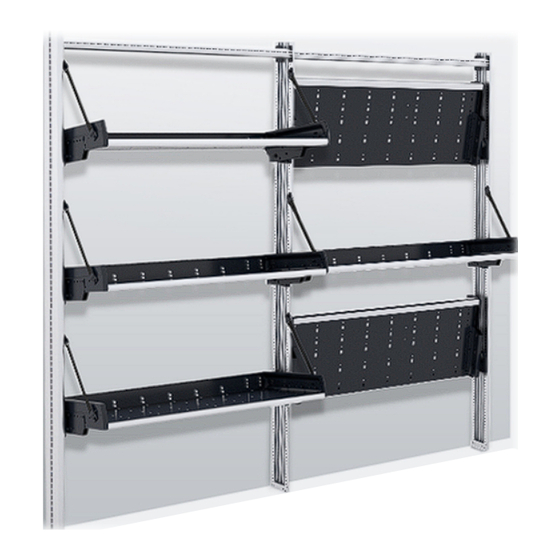
Installing the FR5 system Scope of delivery: M5x8 M6x12 M6x20 M6x12 4.8x16 14x10x0.2 6.4x18x1.6... -
Page 8: Installing The Bearing Block
1. Installing the bearing block 10 Nm 10 Nm... -
Page 9: Installing The Traverse Frame
2. Installing the traverse frame 7.5 Nm... - Page 10 4.5 Nm...
-
Page 11: Installing The Shelf
3. Installing the shelf 7,5Nm... - Page 12 7,5Nm...
-
Page 13: Installing Lashing Straps
4. Installing lashing straps 7,5Nm... -
Page 14: Attaching Safety Labels
Stick the load labels to the left edge of every shelf. Ref. no.: 801017308 2. Attaching the logo Attach the FR5 logo parallel to the floor in the upper area of the side profile. Align the logo centred on the profile. Ref. no.: 6000012958... -
Page 15: Adjusting The Fr5 System
Adjusting the FR5 system The FR5 system offers various adjustment options. The most important of these are explained below: 1, Adjusting the shelf height 2, Adjusting the shelf horizontally 3, Adjusting the inclination of the shelf Caution! Crushing caused by incorrect positioning Fingers can get crushed if too little distance is left between shelf and frame traverse. -
Page 16: 2, Adjusting The Shelf Horizontally
2, Adjusting the shelf horizontally Important! Damage caused by collision If the distance between the shelf and the wall of the vehicle is too low, there is a risk of collision. Maintain a minimum clearance of 5 mm. Check its function. Dismantle the shelf in reverse order to assembling it.

Need help?
Do you have a question about the FR5 and is the answer not in the manual?
Questions and answers