Advertisement
Table of Contents
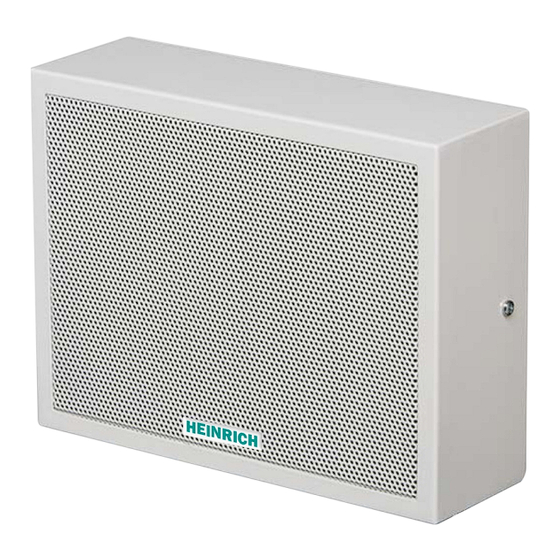
User Manual
SMM6/T
(Wall / Ceiling Mount Speaker)
Note : This product manual highlights the key features, specifica ons, and applica on details of the
SMM6/T 6W 100V surface mount loudspeaker, aiming to provide users with a clear understanding of
its capabili es and func onali es.
HEINRICH
HEINRICH LIMITED,
Marshall Avenue Worthing BN14 0ES
W:
www.heinrichlimited.com
E:
info@heinrichlimited.com
Advertisement
Table of Contents

Summary of Contents for HEINRICH SMM6/T
- Page 1 (Wall / Ceiling Mount Speaker) Note : This product manual highlights the key features, specifica ons, and applica on details of the SMM6/T 6W 100V surface mount loudspeaker, aiming to provide users with a clear understanding of its capabili es and func onali es.
-
Page 2: Safety Tips
Warning to indicate fully aware of poten al risks. DESCRIPTION Heinrich’s SMM6/T 6W 100V surface mount loudspeaker, designed for excep onal audio quality and reliability. This loudspeaker, cer fied to EN54-24 standards, offers premium sound performance for speech and background music in various environments. -
Page 3: Specifications
WALL / CEILING MOUNT SPEAKER SPECIFICATIONS Model SMM6/T Power Tappings 6W / 3W / 1.5W Frequency Range 170 — 18.500 Hz Frequency Response 70 — 23,500 Hz SPL 1W / 1m, peak 98.3 dB SPL , 1W / 4m, peak 86.3 dB... - Page 4 WALL / CEILING MOUNT SPEAKER Transformer Pin 4 Pin 3 Pin 2 Pin 1 Up Side Down Side Pin 1 : Pin 2 : 4Ω Pin 3 : 8Ω Pin 4 : 1.5W HEINRICH HEINRICH LIMITED, Marshall Avenue Worthing BN14 0ES www.heinrichlimited.com info@heinrichlimited.com...
- Page 5 WALL / CEILING MOUNT SPEAKER Installa on Step-1 Remove the Wall Plate from Main Cover. Main Cover Wall Plate Step-2 Measure the holes from wall plate & drill the holes on wall accordingly. HEINRICH HEINRICH LIMITED, Marshall Avenue Worthing BN14 0ES www.heinrichlimited.com info@heinrichlimited.com...
- Page 6 Screw the wall plat on the wall Step-4 Put the Main Cover on the Wall Plate & screw them back from Top, Down & Side. (I) Cover the main cover with back plate. HEINRICH HEINRICH LIMITED, Marshall Avenue Worthing BN14 0ES www.heinrichlimited.com info@heinrichlimited.com...
- Page 7 WALL / CEILING MOUNT SPEAKER (II) Screw them from Top, Bo om & Side (3 Sides). Side View Top View Bo om View HEINRICH HEINRICH LIMITED, Marshall Avenue Worthing BN14 0ES www.heinrichlimited.com info@heinrichlimited.com...
- Page 8 fire or electric shock. For plugs, iden fied as plugs for grip. ● Will not be allowed to speakers on the vent cover. May cause internal hea ng caused by the fire. HEINRICH HEINRICH LIMITED, Marshall Avenue Worthing BN14 0ES www.heinrichlimited.com...
Need help?
Do you have a question about the SMM6/T and is the answer not in the manual?
Questions and answers