Advertisement
Quick Links
Parts Provided
Wireless
Installation
Charger
Template
Self tapping
Spreader Bar
Screw (x4)
Step 1: Identify the installation location. The charger should
be installed in a flat area where the back of the charger is
completely flush with the surface it is being mounted to.
Confirm that the clamping arms of the charger are able to
be fully extended without interference. We recommend that
you install the charger vertically to better secure your phone
in rough conditions.
Step 2: Carefully place
the provided Installation
Template in the selected
location. In the
designated areas, drill
pilot holes for the
mounting screws using a
3/32" drill bit and then
drill a hole for the power
wire using a ¼" drill bit.
Remove installation
template when complete.
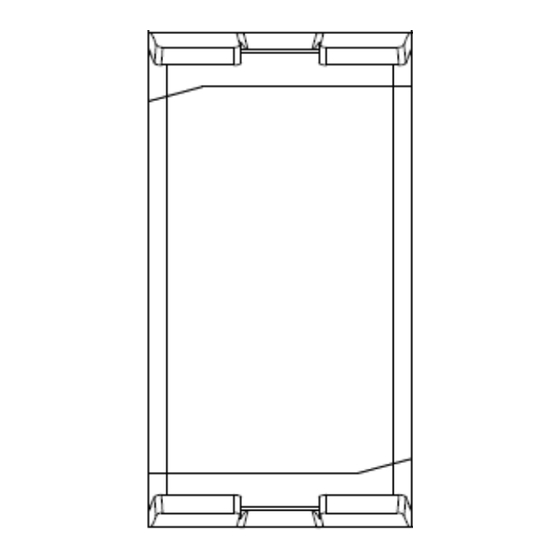
Step 3: Spread the clamping arms of the charger and insert
the provided Spreader Bar into the wireless charger as
shown below.
Contact:
orders@aquaamp.com
1108 Eldridge St, Clearwater, FL 33755
Tools Required
¼" Drill Bit (for wire
Phillips Head
hold) and 3/32" Drill
Screwdriver
Bit (for screw holes)
3M 5200 (optional)
Electric Drill
Installation Guide
Step 4: Thread the wireless
charger's power wire through
the ¼" drill hole. Re-confirm
that the clamping arms of the
charger can be fully extended
without interference. Align the
charger's mounting holes
with the 3/32" drill holes and
screw charger in place with
the provided self tapping
screws.
Step 5: Using a 2A fuse,
attach wires to a 12/24V
power supply and ensure
there is a waterproof
connection
Step 6: Make sure the charger was installed correctly by
placing a wireless charging compatible device in the charger.
Check that the device is charging a few seconds after you
place it on the wireless charger.
For further information visit www.aquaamp.com
Scan QR
Installation Instructions:
Code For
515-1 Wireless Charger
Installation
Video
Technical Information
Input Voltage Range
Input Current Max
Output Power
Standby current Draw
Waterproof rating
Certifications
10-30V DC
(12 / 24V system)
2A
15W (9V, 1.66A)
< 0.3W
IPx6 front and back
Qi, CE, FCC, ROHS,
UNECE R10 E24, RCM
Advertisement

Related Manuals for AquaAmp 515-1


Summary of Contents for AquaAmp 515-1
- Page 1 Check that the device is charging a few seconds after you the provided Spreader Bar into the wireless charger as place it on the wireless charger. shown below. Contact: orders@aquaamp.com For further information visit www.aquaamp.com 1108 Eldridge St, Clearwater, FL 33755...
- Page 2 (12 / 24V system) Input Current Max Output Power 10W (9V, 1.66A) Standby current Draw < 0.3W Waterproof rating IPx6 Qi, CE, FCC, ROHS, Certifications UNECE R10 E24, RCM Contact: orders@aquaamp.com For further information visit www.aquaamp.com 1108 Eldridge St, Clearwater, FL 33755...
Need help?
Do you have a question about the 515-1 and is the answer not in the manual?
Questions and answers