Table of Contents
Advertisement
Quick Links
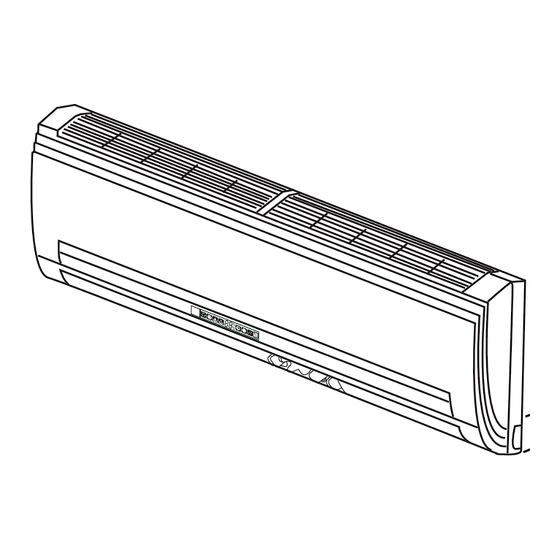
Installation Manual of Room Air Conditioner
1.Driver
2.Hacksaw
3.Hole core drill
4.Spanner(17,19 and 26mm)
Accessory parts
No.
Accessory parts
1
Remote controller
2
R-03 dry battery
3
Mounting plate
4
Drain hose
5
4X25
Plastic cap
Screw
6
Drain-elbow
7
Cushion
No.0010
Necessary Tools for Installation
5.Torque wrench(17mm,22mm,26mm)
6.Pipe cutter
7.Flaring tool
8.Knife
Drawing for the installation of indoor and outdoor units
The models adopt HFC free refrigerant R410A
Number
of
articles
1
2
Optional parts for piping
1
Mark
Parts name
A
Non-adhesive tape
1
Adhesive tape
B
C
Saddle(L.S) with screws
4
Connecting electric cable
D
for indoor and outdoor
Drain hose
E
1
F
Heating insulating material
Piping hole cover
G
4
Read this manual before installation
Explain sufficiently the operating means to the user
according to this manual.
9.Nipper
10.Gas leakage detector or
11.Measuring tape
Arrangement of piping directions
Rear left
Rear
Left
right
Right
Below
The marks from
The distance between the indoor unit and the floor should be
more than 2m.
soap-and-water solution
Attention must be paid to
the rising up of drain hose
to
G
in the figure are the parts numbers.
A
12.Reamer
G
F
A
C
D
E
Advertisement
Table of Contents

Related Manuals for Haier HSU-07HVA103


Summary of Contents for Haier HSU-07HVA103
-
Page 1: Installation Manual Of Room Air Conditioner
Piping hole cover Cushion Arrangement of piping directions Rear left Rear Left right Right Below The marks from in the figure are the parts numbers. The distance between the indoor unit and the floor should be No.0010 more than 2m. -
Page 2: Selection Of Installation Place
Before inserting power plug into receptacle, check the voltage without fail. The power source is the same as the corresponding name plate. Install an exclusive branch circuit of the power. A receptacle shall be set up in a distance where the power cable can be reached. Do not extend the cable by cutting it. Selection of pipe... -
Page 3: Installation Of The Indoor Unit
In case of left side piping, cut away, with a nipper, the lid for left piping. In case of left-rear piping, bend the pipes according to the piping direction to the mark of hole for left-rear piping which is marked on heat insulation materials. - Page 4 Indoor unit 1. Insert the drain hose into the dent of heat insulation materials of indoor unit. 2. Insert the indoor/outdoor electric cable from backside of indoor unit, and pull it out on the front side, then connect them. 3. Coat the flaring seal face with refrigerant oil and connect pipes.
-
Page 5: Easily-Demount Cleaning Of Indoor Unit
When connecting the cable before installing the indoor unit Insert the cable from the back side of the unit, then pull it out on the front side. Loosen the screws and insert the cable ends fully into terminal block, then tighten the screws. -
Page 6: Installation Of Outdoor Unit
Be careful that matters, such as wastes of sands, etc. shall not enter the pipe. The standard pipe length is 5m. If it is over 5m, the function of the unit will be affected. If the pipe has to be lengthened, the refrigerant should be charged, according to 20 g/m. But the charge of refrigerant must be conducted by professional air conditioner engineer. - Page 7 Otherwise, there will be refrigerant into air conditioner according to the amount marked on abnormal high pressure in the system to make it crack and lead to the name plate. personal injuries.
-
Page 8: Power Source Installation
Please pour water in the drain pan of the indoor unit, and confirm that drainage is carried out surely to outdoor. In case that the attached drain hose is in a room, please apply heat insulation to it without fail.
Need help?
Do you have a question about the HSU-07HVA103 and is the answer not in the manual?
Questions and answers