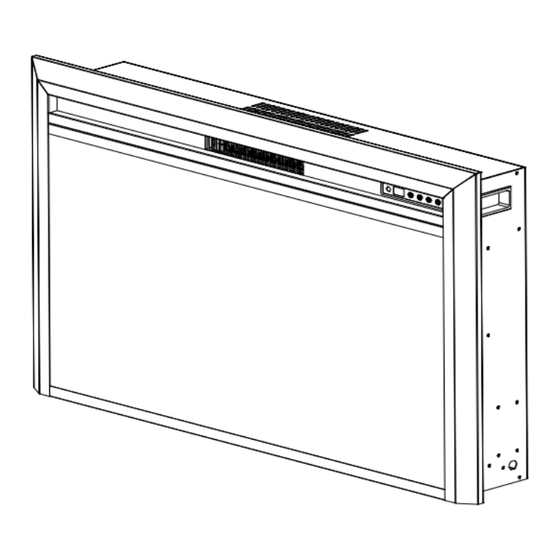
Table of Contents
Advertisement
Quick Links
IMPORTANT INSTRUCTIONS & OPERATING MANUAL
E
LP-10-140, ELP-10-141, ELP-10-142, ELP-10-143
Read and understand this entire owner's manual, including all safety
information, before plugging in or using this product. Fail to do so could
WARNING
result in fire, electric shock, or serious personal injury.
Keep this owner's manual for future reference. If you sell or give away this
CAUTION
product,make sure this manual accompanies this product.
NO VENTING REQUIRED
220V AC; 50Hz; 1500 Watts
Advertisement
Table of Contents

Summary of Contents for SCANDI-FLAMES LP-10-140
- Page 1 IMPORTANT INSTRUCTIONS & OPERATING MANUAL LP-10-140, ELP-10-141, ELP-10-142, ELP-10-143 Read and understand this entire owner’s manual, including all safety information, before plugging in or using this product. Fail to do so could WARNING result in fire, electric shock, or serious personal injury.
-
Page 2: Table Of Contents
CONTENTS Important Safety Information ……………………………………………………........3 Preparation …………………………………………………………………………………………….….…... 5 Product Dimension …………………………………………………………………………………….……. 6 Assembly ……………………………………………………………………………………………….……... 7 Battery Information ………………………………………………………………………………………..… 7 Operation ……………………………………………………………………………………...………………. 8 Control Panel ………………………………………………………………………...………………… 9 Remote Control …………………………………………………………………………………...….. 10 Care and Maintenance ………………………………………………………………………………….…. 11 Schematic Diagram ………………………………………………………………………………………... 12 FAQ –... -
Page 3: Important Safety Information
IMPORTANT SAFETY INFORMATION! WARNING Read all instructions before using this heater! This heater is hot when in use. To avoid burns, DO NOT let bare skin touch hot surfaces. If provided, use handles when moving this burning heater. Keep combustible materials, such as furniture, pillows, bedding, papers, clothes, and curtains at least 3 feet (0.9m) from the front of the heater, and keep them away from the sides and rear. - Page 4 heater voids all warranties, and could cause injury. This product is not intended to be a primary heat source. It is for supplemental heat only. INDOOR use only! NEVER use this heater outdoors! Doing so may result in electric shock! Risk of electric shock! DO NOT OPEN! No user-serviceable parts inside! NEVER modify this heater.
-
Page 5: Preparation
PREPARATION DO NOT use this Electric Fireplace if any part has been under water. Immediately call a qualified service technician to inspect and to replace any part of the electrical system if necessary. Keep plastic wrapping away from children. Unpacking the Electric Fireplace. Remove all parts and hardware from the carton and place them on a clean, soft, dry surface. -
Page 6: Product Dimension
PRODUCT DIMENSIONS Fireplace Insert Size Units:mm Width Height Depth Insert Depth Insert Height Insert Width Model ( ( ) ( (W) (H) (D) 535.9 557.6 ELP-10-140 632.9 688.6 ELP-10-141 535.9 818.6 ELP-10-142 1091 698.9 1004.6 ELP-10-143 Units:inch Width Height Depth Insert Depth Insert Height Insert Width... -
Page 7: Assembly
ASSEMBLY ALWAYS unplug this fireplace heater before assembly or cleaning, or before relocating. Failure to do so could result in electric shock, fire, or personal injury. KEEP drapery and other furnishings at least 3ft /0.9m from the front and sides of the electric fireplace. -
Page 8: Operation
OPERATION Read and understand this entire owner’s manual, including all safety information, before plugging in or using this product. Fail to do so could result in e ect l ric shock, fire, serious injury, or death. Power Make sure the Power Switch, located on the control panel, is in the OFF position. Plug the power cord into a 22 0 Volt 15 Amp outlet (see IMPORTANT SAFETY INFORMATION on Pages 3 and 4). -
Page 9: Control Panel
Control Panel Located on the right and top side panel of the fireplace. BUTTON NAME FUNCTION POWER FLAME :The flame will be cycled 1 – 2 – 3 – Flame Off . The heater will be cycled Low – High – Heater Off. You will see the screen light illuminates on right of the flame board.The indicator light goes out within 5s. -
Page 10: Remote Control
Remote Control Control panel Power Switch must be ON to use remote control. NOTICE: Aim the remote control at the remote receiver. Make sure you hear a beep each time you press the button! If not, the fireplace will not respond to the signal. NOTICE: Operation for all functions are same as the buttons on the fireplace. -
Page 11: Care And Maintenance
CARE AND MAINTENANCE ALWAYS turn the heater OFF and unplug the power cord from the outlet before cleaning, performing maintenance, or moving this fireplace. Failure to do so could result in electric shock, fire, or personal injury. Cleaning NEVER immerse in water or spray with water. Doing so could result in electric shock, fire, or personal injury. -
Page 12: Schematic Diagram
SCHEMATIC DIAGRAM Log speaker Temperature receiver HOT1 HOT2 SWING LED+ LED- AC L Heating element IN AC... -
Page 13: Faq - Frequently Asked Questions
FAQ - FREQUENTLY ASKED QUESTIONS Why does the fan blow before the heat comes on, and after the heater is turned off? Heat and cool gradually. The fan blows when the heater is first turned on, and the heat is still heating up. -
Page 14: Troubleshooting Guide
TROUBLESHOOTING GUIDE There is no power to the 1. Make sure the power cord is plugged into a functioning and fireplace, or it does not turn on. properly grounded 15 Amp 220VAC electrical outlet. . If the unit had been working, but then turned off by itself, the temperature limiting control may need to be reset. -
Page 15: Limited Warranty
LIMITED WARRANTY This warrants to the original purchaser that this product is free from defects in material and workmanship as of the date of purchase and that it will, under normal use and proper care, remain one year from the date of purchase. Missing or initially defective parts will be replaced free of charge during the period of this limited warranty.
Need help?
Do you have a question about the LP-10-140 and is the answer not in the manual?
Questions and answers