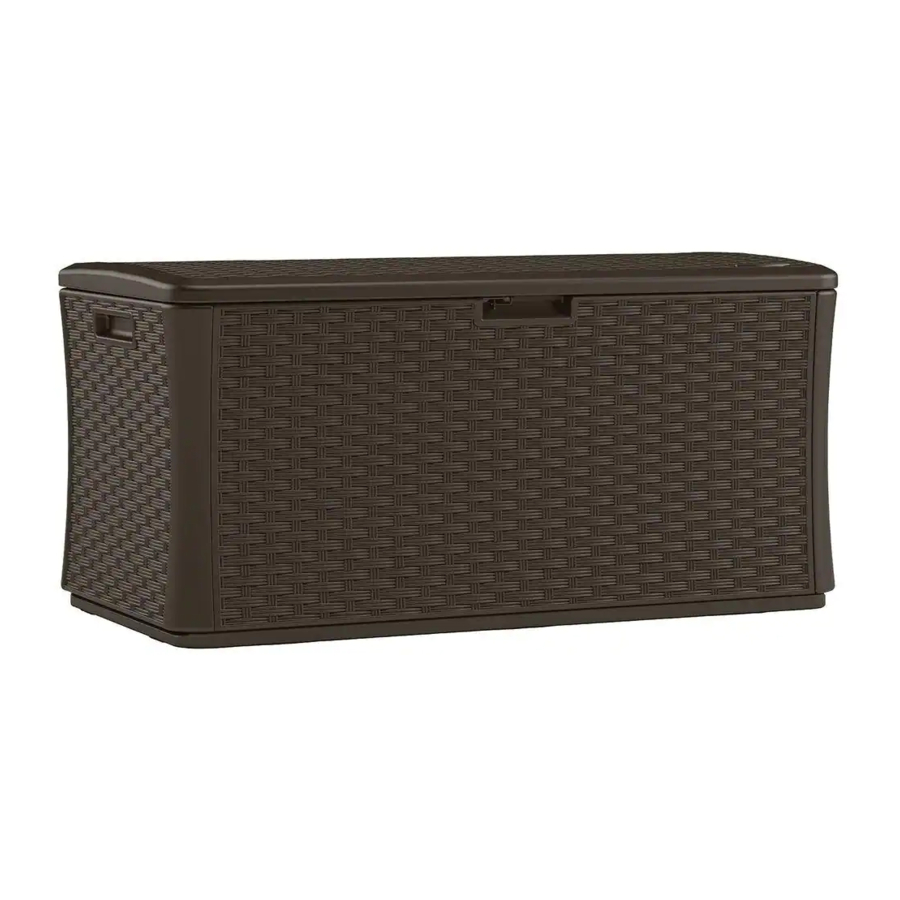
Suncast BMDB134004 - Storage Manual
Also See for BMDB134004:
- Owner's manual (20 pages) ,
- Assembly instructions manual (16 pages) ,
- Assembly instructions manual (12 pages)
Advertisement
Table of Contents
Contents
Suncast BMDB134004 - Storage Manual
Before You Begin
- Read instructions thoroughly prior to assembly.
This product contains parts that can be damaged if incorrectly assembled. - Please follow instructions.
Suncast is not responsible for replacing parts damaged due to incorrect assembly. - Avoid scratching finish.
For steps where parts are placed upside down, place parts on a smooth flat surface to avoid scratching finish - Keep these instructions.
You will need the Quality Control Number to register your product.
To purchase Suncast replacement parts and learn about other Suncast products, visit www.suncast.com or call 1-800-846-2345 or 1-630-879-2050.
Tools Needed for Installation

- Two people may be required during assembly.
![]()

PARTS

Names are engraved on parts.
- NOTE: During assembly, position all parts with wicker side out. Insert the two hooks on (B) into either short side of (A). Push straight down. You may hear a "snap" when tabs are fully engaged. Use force to push down.

- At an angle, insert the three hooks on (C) into either long side of bottom (A). Rotate(C) lip right to lock the hooks.

- Insert the two tabs on (C) into (B).

- Insert the two hooks on (B) into other short side of (A). Push straight down. You may hear a "snap" when tabs are fully engaged.
Repeat step 3 to connect (B) to (C).

- Insert Spacer (BB) on right side. Attach using one screw (CC).
REPEAT STEP 5 to opposlte side.

- At an angle, insert the three hooks on (D) into (A). Rotate (D) upright to lock the hooks.
REPEAT STEP3 TO CONNECT(D) TO BOTH B'S.

- Place front end 01 (H) in corner. With arm in upright position, push down to insert in the groove at the top of right side (B). NOTE: The joint will fit between (C) and (B).

- Attach with lour screws (AA).
REPEAT STEPS 7-8 ON OPPOSITE SIDE TO ATTACH (G).

- Slide Lock Hasp Bracket (I) into channel on lid and push up toward front of (E) until you hear a "Snap". Fasten with one screw (AA).

- Place (F) in channel on (E). Attach through pre-drilled holes on each end with 2 screws (AA). Attach rest from outside toward center using 6 screws (AA). There are no pre drilled holes on the lid. Use force when starting to drive self taping screws. Once the screw pierces the plastic, it will drive easier.
Note: Two holes on each side ot center screw will not be used.

- Align lid (E) to Back panel (C).
NOTE: Two person assembly required for steps 12 - 13.

- Slide loose end of (G) into channel on (E).
Attach with two screws (AA).
Attach bottom of (G) to (E) using two screws (AA).
REPEAT ON THE OPPOSITE SIDE TO ATTACH (H).

- Attach gas shock (K) by pushing until you hear a "snap".Repeat other side.

- To properly lock the unit, a 5/16" padlock is recommended.
NOTE: Lock not Included.


ATTENTION
- This product may become susceptible to impact damage in freezing temperatures.
- Do not store near excessive heat.
- Exercise caution when moving fully loaded product. This product is not intended for transporting heavy objects. Use as a stationary storage device only.
- Do not stand on lid.
- This item uses self taping screws in some areas. There are no pre-drilled holes in the plastic. Use force when starting to drive the screw. Once the screw pierces the plastic it will drive easier.
- To maintain the appearance of your deck box, clean it at least once a year. Use mild soap, water, and a soft bristle brush. Do not use bleach, ammonia, or caustic cleaners. These will damage the finish.
WARNING
- Not intended for storage of flammable or caustic chemicals.
- Not intended for usage by children. This is not a toy box.
- To avoid risk of suffocation, do not allow children to play inside container.
Warranty
To file a warranty claim contact the manufacturer, SUNCAST CORPORATION, 701 North Kirk Road, Batavia, Illinois, 60510. Call toll free (800) 846-2345 or visit www.suncast.com.
Documents / Resources
References
Download manual
Here you can download full pdf version of manual, it may contain additional safety instructions, warranty information, FCC rules, etc.
Advertisement


Need help?
Do you have a question about the BMDB134004 and is the answer not in the manual?
Questions and answers