Advertisement
Advertisement
Table of Contents

Summary of Contents for Ready2Go EDE-2
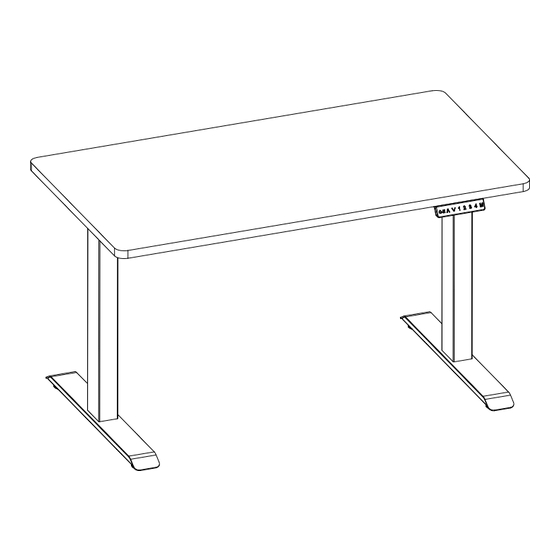
- Page 1 STEP 1 STEP 4 STEP 5 STEP 2 STEP 6 STEP 3 CAUTION: 2 PERSON HEAVY HEAVY ASSEMBLY PRODUCT CODE: REMARKS: EDE-2 Eco Height Adjustable Desk ASSEMBLED SIZE: 2019 READY TO GO FURNITURE PTY LTD...
- Page 2 PARTS LIST 90D SCREEN M6 x 16mm CLIP M8 x 16mm REAR SCREEN CLIP FIX LENGTH CABLE TRAY BUTTON HEAD ALLEN BOLT M6 x 16mm BUTTON HEAD ALLEN BOLT PRODUCT CODE: REMARKS: Cable Tray EDR-157-S Assembly instruction (2of2 ) ASSEMBLED SIZE: 2023 1500L x 750D x ADJH READY TO GO FURNITURE PTY LTD...
- Page 3 STEP 1 STEP 2 STEP 3 Align the tray on the slot Place the tray cover PRODUCT CODE: REMARKS: Cable Tray EDR-157-S Assembly instruction (2of2 ) ASSEMBLED SIZE: 2023 1500L x 750D x ADJH READY TO GO FURNITURE PTY LTD...
- Page 4 USER MANUAL Height Adjustable User Manual Up and down buttons Safety lock button Memory setting buttons USB charging ports 3-digit height display Page 1 of 5...
-
Page 5: Adjusting The Height
USER MANUAL 1. System Initialization / Reset When the installation of the desk frame is complete, the user must conduct a reset. Simultaneously press for 3 seconds. Continue pressing the buttons until both frame columns are in lowest position. When finished with the reset, the control box makes a beep sound and the buttons can be released. - Page 6 USER MANUAL 4. Setting the Height Limit Setting the upper height limit: Adjust the desk to the preferred upper height limit. Press buttons together less than 3 seconds, holding and release button. Re press for more than 3 times in a slow pace. A beeping sound will notify you that the process has completed.
-
Page 7: Lock And Unlock
USER MANUAL 5. Lock and Unlock Lock: Press the lock button for one second or do not touch any buttons for 20 seconds, then the below image will be shown on the display to indicate that the lock was completed successfully. Unlock: Hold the lock ”... -
Page 8: Error Codes
USER MANUAL Error Codes The digital display shows the error codes below to suggest the issues that users may encounter during the operation. Error Code Descriptions Resetting Not reset completely Overuse protection Unbalance protection Anti-collision T- touch Protection M1 Motor over current protection M2 Motor over current protection M3 Motor over current protection No Hall sensor from M1...

Need help?
Do you have a question about the EDE-2 and is the answer not in the manual?
Questions and answers