
Subscribe to Our Youtube Channel
Related Manuals for Quadro APERTO 2400


Summary of Contents for Quadro APERTO 2400
- Page 1 APERTO 2400 | QAP24 Assembly Instructions May 2024 © Quadro Concepts International 2024...
- Page 2 Please contact Quadro Concepts International through the website for support. 7. Ensure that all parts are included before starting to assemble. Please contact Quadro Concepts International through the website with any issues or enquiries. 8. Assembly on flat, level surface using a soft underlay to avoid damage.
-
Page 3: Limited Warranty
6. If the product has any defects or does not work as intended during the Warranty Period, Quadro Concepts International Pty Ltd will at its election and at its expense repair or replace the product. 7. The Warranty does not apply: to cosmetic damage sustained during or after initial assembly;... - Page 4 Content : Box [1 of 4] 2400 - Bench Top and Back Panel Bench Top Back Panel Content : Box [2/3 of 4] Legs x2 - LHS and RHS Identical QAP 24 Assembly Instructions May 2024 QAP 2400 | Assembly Instructions September 2021...
- Page 5 LHS & RHS Hardware 20x Bolt- M6 16x Washer- Small 4x Adjustable feet- M8 4x Washer- Large 1x M-F brass extension 1x F-F brass elbow adaptor © Quadro Concepts International 2024 | 5 QAP 2400 | Assembly Instructions September 2021...
-
Page 6: Setup Options
Set-Up Options BENCH LEFT-ORIENTED BENCH RIGHT-ORIENTED *APERTO Outdoor Kitchens are designed to be set up either left or right-oriented by simply rotating the bench top QAP 24 Assembly Instructions May 2024... -
Page 7: Step 1: Base Assembly
*assemble Base on a soft underlay *do not stand parts on the stone edge *avoid stone-on-stone contact *assemble with two people to avoid damage to the porcelain stone © Quadro Concepts International 2024 | 7 QAP 2400 | Assembly Instructions September 2021... - Page 8 QAP 2400 Assembly Instructions May 2024...
-
Page 9: Step 2: Bench Top
Step 2: Bench Top NOTE: *do not stand parts on the stone edge *avoid stone-on-stone contact *assemble with two people to avoid damage to the porcelain stone © Quadro Concepts International 2024 | 9 QAP 2400 | Assembly Instructions September 2021... - Page 10 *avoid stone-on-stone contact *assemble with two people to avoid damage to the porcelain stone *hand-tighten all bolts first, align components, then tighten using tool *access from underneath the bench top QAP 24 Assembly Instructions May 2024 © Quadro Concepts International 2021...
- Page 11 Step 2: Bench Top QAP 2400 | Assembly Instructions September 2021 © Quadro Concepts International 2024 | 11...
- Page 12 NOTE: *lift bench into final position with two people *adjust feet to ensure stable and level position *be careful not to tip the unit onto a stone edge to avoid porcelain stone damage QAP 24 Assembly Instructions May 2024...
- Page 13 Step 3: Tray Brackets NOTE: *there is a dedicated left-hand and a dedicated right-hand bracket © Quadro Concepts International 2024 | 13 QAP 2400 | Assembly Instructions September 2021...
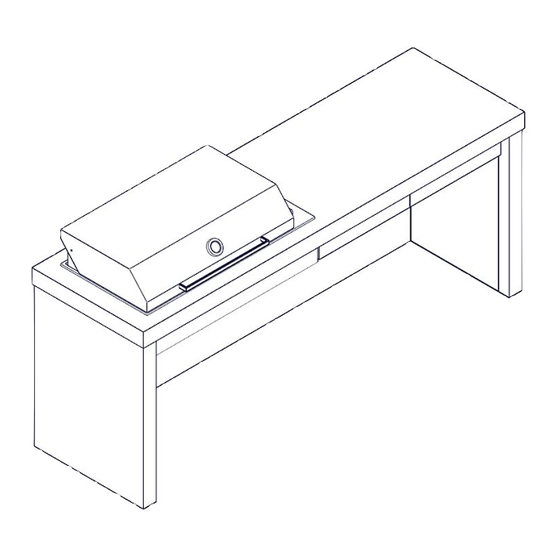
- Page 14 Step 4: Tray Optional: Facia Panels NOTE: *Facia Panels are available through Quadro to complete the front if no cabinets and/or fridge are ordered QAP 24 Assembly Instructions May 2024 QAP 2400 | Assembly Instructions September 2021...
- Page 15 Example: Artusi ABBQ Range IMPORTANT Follow the ULPG gas installation instructions in the appliance user manual. Preparation and connection for natural gas has to be done by a certified professional. © Quadro Concepts International 2024 | 15 © Quadro Concepts International 2021...
- Page 16 Note: All content and visuals accurate at time of printing. www.quadroconcepts.com For latest information about the Quadro Concepts range of products be sure to email contact@quadroconcepts.com IG @quadroconcepts or visit quadroconcepts.com...
Need help?
Do you have a question about the APERTO 2400 and is the answer not in the manual?
Questions and answers