Summary of Contents for Niceboy MIGHTY MULE FM123
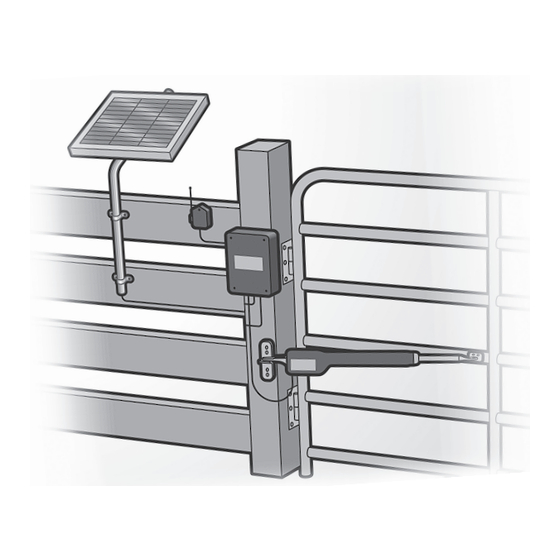
- Page 1 FM123 10 Watt Solar Powered Battery Charger Compatible with Mighty Mule DC Powered Gate Openers. Installation Manual...
- Page 2 Parts Included: A. Solar Panel B. Lag Bolts (4) C. Pipe Clamps (4) D. Curved Pipe E. Nuts (4) F. Bolts (4) G. Wire Nuts (2) H. Wrench Tools Required : • Phillips head screwdriver STEP 1: Position the curved pipe (D) between the pre-drilled holes on the back side of the frame and place the two pipe clamps (C) over the curved pipe.
- Page 3 IMPORTANT: To provide secure and moisture resistant splices for solar panels use a direct burial splice kit for underground splices and an above ground splice kit for above ground splices. These splice kits can be found at hardware and electrical supply stores. For optimal efficiency, wipe the face of the panel frequently with a soft, damp cloth.
- Page 4 Solar Panels connect in PARALLEL BLUE BLUE attach BLUE to negative (–) solar terminal on control board attach RED to positive (+) solar terminal on control board All connections should be made weatherproof using weatherproof splice kits available at hardware and electrical supply stores.


Need help?
Do you have a question about the MIGHTY MULE FM123 and is the answer not in the manual?
Questions and answers