Table of Contents
Advertisement
Quick Links
Advertisement
Table of Contents

Related Manuals for Power Breezer H-CLASS H950SL

Summary of Contents for Power Breezer H-CLASS H950SL
- Page 1 V1.0_2404...
-
Page 2: Table Of Contents
H950SL – User Manual Welcome Congratulations on your selection of a Power Breezer® HVAC Cooler, and welcome to a cooler tomorrow. We thank you for your purchase. We are proud of our products and have designed your Power Breezer HVAC Cooler for years of safe and reliable service. -
Page 3: Important Safety Information
H950SL – User Manual Important Safety Information To help protect your safety, this document utilizes safety messages. They are preceded with a safety alert symbol and one of three safety words: DANGER, WARNING, or CAUTION. Each safety message tells you what the hazard is, what can happen, and what you can do to avoid or reduce injury. The safety signal words mean: DANGER means if the danger is not avoided, it WILL cause death or serious injury. - Page 4 If the Unit becomes damaged or malfunctions, do not attempt to repair the unit. Doing so will void the warranty. Contact Power Breezer customer service for repair assistance. 1.844.233.5673 | customerservice@powerbreezer.com ©2024 Maxify Solutions, Inc. All Rights Reserved.
-
Page 5: Technical Specifications
H950SL – User Manual Technical Specifications Model H950SL Power Supply 115V~60Hz Refrigerating Capacity 13600 BTU/Hr Rated Power 1200 W Rated Current 10.8A Air Volume 350 CFM Max Circuit Current Fuse Type and Rating T Type 250VAC 10A Working Pressure on Suction/Discharge Side 290/650 pisg Maximum Working Pressure of Heat Exchanger 650 psig... -
Page 6: Electrical Wiring Diagram
H950SL – User Manual Electrical Wiring Diagram (Figure 1) ©2024 Maxify Solutions, Inc. All Rights Reserved. -
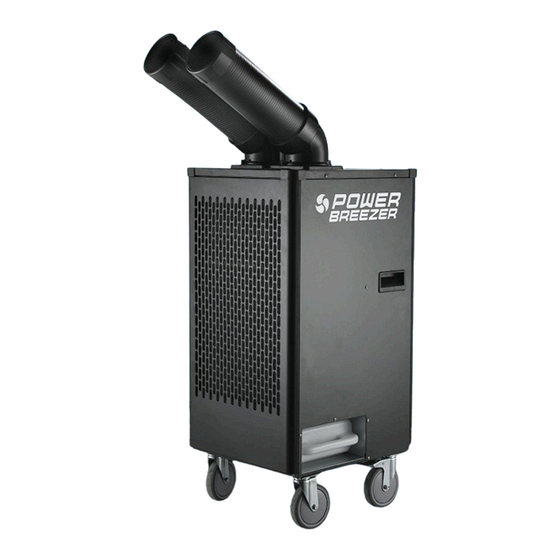
Page 7: Unit Overview
H950SL – User Manual Unit Overview (Figure 2) ©2024 Maxify Solutions, Inc. All Rights Reserved. -
Page 8: Cold Air Exhaust Elbow And Pipe Installation
H950SL – User Manual Cold Air Exhaust Elbow and Pipe Installation Installation of Exhaust Elbow: 1. Orient Exhaust Elbow so that the tabs are toward the bottom as illustrated in Figure 3. 2. Insert Exhaust Elbow’s Tabs into the corresponding Elbow Base Notches until evenly seated. 3. -
Page 9: Lcdi Power Cord And Plug
H950SL – User Manual LCDI Power Cord and Plug This Unit is equipped with an LCDI (Leakage Current Detection and Interruption) Power Cord and Plug. The LCDI Power Cord and Plug are designed to interrupt the electrical supply in the event of a short circuit. -
Page 10: Operating The Unit
H950SL – User Manual Operating the Unit (Figure 4) POWER Button Connect the Power Cord to an appropriate power supply. Once you hear the Unit make 3 tones and the power indicator light illuminates, press the POWER button. This signals the Unit to enter Cooling mode, indicated by the Cooling light turning on above the MODE Button. -
Page 11: Timer Button
H950SL – User Manual Cooling Upon initial startup, it defaults to Cooling mode. In this mode, the Cooling Icon indicator light is illuminated along with the Compressor light, indicating that the compressor is active. Cold air is supplied through the Cold Air Exhaust Pipe(s). Dehumidifying Pressing the MODE button again switches the unit to Dehumidify. -
Page 12: Compressor Overheat And Overload Protection
H950SL – User Manual Compressor Overheat and Overload Protection The compressor is safeguarded by overheating and overload protection mechanisms. Excessively high or low voltage, as well as extremely high environmental temperatures, can lead to overheating and overloading of the compressor. In such cases, the overload protector activates to disconnect the compressor's power supply, preventing damage. -
Page 13: Condensate Water Tank
H950SL – User Manual Condensate Water Tank The Unit should never be operated without the Condensate Water Tank in place. Running the Unit without the Tank installed can result in water flowing into the Unit and onto the floor, potentially causing significant damage. -
Page 14: Positioning The Unit For Safe Operation
H950SL – User Manual WARNING: Do not position the Drain Hose outlet in a location where the drained water will create a slip hazard. Note: The end of the Drain Hose must be positioned so that it is lower than the Condensate Water Tank. -
Page 15: Maintenance And Check
H950SL – User Manual Maintenance and Check ● Clean the Filter Screen on a regular basis. Dust and dirt on the Filter Screen may affect the air supply and cause frosting of the heat exchanger, which will cause the Unit to malfunction. ●... - Page 16 H950SL – User Manual The compressor capacitor is damaged Replace compressor capacitor Refrigerating system pipeline is Replace pipeline system clogged Overly high or low input voltage Please choose the proper voltage The compressor overheats and Restart after cooling overload protection fails The unit may be operating in an environment outside its normal operating temperature range...
-
Page 17: Contact Information And Support
H950SL – User Manual Contact Information and Support General Information or Product / Installation Support: Customer Service: customerservice@powerbreezer.com Parts: parts@powerbreezer.com Phone: 844.233.5673 Visit: www.PowerBreezer.com/support For Sales Information: sales@powerbreezer.com Phone: 844.233.5673 User Videos: www.youtube.com/powerbreezer www.powerbreezer.com Follow Us: www.facebook.com/PowerBreezer www.twitter.com/PowerBreezer www.linkedin.com/company/power-breezer/ ©2024 Maxify Solutions, Inc. All Rights Reserved.
Need help?
Do you have a question about the H-CLASS H950SL and is the answer not in the manual?
Questions and answers