Table of Contents
Advertisement
Quick Links
We appreciate the trust and confidence you have placed in Glacier Bay through the purchase of this sink. We strive to continually create quality
products designed to enhance your home. Visit us online to see our full line of products available for your home improvement needs. Thank you
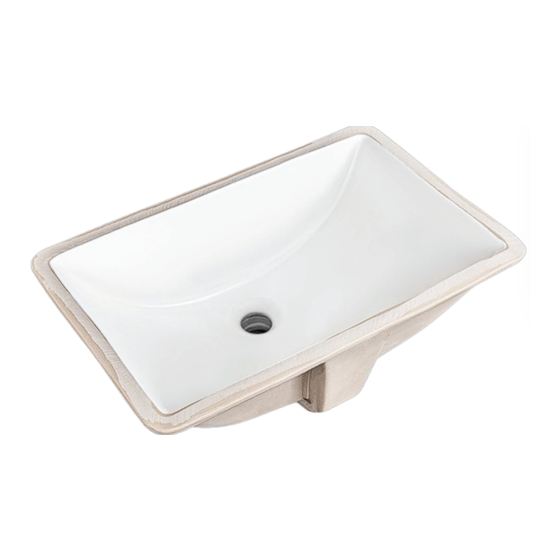
USE AND CARE GUIDE
UNDERMOUNT SINK
Questions, problems, missing parts? Before returning to the store,
call Glacier Bay Customer Service
8 a.m. - 7 p.m., EST, Monday - Friday, 9 a.m. - 6 p.m., EST, Saturday
1-855-HD-GLACIER
for choosing Glacier Bay!
HOMEDEPOT.CA
THANK YOU
Item #1001592924
Model #14-046-W-GB
Advertisement
Table of Contents

Related Manuals for Glacier bay 14-046-W-GB


Summary of Contents for Glacier bay 14-046-W-GB
- Page 1 THANK YOU We appreciate the trust and confidence you have placed in Glacier Bay through the purchase of this sink. We strive to continually create quality products designed to enhance your home. Visit us online to see our full line of products available for your home improvement needs. Thank you...
-
Page 2: Table Of Contents
Glacier Bay products are manufactured with superior quality standards and workmanship and are backed by our limited lifetime warranty . Glacier Bay products are warranted to the original consumer purchaser to be free of defects in materials or workmanship . We will replace FREE OF CHARGE any product or parts that proves defective . -
Page 3: Pre-Installation
Carpenters Plumber's Putty knife Pencil level putty Adjustable Screw driver wrench PACKAGE CONTENTS 14-046-W-GB Cut-out template for under counter lavatory Gabarit pour lavabo sous-coptoir 471mm Part Description Quantity Undermount Sink Template Undermount Clips Threaded Knurl Machine Screw Washer HOMEDEPOT .CA... -
Page 4: Installation
Installation Cutting the counter top Place threaded knurl NOTE: To avoid possible damage to the cabinet, cut the □ Place one threaded knurl (D) into each hole, and allow to counter top before installing the counter top to the cabinet . cure for the amount of time required according to the epoxy manufacturer’s directions . -
Page 5: Care And Cleaning
Installation (Continued) Installing the sink □ With the countertop positioned upside-down, center the sink (A) over the cutout . □ Firmly press the sink onto the countertop, and immediately wipe off excess sealant . □ Attach the undermount clips (C) to the threaded knurls (D) in the countertop using the machine screws (E) and washers (F) to hold sink in place . - Page 6 Questions, problems, missing parts? Before returning to the store, call Glacier Bay Customer Service 8 a.m. - 7 p.m., EST, Monday - Friday, 9 a.m. - 6 p.m., EST, Saturday 1-855-HD-GLACIER HOMEDEPOT.CA Retain this manual for future use.
Need help?
Do you have a question about the 14-046-W-GB and is the answer not in the manual?
Questions and answers