
Subscribe to Our Youtube Channel
Summary of Contents for Safran GSG-7 Series
- Page 1 ELECTRONICS & DEFENSE GSG-7 Series Essential GNSS Simulator Getting Started Guide Document Part No: 1242-5000-0055 Revision: 3 Date: 30 October 2023...
- Page 2 © 2023 by Safran Trusted 4D Canada Inc. 1275 Avenue des Canadiens-de-Montréal Montréal, QC H3B 0G4, Canada Safran Trusted 4D Inc. 45 Becker Road, Suite A West Henrietta, NY 14586 USA About this Guide The GSG-7 Getting Started Guide is designed to describe the hardware features, physical connections, provide a general understanding of the product, and initial simulation procedures for the GSG-7.
-
Page 3: Table Of Contents
Contents Contents .................................... 3 Included Parts List ............................4 Required Customer Parts ..........................5 Safety Information ............................5 3.1. Installation Safety Considerations ............................6 3.2. General Specifications ................................6 Inputs and Outputs ............................9 4.1. Rear Panel Connectors................................9 4.2. Front Panel Connectors ................................ -
Page 4: Included Parts List
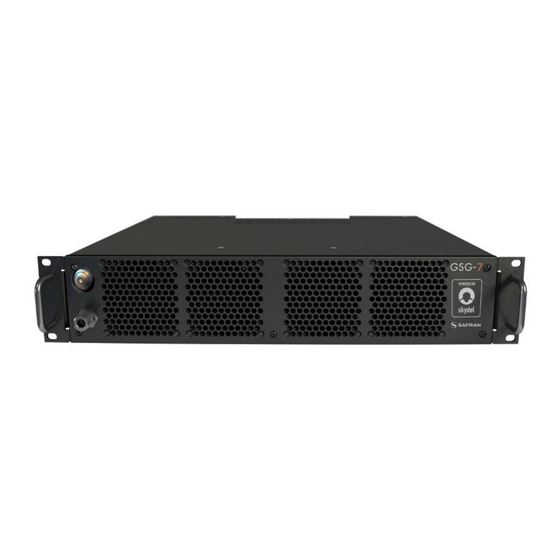
With a single high-quality RF output, the GSG-7 GNSS simulator covers the entire GNSS bandwidth and features high end performance with a 1000 Hz simulation iteration rate, high dynamics, real-time synchronization, and simulation of all-in-view satellite signals. GSG-7 principle www.safran-navigation-timing.com 4 | GSG-7 Getting Started Guide... -
Page 5: Required Customer Parts
This symbol on the equipment indicates that this user manual is to be consulted for instruction or further information provided for safe operation. www.safran-navigation-timing.com GSG-7 Getting Started Guide | 5... -
Page 6: Installation Safety Considerations
3.2. General Specifications Intended Use: Safran GSG-7 GNSS Simulators are used to test GNSS receivers and GNSS systems by generating GNSS signals, as they are transmitted by GNSS satellites. An RF output generates one of the following: upper band GNSS signals, www.safran-navigation-timing.com... - Page 7 IEC 61010-1:2010/AMD1:2016 ; CAN/CSA-C22.2 No. 61010-4 • AS CISPR 11:2017, CISPR 11:2015 + A1:2016 + A2:2019, • EN61000-3-2:2018 ; EN61000-3-3:2013 ; • EN 61326-1:2013 • FCC Part 15 Subpart B:2023 Class A, ICES-003 Issue 7 www.safran-navigation-timing.com GSG-7 Getting Started Guide | 7...
- Page 8 Substances • ROHS3, 2011/65/EU Emissions The GSG-7 contains an Safran CDM-7 to distribute a 10 MHz reference clock and 1PPS signals throughout the integrated SDRs. Software: Component Description Operating System Ubuntu 22.04.1 Username skydel Password Skydel123 GNSS Simulation Software Skydel www.safran-navigation-timing.com...
-
Page 9: Inputs And Outputs
10 MHz clock Input 10 Mhz clock Output 1 PPS Input 1 PPS Output GNSS Antenna Input 4.2. Front Panel Connectors Found inside the front panel cover. GNSS Signal Out Type N Output www.safran-navigation-timing.com GSG-7 Getting Started Guide | 9... -
Page 10: Connection Guide
Insert the mains plug into a socket outlet provided with protective earth grounding. 2. Connect the Safran SKYDEL license dongle into a USB port. (There are 5 functional USB ports on the rear panel near the center of the unit. These can be used interchangeably). -
Page 11: Rf Connections Steps
CAUTION: Read the relevant information in the Safety section before proceeding. There are two power switches on the GSG-7. When the GSG-7 is fully connected, turn on the power switch on the rear panel of the unit. www.safran-navigation-timing.com GSG-7 Getting Started Guide | 11... -
Page 12: Power Down The Gsg-7
Navigate to the main system menu (1), and select the “power” icon (2): Choose the Power Off button in the popup window. 2. Turn off the power supply switch on the rear of the unit. www.safran-navigation-timing.com 12 | GSG-7 Getting Started Guide... -
Page 13: Select And Connect Clock And Pps Reference
GSG-7. The CDM-7 will derive its own PPS signal from this external 10 MHz signal. Asynchronous External The CDM-7 will distribute the external 10 MHz signal and the derived PPS signal inside the GSG-7. The default mode is “Internal”. www.safran-navigation-timing.com GSG-7 Getting Started Guide | 13... - Page 14 2. In the Preferences menu, click the CDM-7 tab. 3. The CDM-7 mode can be changed using the Device Mode drop-down. The next time a simulation is started in Skydel, the CDM-7 will use the newly selected mode. www.safran-navigation-timing.com 14 | GSG-7 Getting Started Guide...
-
Page 15: Running Your First Simulation
6.1. Apply a License File Your GSG-7 includes a physical license to Safran’s SKYDEL software. This license is contained on a USB dongle (included with your shipment). If the dongle is connected to your GSG-7, the license file will be available. -
Page 16: Add A Radio
Multiple setup options are possible; refer to the main SKYDEL manual for more information. To add a radio, navigate to Settings - Output. 1. Click Settings 2. Click Output Select the DTA-2116 in the dropdown list and click the Add button. www.safran-navigation-timing.com 16 | GSG-7 Getting Started Guide... -
Page 17: Select Gnss Signals
Edit to make the necessary changes and click OK when done. 6.4. Select GNSS Signals Click the Edit button for the RF A output of Radio 1. Select GPS L1 C/A and click Ok. www.safran-navigation-timing.com GSG-7 Getting Started Guide | 17... -
Page 18: Select Vehicle Motion
To navigate back to the Settings, click the back arrow in the Settings Menu. 6.6. Start the Simulation To start the simulation, click the Start button. This action is only available when the status is Ready. www.safran-navigation-timing.com 18 | GSG-7 Getting Started Guide... -
Page 19: Additional Configuration
As such, there are many different potential settings to explore. Additional SKYDEL Settings information can be found in the SKYDEL User Manual (Help>Skydel User Manual or press F1). The SKYDEL User Manual is also available here: https://safran-navigation- timing.com/manuals/skydel/ www.safran-navigation-timing.com GSG-7 Getting Started Guide | 19... -
Page 20: Maintenance
Alternatively, you can request a GNSS antenna on a short-term loan basis from Safran. For this option, contact Safran customer service for more information.
Need help?
Do you have a question about the GSG-7 Series and is the answer not in the manual?
Questions and answers