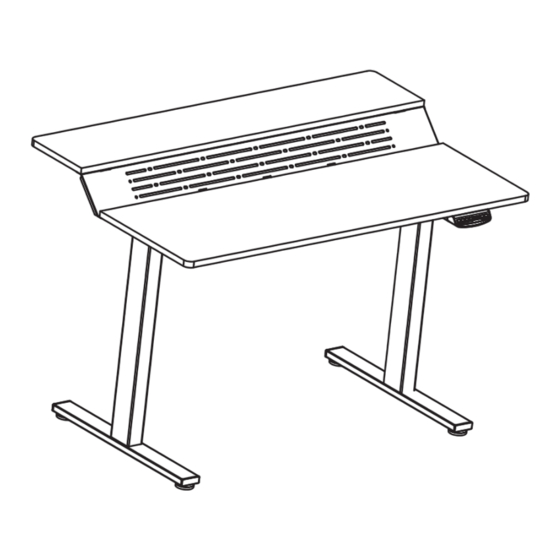
Summary of Contents for MotionFurni Penta AS2
- Page 1 SUPERIOR QUALITY ORIGINATED FROM GERMANY Desk Name: Penta SKU: AS2 www.motionfurni.com VERSION 5...
-
Page 2: Table Of Contents
CONTENTS..........................CAUTIONS..........................BOM............................INSTALLATION DETAILS...................... USAGE INSTRUCTION......................Q&A............................Product Technical Data Item Data Input 220~240VAC / 100~130VAC 50~60Hz Output 29VDC Max Loading 176 lbs / 80 kg Height Range(Without Desktop) 27.6"~46.5"/70CM~118 CM Working Ability 2 Min / 20 Min www.motionfurni.com... -
Page 3: Cautions
15. Before checking or wiping this equipment, please cut off the power! 16. Please DO NOT use water or alcohol to clean the equipment! 17. The company does not bear any warranty or liability for damage and human injury caused by any abnormal operation. www.motionfurni.com... -
Page 4: Bom
www.motionfurni.com... -
Page 5: Installation Details
·Insert the extension tube to the right tube and left tube as is shown in the picture, pre-tightening the bolts. ·Both the beam and the drive shaft need to be fixed with screws. Fasten the screws M6x10 SCREW 4pcs Fasten the screws M6x8 SCREW 4pcs Avoid excessive tightening screws www.motionfurni.com... - Page 6 ·Fasten the long sheet metal to the upper tabletop. ·Note: The bend of the sheet metal needs to be aligned with the edge of the tabletop, and should not exceed or be shorter than the fold line. ST4.8X16 Tapping Screw 3PCS Avoid excessive tightening screws www.motionfurni.com...
- Page 7 The bayonet needs to be placed on the side brackets on both sides of the table frame. ST4.8x16 Tapping Screw 6pcs Avoid excessive tightening screws ·Bend along the 3 different dotted lines, so that you can put the power strip, STEP7 computer adapter. www.motionfurni.com...
- Page 8 STEP8 desktop length and fasten screws. ·Place the power supply inside the socket tray.And fix the controllers onto the desktop ST4.8x16 Tapping Screw 11pcs ST3.5x16Tapping SCREW 2pcs Avoid excessive tightening screws STEP9 ·Connect the accessories(Controllers, bracket) onto the desktop. www.motionfurni.com...
-
Page 9: Usage Instruction
Once the desktop encounters any obstacle in its path, the screen displays "E-2" The desktop will move a defined distance in opposite direction, and it would be used normally after removing the obstacle. www.motionfurni.com... - Page 10 Press "1", "2" ,"3" to choose the first, second and the third number, each click will increase one value. Press "S" , the amending has been set. Note: The function enables you to change the height shows on the display based on the actual measurement. www.motionfurni.com...
- Page 11 Make the desk rest for 15minutes before further operation. The Height Difference between Two Legs Exceed Stop the operation and reset, refer to Manual reset 1 Inch Check the cables and ensure they are well connected, Check the Connection manual reset before re-use. www.motionfurni.com...
-
Page 12: Q&A
If it shipped from USA warehouse, it would arrive your place in 5-7 working days. When can i if there are some components missed? Email to us: service@motionfurni.com We will send the new components to you for FREE ASAP. What can I do if there are defaults with our desk? 1.Read this user manual more carefully, and check whether you operate it in the wrong way.

Need help?
Do you have a question about the Penta AS2 and is the answer not in the manual?
Questions and answers