Advertisement
Quick Links
Advertisement

Summary of Contents for Sol Office Furniture SOL-RN-2448L
- Page 1 Desk Installation Guide RETURN AND STORAGE INSTALLATION 888-993-3757...
-
Page 2: Tools Needed
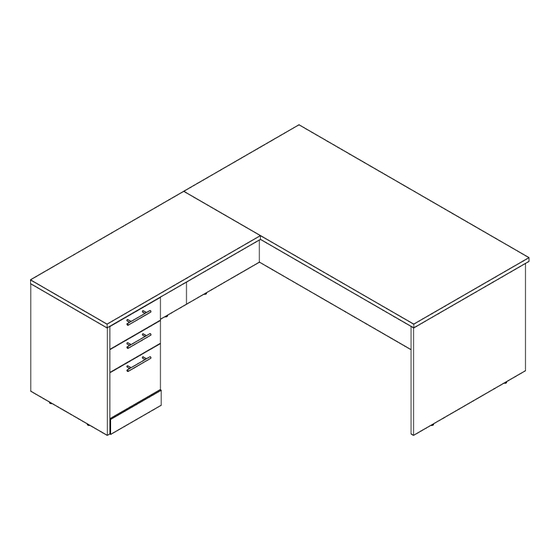
Return Install Back View SKU: SOL-RN-2448L SKU: SOL-RN-2448R Front View Left Return Right Return Example Left and right returns are assembled the same way. Tools Needed Drill (optional) #2 Phillips Head & #3 Phillips Head Screwdrivers Parts Hardware Part Quantity CAM Lock (Pin &... - Page 3 Return Install Cont’d Step 1: Lay all pieces out hole side up. Step 2: Attach the side laminate piece of the return to the back Side laminate piece using the cam pins and wooden dowels (figure 1). Step 2A: Place all cam pins, wooden Back dowels, and feet in the appropriate place (view labels and chart).
- Page 4 Return Install Cont’d Step 6: Use wood screws to attach flat bracket to the inside seem of the desk return (figure 4). Figure 4: Attaching Flat brackets Outside View Inside View Figure 5: Completed L-desk Under Storage Installation Tools Needed *Install shows a box/box/file (BBF) however the concept is the same for all under storage.
- Page 5 Under Storage Installation Cont’d Step 1: Remove hardware from top drawer through the top of the under storage and unlock the drawers (figure 8). Reference figure 7 for an image of the lock and key. Step 2: Attach feet to the bottom of the under storage and adjust height (figure 8).
Need help?
Do you have a question about the Office Furniture SOL-RN-2448L and is the answer not in the manual?
Questions and answers