Advertisement
ASSEMBLY INSTRUCTIONS
TOOLS NEEDED

(Not Included)
HARDWARE

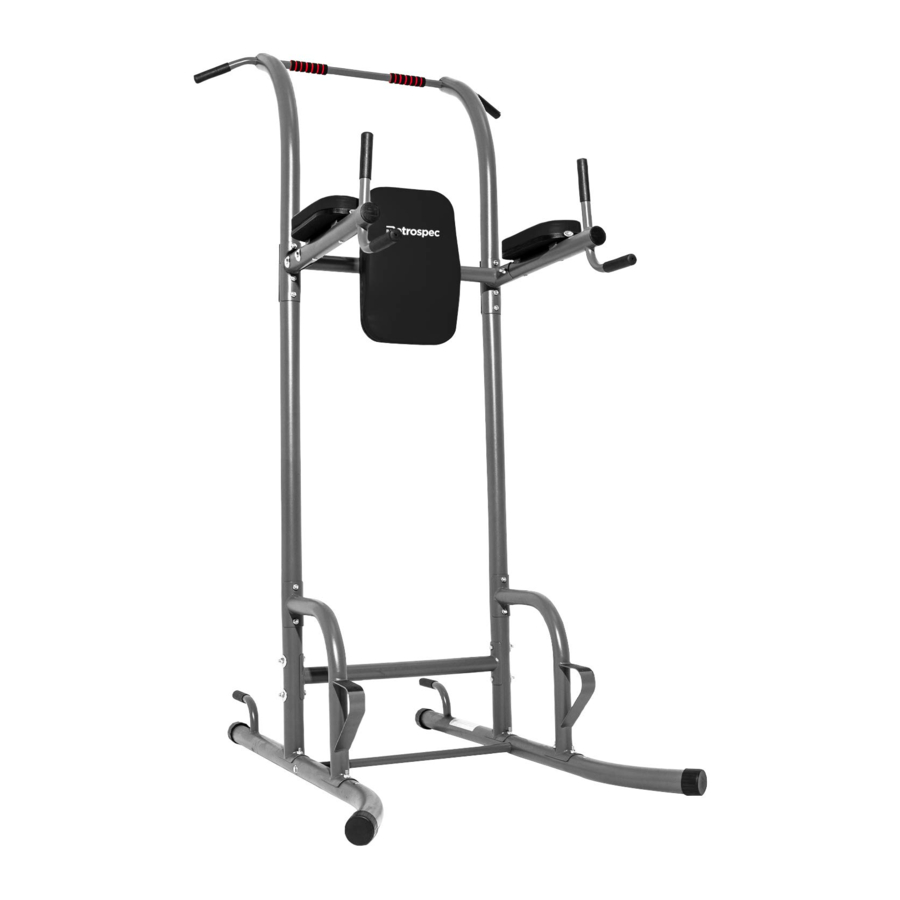
PARTS

BEFORE YOU BEGIN
This Power Tower comes with Stabilizer Rear End Leveling Caps on the Stabilizer Bases. These are for leveling your Power Tower.
Directions on how to adjust these can be found at the end of the instructions.
- Attach one Upright Base to one of the Stabilizer Bases. To attach, secure two carriage bolts from underneath the Stabilizer Bases (See #1). When the carriage bolts are secured, take two nylon nuts and twist them onto the end of the carriage bolts using a wrench until completely tightened (See #2). Repeat with other Stabilizer Base (See #3)
![]()

- Note - Notice that on the Stabilizer Bases there is an "R" and "L" indicating right and left sides. Check diagram for correct position before completing this step.
Take the Support Crossbar and place one side into the hole on the Stabilizer Base (See #1). To secure Support Crossbar, insert a 25mm hex bolt through a curved washer and then through the hole in the Stabilizer Base and secure by tightening with a wrench (See #2)
After securing one side of the Support Crossbar, thread a 70mm hex bolt through the hole on the Bottom Crossbar piece and the hole on the Upright Base. Once it is threaded through, place a washer and a nylon nut on the end of the bolt then tighten with a wrench (See #3).
Repeat with the other side until both Support Crossbar and Bottom Crossbar pieces are secure (See #4)


- Note - Make sure Stabilizer Base is in correct orientation before continuing (See #1).
Take the Support piece and line it up to the holes on the Stabilizer Base and Upright Base Start securing by threading two carriage bolts through two large curved washers and then through the holes in the Upright Base and Support piece (See #2). Once threaded through, use a wrench to twist the nylon nut onto the end of the carriage bolts.
Next, thread a 70mm hex bolt through the hole found underneath the Stabilizer Base (See #3). Once threaded through both the Stabilizer Base and the Support Piece, use a wrench to secure a nylon nut onto the end of the hex bolt
Repeat for other side (See #4)


- Insert the Upright piece into the Upright Base (See #1).
Note - Before securing, make sure the Upright piece is orientated in the right direction. Check diagram #1 below for correct positioning.
Note - Before securing, make sure the Dip Arms are orientated in the right direction. Check diagram #3 below for correct positioning.
On the side opposite of the Support piece, take the Support Plate and thread three 70mm hex bolts through the holes in the Support Plate, the Upright Piece and the Dip Arm piece (See #2). Once threaded through all three pieces, Use a wrench to tighten a nylon nut onto each of the three ends of the hex bolts.
Once secured, repeat with other Dip Arm (See #3)
![]()

- Slide the Top Crossbar between the two Dip Arms (See #1).
Insert two 65mm hex bolts through two large curved washers. Screw one of the hex bolts through the Dip Arm and secure it directly into the Top Cross Bar (See #2, A).
Thread the other hex bolt through the Dip Arm and Top Cross Bar, then use a wrench to tighten a nylon nut onto the end of the hex bolt (See #2, B).
Repeat on other side (See #3).


- Attach the Pull-Up Bar to the two Uprights by inserting two hex bolts through two curved washers and the Pull-Up Bar. Secure using a wrench (See #1)
Note - Please make sure the two indentations on the pull-up bar are facing towards the Uprights.
After the hex bolts and washers are secured, slide the two End Caps on top of the assembly (See #2)
![]()

- Attach the Back Rest to the Top Crossbar by inserting two 20mm screws through two flat washers, and into the Top Crossbar and Back Rest (See #1). Use Phillips screwdriver to secure.
Note - DO NOT over tighten the screws, as this might strip the thread or crack the wood in the Back Rest
![]()

- Insert two 65 mm screws into two curved washers, then through the bottom of one of the Dip Arms. Once Inserted, use a Phillips screwdriver to tighten the screw (See #1).
Note - DO NOT over tighten the screws, as this might strip the thread or crack the wood in the Arm Pads.
![]()

- Optional
In order to level your Power Tower Locate the two Stabilizer End Caps on the ends of the Stabilizer Bases (See #1).
Once located, twist the Stabilizer End Caps until Power Tower is leveled (See #2)


PRODUCT SAFETY, CARE and STORAGE
Before use, please review all safety instructions and warnings in this entire Owner's Manual, as well as any safety/warning labels affixed to the product.
Please read this manual carefully before assembling your Power Tower or starting to exercise.
Before you undertake any exercise program, be sure to consult with your doctor. Frequent strenuous exercise should be approved by your doctor. Proper use of this product is essential. Excessive or incorrect training may result to health injuries.
Power Tower is designed for users weighing 250 lbs. or less.

Serious injuries and even death can occur if the proper safety precautions are not followed
Safety
- Please keep all children away from this unit when in use Do not allow children to climb or play on this unit when not in use
- An adult(s) should supervise teenagers while they use this unit
- For your own safety, a ways ensure there is at least 3 feet of free space in all directions around your product while you are exercising
- Before use, a ways ensure your product is positioned on a solid, flat surface. If necessary, use a rubber mat underneath to reduce the possibility of slipping
- Always wear appropriate clothing and footwear such as training shoes when exercising
- Do not wear loose clothing that could become caught or snagged while exercising
- Extreme care must be taken to not allow your feet, fingers, hair, clothing, and/or any loose items to be snagged into any portion of the unit when in use
- Do not use this unit if it is not functioning properly or if it is not fully assembled
- Make sure all nuts, bolts, and screws are tightened prior to use
- Check for loose parts and components and make proper adjustments prior to use
- Check to see if there are any cracks or bends in the welding or metal prior to use. If cracks or bends are found, do NOT use the unit and contact our customer service department
- Do not use this unit for commercial purposes. This unit is for home use only.
- It is the owner's responsibility to properly instruct users on the proper operation of this equipment and to warn them of potential hazards
- If at any time during exercise you feel faint, dizzy, or experience pain, stop and consult your physician
Care and Maintenance
To avoid rust or corrosion to the metal parts caused by moisture and sweat, wipe and dry the unit with a dry absorbent towel after each workout session. Clean only with a damp cloth and immediately wipe down with a dry absorbent cloth afterwards. Do not use solvent cleaners. If you are in any doubt, do not use your cleaning product - contact our Customer Service.
The Back Rest and Arm Pads may see signs of wear after prolonged use. Please check these parts before each use.
Storage
Your Power Tower is intended for use in clean, dry conditions. You should avoid storage in excessively cold or damp places as this may lead to corrosion and other related problems.
Customer Service
Phone hours: Pacific Time, Monday-Friday
(213) 744-1555
Email: team@retrospec.com
Documents / ResourcesDownload manual
Here you can download full pdf version of manual, it may contain additional safety instructions, warranty information, FCC rules, etc.
Advertisement
Need help?
Do you have a question about the Power Tower and is the answer not in the manual?
Questions and answers