
Related Manuals for Kodiak Marisa Daybed


Summary of Contents for Kodiak Marisa Daybed
- Page 2 Marisa Daybed Assembly Instructions KF-DYMRS-23-00/01...
- Page 3 Parts supplied for assembly Box A Parts supplied for assembly Box B & Outer View & Outer View KF-DYMRS-23-00/02...
- Page 4 Hardware supplied for assembly x 20 x 20 x 24 Step 1: Locate parts P1, P3, P5, P6 & P7 Left arm KF-DYMRS-23-00/03...
- Page 5 Step 2: Locate parts P2, P4, P5, P6 & P7 Right arm KF-DYMRS-23-00/04...
- Page 6 Step 3: Attach P1 and P3 to P5, P6, P7 with hardware as shown Repeat the same step for other right arm P2 & P4 with the same hardware as shown. Left arm Tighten all bolts at this point. KF-DYMRS-23-00/05...
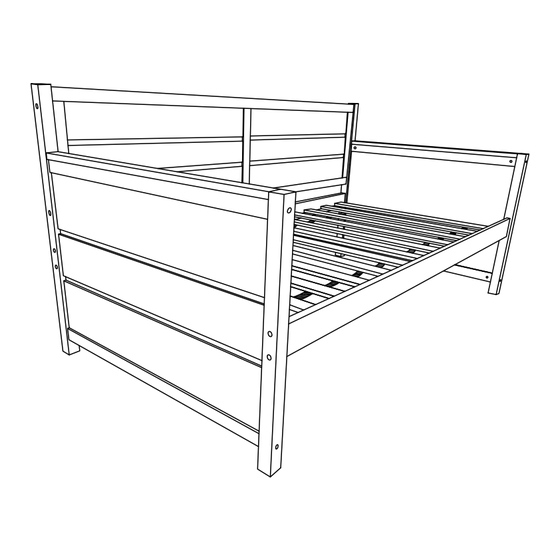
- Page 7 Step 4: Attach P10 and P11 to both arms IMPORTANT! Lossely attach H1 bolts at this step. & Outer View & Outer View KF-DYMRS-23-00/06...
- Page 8 Step 5: Attach P9 to P8 with hardware as shown Tighten all bolts at this point. KF-DYMRS-23-00/07...
- Page 9 Step 6: Attach back panel to Leg P3 & P4 Pre-drilled holes should face back. KF-DYMRS-23-00/08...
- Page 10 Step 7: Secure P9 with hardware as shown Tighten all bolts at this point. x 24 Step 8: Attach P12 with hardware as shown Tighten all bolts at this point. x 24 KF-DYMRS-23-00/09...
Need help?
Do you have a question about the Marisa Daybed and is the answer not in the manual?
Questions and answers