
Related Manuals for JONATHAN Y JYL9618


Summary of Contents for JONATHAN Y JYL9618
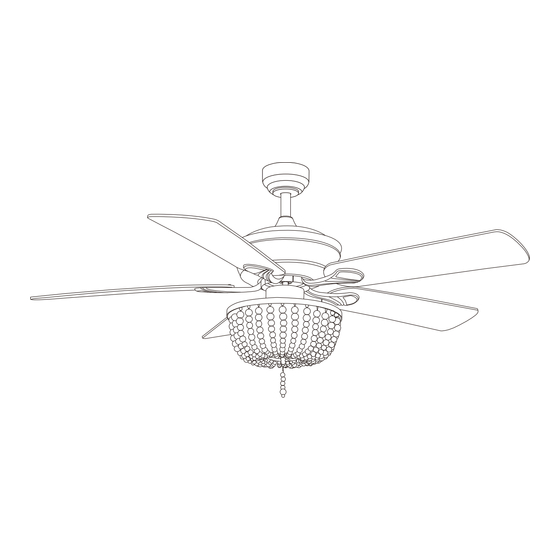
- Page 1 52-INCH CEILING FAN 52-INCH CEILING FAN 52"X H19.4"-24.4"-29.4" Installation video...
-
Page 2: Table Of Contents
Table of Contents Assembly- - - - - - - - - - - - - - - - - - - - - - - 11 Table of Contents - - - - - - - - - - - - - - - - - 2 Operation - - - - - - - - - - - - - - - - - - - - - - 14 Safety Information - - - - - - - - - - - - - - - - 2 Use of remote control - - - - - - - - - - - - - - 15... -
Page 3: Warranty
Servicing performed by unauthorized persons shall render the warranty invalid. There is no other express warranty.JONATHAN Y hereby disclaims any and all warranties, including but not limited to those of merchantability and fitness for a particular purpose to the extent permitted by law. The duration of any implied warranty which cannot be disclaimed is limited to the time period as specified in the express warranty. - Page 4 Pre-Installation(continued) TOOLS REQUIRED Phillips Drill Electrical screwdriver tape Hammer Adjustable Step ladder wrench HARDWARE INCLUDED NOTE:Hardware not shown to actual size. Mounting screws Expansion Bolts Mounting screws and cushion (Outlet box) Blade attachment screw and fiber washer Plastic wire nut(not to scale) Balanced parts package Arm screw and lock washer(preassembled)
- Page 5 Pre-Installation(continued) PACKAGE CONTENTS NOTE:Hardware not shown to actual size. Mounting Bracket Canopy 12.5CM Ball/down rod assembly 25CM Ball/down rod assembly Canopy Cover Coupling Cover Fan-motor assembly Lamp shade Blade Arm(with pre-installed scews) Remote control(Transmitter) Remote control(Receiver) lamp bulb...
- Page 6 Installation-Hanging the Fan 19.4" 24.4" 29.4" Installation - Hanging bracket For wooden ceiling, use wood screw to drill on the wooden beam or the "junction box" to fix the hanging bracket (selection is made according to actual requirements of the customers). STEP 1A-WOODEN CEILING Mounting SWITCH OFF THE ELECTRICAL MAINS AT THE CIRCUIT...
- Page 7 Installation - Hanging bracket(continued)
- Page 8 Assembly1-Standard Ceiling Mount 1.Preparing for standard mounting 2.Attaching the fan to the electical NOTE: The magnet is pre-attached on the WARNING: To reduce the risk of fire, electric canopy bottom cover for you to remove and shock or personal injury, mount to an outlet install easily.
- Page 9 Option 1-Flushmount installation (continued) 4.Flushmount Installation 3.Install flushmount assembly NOTE: If lifting is required, skip steps 3-4; NOTE: Before installing the canopy, wire it if flushmount installation is required, skip first, refer to step 9 on page 11 for wiring steps 5-8 reference Loosen the Set Screws(HH) in the...
-
Page 10: Assembly1
Option 2-The Downrod installation(continued) 5.Remove the hanger ball from the 6.Install Downrod and routing the downrod wires NOTE: Equipped with two long and short NOTE: If lifting is required, skip steps 3-4; suspension rods (C) and (D) for installation if flushmount installation is required, skip Choose one according to your own needs. - Page 11 Assembly-Hanging the Fan 8.Hanging the fan Mounting Bracket(A) Notice the hanger ball on the end of the ¨ Down Rod is grooved down one side. Keyway This keyway fits over the small Keyway Pin(S) Pin(S) on the inside of the Mounting Bracket(A) and keeps the celling fan Canpoy(B) from spinning on the Mounting...
-
Page 12: Assembly
Assembly-Hanging the Fan(continued) Receiver(L) 10.Install remote control Place the Receiver(L) on the Mounting ¨ Bracket(A) Carefully push the Canopy(B) to the bottom ¨ of the Mounting Bracket(A), make two Mounting Bracket(A) sliding holes aligned to the two prominent screws on the Mounting Bracket(A), and Bracket screws(A1) then turn clockwise until tight. - Page 13 Assembly-Attaching the Lights 13.Connecting lamp wire 14.Tighten the screw of the box cover Take the wire into the lamp shade of the ¨ motor Align the opening of lamp shade of the ¨ Insert the“white"line in the switching ¨ light at switch locking position of the box of the motorinto the“white"line of positive and negative rotation of the the light and tie insulated rubber tape.
-
Page 14: Operation
Assembly-Attaching the Lights(continued) 15.Installing light bulbs Screw bulb inside lamp holder. ¨ Please use Type"B" bulb MAX 40- ¨ watt or led bulb MAX 9-watt,there is led 4-watt bulb in the box. Operation... -
Page 15: Use Of Remote Control
Use of remote control Fan Speed Low level Fan Speed Middle level Fan Speed High level Fan Stop Preparing the remote control Installing remote control bracket NOTE: The frequencies on your receiver NOTE: Screw wall anchors are included for extra support. The included screws are and remote contro!have been preset at the factory. - Page 16 Fans Balance...
-
Page 17: Care And Cleaning
Care and Cleaning Troubleshooting... - Page 18 52-INCH CEILING FAN 52-INCH CEILING FAN...
Need help?
Do you have a question about the JYL9618 and is the answer not in the manual?
Questions and answers