Advertisement
Quick Links
XIM663161-R2 - 5/24
ASSEMBLY INSTRUCTIONS • INSTRUCTIONS DE MONTAGE
#663161
#642777
#642319
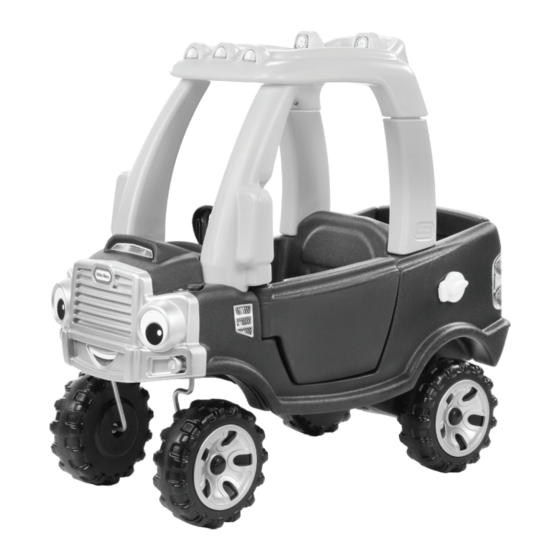
Cozy Truck
Adult assembly required. Approx. assembly time: 60 min.
Montage par un adulte requis. Durée de montage : 60 min.
™
1
1
1
/
2
years
ans
Ciascun componente è
contrassegnato dal simbolo
del materiale. Raccolta
differenziata. Verifica le
disposizioni del tuo Comune.
-5
Advertisement

Related Manuals for Little Tikes Cozy Truck 663161


Summary of Contents for Little Tikes Cozy Truck 663161
- Page 1 XIM663161-R2 - 5/24 years Cozy Truck ™ ASSEMBLY INSTRUCTIONS • INSTRUCTIONS DE MONTAGE Adult assembly required. Approx. assembly time: 60 min. #663161 #642777 Montage par un adulte requis. Durée de montage : 60 min. #642319 Ciascun componente è contrassegnato dal simbolo del materiale.
- Page 2 La présente garantie est valable uniquement si le produit workmanship for one year * from the date of purchase (dated sales receipt is required for proof of purchase). At the sole election of The Little Tikes Company, the only remedies available under this warranty will be the replacement of the defective part or replacement of the product.
- Page 3 Some packages of hardware may have extras comporter des composants supplémentaires. pieces. Questions? Nous sommes là pour vous aider. Questions? We’re here to help. Little Tikes Appelez notre service à la clientèle au customer service team at 1-800- 321-0183. 1 800 321-0183.
- Page 4 Body (1) Carrosserie (1) Door latch (1) Loquet de portière (1) Door (2) Roof (1) Portière (2) Toit (1) Roof Pillars - FRONT Montant de toit - AVANT Roof Pillars - REAR Montant de toit - ARRIÈRE Grill (1) Center caps (4) Calandre Chapeaux de roue (4) Roof pillars...
- Page 5 Start with the dashboard decals! • Commencez par les autocollants du volant ! Before installing steering wheel, apply decals 11 & 12 to dashboard. Apposez les autocollants n 11 & 12 sur le tableau de bord avant d’installer le volant au tableau de bord. Let’s get the horn working •...
- Page 6 Steering wheel...in a Click! • En un CLIC! Steering clip should snap into MIDDLE hole on each side of the Squeeze steering clip (part T) into steering wheel (part S). steering column. Pincez le pommeau de direction (pièce T) dans le volant Le pommeau de direction doit s’emboîter dans l’ouverture sur la (pièce S).
- Page 7 Ready...let’s get started! • Prêt... commençons! First, install door latch (part C) into door (part B). Attach using (1) 1/2" (1.27 cm) screw. Tout d’abord, installez le loquet (pièce C) dans la portière (pièce B). Fixez à l’aide de (1) vis de 1,27 cm (1/2 po). "...
- Page 8 FRONT pillars...insert, pull back, turn! Montants AVANT… insérez, tirez vers l’arrière, tournez! 1. Line up the “R” on the front roof pillar (part E1) to the “R” on the roof (part D). Hook the rounded end in and push down. 1.
- Page 9 REAR pillars...insert, pull back, turn! Montants ARRIÈRE...introduisez, tirez en arrière, tournez ! 1. Line up the “R1” on the rear pillar (part F1) to the “R1” on the roof (part D). Hook the rounded end in and push down. 1. Alignez le « R1 » du montant arrière (pièce F1) avec le «...
- Page 10 FRONT pillars...lock the door in place! Le tableau de bord maintient la portière en place. Insert the front roof pillars and To ease the assembly, it helps to place a roof on the body (part A). drop or two of liquid dish soap onto the surface area that is being assembled.
- Page 11 Grill on the front...tailgate in the back • Calandre à l’avant, hayon à l’arrière First, turn the truck over and rest it on the roof. Attach grill (part G) to the body (part A). Tout d’abord, retournez le camion et posez-le sur le toit. Fixez la calandre (pièce G) à la carrosserie (pièce A). 1"...
- Page 12 REAR wheels...get in the groove • Roues ARRIÈRE - mise en place rear axle wheel roue bushing washer hubcap bague d'essieu rondelle enjoliveur arrière • Slide onto rear axle (1) hubcap (M), (1) wheel (K), (1) rear axle bushing (DD) and (1) washer (BB). •...
- Page 13 FRONT wheels...check your axles • Roues AVANT... vérifiez vos essieux Axles are NOT IDENTICAL. Les essieux ne sont PAS IDENTIQUES top hat écrou borgne Left • Gauche Right • Droit Top hat tool Outil pour écrou borgne washer rondelle • Place the top hat, then the top hat tool onto open end of axle.
- Page 14 IMPORTANT! Check axle positions - roll the Cozy Truck forward - HUBCAPS SHOULD BE FACING OUTWARD. IMPORTANT! Vérifiez les positions des essieux - faites rouler le camion STOP Cozy Truck vers l’avant - LES ENJOLIVEURS DOIVENT FAIRE FACE À L’EXTÉRIEUR. CORRECT WRONG CORRECTE...
- Page 15 3/4" (1.9 cm) Top hat corner - right Écrou borgne coin droit 1. Match right “R” (part O1) top hat corners and left “L” 2. Insert and press into place. 3. Secure using (1) 3/4" (1.9 cm) (part (O2) top hat corners to the correctly marked sides screws.
- Page 16 LAST STEP...let’s finish with the decals! DERNIÈRE ÉTAPE... terminons avec les décalcomanies! Decals must be applied to a clean, dry surface. Wipe clean with a dry rag before application. Remove air from under decals by applying pressure to the decals starting from the center, and work towards edges.
- Page 17 Cozy Truck ™ Pie zas 4. Repite los pasos para el pilar del techo - trasero IZQUIERDO (pieza F2). K. Ruedas (4) R. Eje de la rueda delantera INSTRUCCIONES DE MONTAJE L. Eje de la rueda delantera DERECHA (1) Paso 8 : PILARES DELANTEROS... ¡Mantenga la puerta en IZQUIERDA S.
- Page 18 Plastikteile ihre Geschmeidigkeit, können spröde mit „L & R“ markiert und müssen an die jeweils richtige Seite © The Little Tikes Company, una compañía de MGA Entertainment. LITTLE TIKES® es una werden und bei Berührung brechen. Das Gerät an einem montiert werden.
- Page 19 Gedruckt in den U.S.A. mieć dodatkowe elementy. © The Little Tikes® Company, ein Unternehmen von MGA Entertainment. LITTLE TIKES® ist ein Marke von 3. Obracaj TYLNY słupek dachu dookoła. Logo powinno być Little Tikes in den USA und anderen Ländern. Alle Logos, Namen, Figuren, Abbilder, Bilder, Slogans und •...
- Page 20 Krok 8a: Przymocuj tylne słupki towarowym Little Tikes w Stanach Zjednoczonych i innych krajach. Wszystkie logo, nazwy, znaki, wizerunki, obrazy, hasła i wygląd opakowań są własnością firmy Little Tikes. Adres i opakowanie Osoba 1: Przytrzymaj dach. • VOORDAT u met de montage begint, moet u ervoor należy zachować...
- Page 21 Persoon 1: Houd de dakconstructie vast. • Alcune confezioni di componenti possono contenere Little Tikes in de V.S. en andere landen. Alle logo’ s , namen, symbolen, gelijkenissen, afbeeldingen, Persoon 2: Zet vast met (2) schroeven van 4,44 cm (1 ").
- Page 22 3. Bloccare usando (2) viti da 4,44 cm (1 "). CAPOVOLGI LA fabbrica di Little Tikes negli USA e altri Paesi. Tutti i logo, i nomi, i caratteri, le rassomiglianze, le • Perguntas? Nós estamos aqui para ajudar. Entre em immagini, gli slogan e i tipi di confezionamento sono proprietà...
- Page 23 © The Little Tikes Company, uma companhia da MGA Entertainment. LITTLE TIKES® é uma marca carroçaria (peça A). Em seguida, encaixe o outro lado. comercial da Little Tikes nos EUA e em outros países. Todos os logotipos, nomes, identidades visuais, A cor da ferramenta pode variar. Descartar o cabeçote imagens, slogans e aparência das embalagens são de propriedade da Little Tikes.
Need help?
Do you have a question about the Cozy Truck 663161 and is the answer not in the manual?
Questions and answers