Advertisement
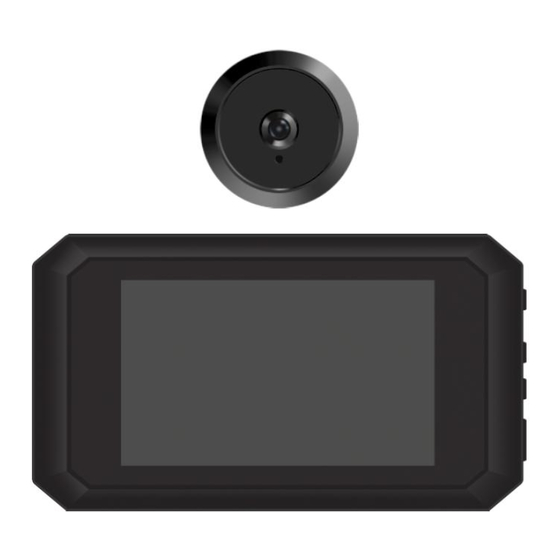
Smart Electronic Peephole Door Viewer/Video Doorbell
Version No.:V1.0
Notice:
To avoid falling and damage,please donot put the products in the unstable object
surface;please don't touch the motiondetection sensor of the outdoor device.
To avoid the damage of LCD screen and the panel, please don't press the LCD screen
display area.
Please pay attention to dust, dampness, moisture, and high temperature.
Please insert the SD card (SD card beyond 8G) before installation.16g and 32g are
recommended, and the storage and reading speed shall not be lower than C10, that is, the
storage speed per secondshall not be lower than 10m.
Instruction Book
(此处放一张主机图片)
Advertisement
Table of Contents

Summary of Contents for ESCAM C23
- Page 1 Smart Electronic Peephole Door Viewer/Video Doorbell Instruction Book Version No.:V1.0 (此处放一张主机图片) Notice: To avoid falling and damage,please donot put the products in the unstable object surface;please don’t touch the motiondetection sensor of the outdoor device. To avoid the damage of LCD screen and the panel, please don't press the LCD screen display area.
-
Page 2: Product Specification
Please align cable port fastened gently when install the flexible cable,cover the cable cover. To Maintain the surface cleaning of the outdoor camera lens. Product Specification: A、Indoor unit: 135*76*13mm B、Outdoor unit: 40*40*10mm C、Door opening range: 15—30mm D、Door thickness range:35-80mm E、LCD screen:3.97”, Resolution: 480×800 F、Camera pixels:200Wor other configuration G、Lithium battery:1400MAH 3.7-4.2V... -
Page 3: Installation Diagram
Installation diagram:... -
Page 4: Installation Procedure
Installation procedure: Step 1: Remove the conventional optical lens peep outdoor part, recommended door hole between 15mm ~ 30mm, applicable door thickness between 35mm-80mm. Step 2: Select the screw which is suit for the thickness of the door and screwed into the outdoor part screw hole,do not tighten. - Page 5 hole,then adjust the position of outdoor part and adhesive on the door, please note the cable connector should be down. Step 4: Put the wire (FPC) through the center hole of the bracket,put screws through to the big hole from the left of bracket, slide bracket to the left until Align with the wire (FPC) center.
-
Page 6: Camera Settings
1 Album Management Press the menu button to confirm entering the album viewing interface, press the up button to see the previous picture (video), press the down button to see the next picture (video), long press the menu button under this interface to delete the picture, select "Delete Current" or "Delete All", and press the "on/off"... - Page 7 I、Date/Time, set the current date and time. II、Screen Time,divided into three gears: 10 Seconds , 20 Seconds , 30 Seconds III、 Restore Factory Settings, restore system programs in case of device program disorder. IV、Restore Factory Settings, Restore system programs in case of device program disorder V、...
- Page 8 Phenomenon Treating method...
- Page 9 You need to press the reset button once every time you plug and unplug the cable , and press (FPC) the reset button once when the machine crashes, Or enter Settings to restore factory Settings B. Check whether the flexible flat cable (FPC) is reversed, and whether the back cover is tightly closed,Check whether the cable interface is damaged...
Need help?
Do you have a question about the C23 and is the answer not in the manual?
Questions and answers