
Summary of Contents for HOME PILOT Roller shutter motor classic
- Page 1 Quick User Guide Roller shutter motor classic & premium small | medium QUG C101-2-R1 (08.2023)
-
Page 2: Safety Instructions
Safety Instructions Please observe the safety instructions prior to commissioning. Danger of fatal electric shock Danger area / dangerous situation DANGER! DANGER! This hazard will result in serious injury or death. WARNING! WARNING! This hazard can lead to serious injury or death. CAUTION! CAUTION! This hazard can cause minor to moderate injuries. - Page 4 RISK OF DEATH! RISK OF DEATH! Danger to life due to electric shock when touching electrical components: • All installation and connection work must be carried out in a de-energised state! • Disconnect all poles of the supply line from the mains and secure against reconnection. •...
- Page 5 Recommendation: shorten the length of the winding shaft (L) by approx. 5 mm more than determined with the formula to ensure suffi cient clearance of 2 to 3 mm in the overall length when inserting the roller capsule (4). If the motor is to be operated with the self-learning ATTENTION! ATTENTION! end point setting and obstacle detection,...
- Page 6 Push the roller capsule (4) into the winding shaft (5) and then place the ball bearing (2) on the axle pin (3) of the roller capsule (4). WARNING! WARNING! Danger of short-circuit due to water if the cable is routed incorrectly / damaged: •...
- Page 7 ATTENTION! ATTENTION! Drilling and inserting screws in the area of the drive will destroy the drive, therefore never drill or screw in the area of the drive to fi x the roller shutter. Mounting the roller shutter with rigid shaft connectors Mount at least two rigid shaft connectors per roller shutter on both ends of the corresponding octagonal shaft.
- Page 8 For SW40 winding shafts with outer fold, use suspension clips to mount the fastening springs. To use the self-learning operation, two roller shutter stoppers or an end rail must be mounted on the lowest slat/rail of the roller shutter.
-
Page 9: Electrical Connection
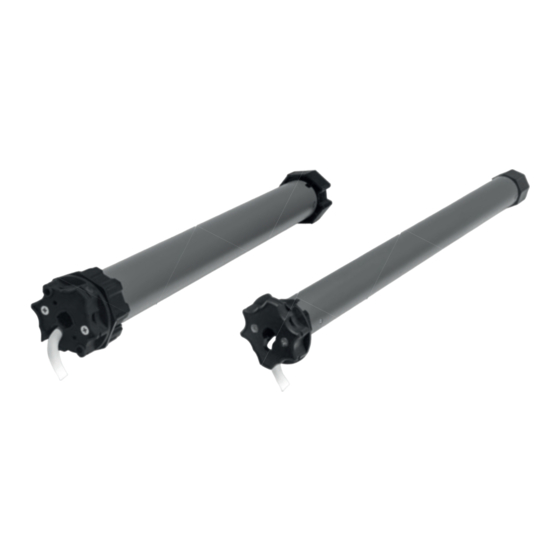
Electrical connection Motor classic Motor premium smart The actual running direction of the motor and thus of the curtain (wire assignment for L1/L2) depends on the installa- tion direction and wiring of the motor. Set button L1 = Running direction upwards (black) L2 = running direction downwards (brown) * = grey wire (without function, connect to neutral) N = Neutral conductor (blue) - Page 10 • The actual running direction of the motor and thus of the curtain (wire assignment for L1/L2) depends on the installation direction and wiring of the motor. • When shortening the connection cable, make sure that a minimum length of 20 cm is observed. Set button L1 = Running direction upwards (black) L2 = running direction downwards (brown)
- Page 11 Endpoint setting in self-learning mode ATTENTION! ATTENTION! Without a stopper or end rail, the roller shutter can move into the roller shutter box during self-learn- ing operation and be damaged. Therefore, always mount two stoppers or an end rail on the roller shutter or set end points manually according to the operating instructions.
- Page 12 CONTACT by email: service.en@homepilot-smarthome.com DELTA DORE RADEMACHER GmbH Buschkamp 7 46414 Rhede (Germany)
Need help?
Do you have a question about the Roller shutter motor classic and is the answer not in the manual?
Questions and answers