Advertisement
Quick Links
U S E R
M A N U A L
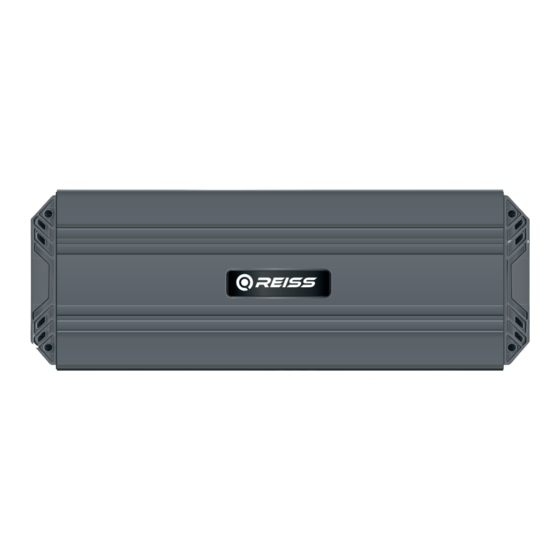
RS-AE SERİES
MULTI CHANNEL AMPLIFIER
Pl e a se ca ref u l l y rea d t h e u s er ma nu a l.
Do no t u se yo u r dev i ce w it ho u t rea d in g.
Dear Customer,
First of all, we would like to thank you for choosing our REISS AUDIO
branded device, which is the pioneer of quality.
In order for your device, which has been produced in modern facili-
ties and has undergone rigorous quality control, to o er you the best
e
ciency,
Please read this entire manual carefully before using your device and
keep it as a reference.
w w w . r e i s s a u d i o . c o m . t r
Advertisement

Summary of Contents for Reiss RS-AE Series
- Page 1 Do no t u se yo u r dev i ce w it ho u t rea d in g. Dear Customer, First of all, we would like to thank you for choosing our REISS AUDIO branded device, which is the pioneer of quality.
- Page 2 U S E R M A N U A L RULES TO BE FOLLOWED IN MAINTENANCE, REPAIR AND USE ONLY AUTHORIZED TECHNICAL PERSONS CAN OPEN THE BACK COVER. THE WARRANTY OF THE DEVICE IS APPLICABLE TO DEVICES WITHOUT OPEN BACK COVER. TO AVOID FIRE HAZARD AND DANGEROUS SHOCK, DO NOT EXPOSE THE APPLIANCE TO MOISTURE OR RAIN.
- Page 3 What’s Included...
- Page 4 Important Safety Considerations Important Installation Precautions...
- Page 5 Important Installation Precautions Continued metal edges. Mounting Placement...
- Page 6 Side Panel Layout AE1000.4D & AE1800.4D AE1200.6D AE1800.5D...
-
Page 7: Outputs Connection
Side Panel Layout Continued Ground: recommends when making your chas si s ground to use a Star Washer whic h wi ll h elp prevent your g round bolt from loosening. Remote Input Terminal: If you are using the High-Level Speaker Outputs connection then becomes a remote output trigger which can be used... -
Page 8: Power Connection
Side Panel Layout Continued +12Vo lt Positive Terminal: Power Connection for Fuse Rating Connect to Fuse chassis ground Connect to Source unit’s of vehicle. Keep accessory lead or Less Grounds as short than 18” switched 12v source as possible Vehicle Battery... - Page 9 Side Panel Layout Continued Fuse Holder: Sp eaker Outputs: Visit www. .com or talk to your Authorized Dealer to see a complete selection of premium installation accessory that will complement and enhance listening experience. Lo w L evel RCA Inputs: Low Level RCA Preouts (AE1000.4D &...
- Page 10 Side Panel Layout Continued 7. Input Voltage Selector: 8. Input Mode Selector: If the 2Ch. position is 9. Turn On Mode Selector: a. Remote (+12Volt Remote Turn-On Lead): This is the Signal (Signal Sensing Circuit):...
- Page 11 Side Panel Layout Continued you will not need to wire a remote input to the 10. Input Gain: These Input Gains are not a volume knob. 12. Crossover Filter Selector (X-Over Filter)
- Page 12 Side Panel Layout Continued 13. Clipping Led Indicators: 16. Remote Level Control: a. AE1000.4D and AE1800.4D: Full.
- Page 13 Side Panel Layout Continued AE1200.6D: AE1800.5D: Phase Switch (AE1800.5D Only): Depending on the...
- Page 14 Side Panel Layout Continued Infrasonic Filter (AE1800.5D Only): Common Installation Diagrams (The Subwoofer Channel on the AE1800.5D is stable to 1-ohm mono.)
- Page 15 Common Installation Diagrams Continued AE1000.4D & AE1800.4D 4 - Channel Speaker Output Connection Full Range Speakers 2 ohm 2 ohm Minimum Minimum Side Panel Switch Position Full Range 2 ohm 2 ohm Speakers Minimum Minimum 3 - Channel Stereo/Mono Speaker Output Connection Full Range Speakers 2 ohm...
- Page 16 Common Installation Diagrams Continued 2 - Channel (Bridged Mode) Speaker Output Connection Subwoofer 4 ohm Minimum Side Panel Switch Position Subwoofer 4 ohm Minimum AE1200.6D 6 - Channel Speaker Output Connection Side Panel Switch Position Full Range Speakers Full Range Speakers 2 ohm Minimum 2 ohm Minimum Full Range Speakers...
- Page 17 Common Installation Diagrams Continued 5 - Channel Stereo/Mono Speaker Output Connection Side Panel Switch Position Full Range Speakers 2 ohm Minimum Subwoofer 4 ohm 4 - Channel (Bridged Mode) Speaker Output Connection Side Panel Switch Position Full Range Speakers 2 ohm Minimum Subwoofer 4 ohm...
- Page 18 Common Installation Diagrams Continued AE1800.5D 5 - Channel Speaker Output Connection Full Range Speakers Side Panel 2 ohm Minimum Switch Position Subwoofer 1 ohm Minimum 3 - Channel Stereo/Mono Speaker Output Connection Side Panel Full Range Speakers Switch Position 2 ohm Minimum Subwoofer 1 ohm Minimum...
- Page 19 www.reissaudio.com.tr...
- Page 20 Specifica�ons AE1000.4D AE1800.4D AE1200.6D Specifica�ons AE1000.4D AE1800.4D AE1200.6D Channels Channels Rated RMS Power 4 Ohms Stereo @ 14.4 Volts 150 Wa�s x 4 300 Wa�s x 4 125 Wa�s x 6 Rated RMS Power 4 Ohms Stereo @ 14.4 Volts 150 Wa�s x 4 300 Wa�s x 4 125 Wa�s x 6...
-
Page 21: Troubleshooting
Troubleshooting Problem Solu�on 1. Check to see if Power, Remote and Ground is connected to the Amplifier. Amplifier does not work; no 2. Check Power and Remote Turn-on lead for proper LED's on +12 Voltage. (12 - 16 Volts DC acceptable range.) 3.
Need help?
Do you have a question about the RS-AE Series and is the answer not in the manual?
Questions and answers